Step-by-step instructions
Step 1
Choose an outer bucket and inner form that leave a consistent wall and base thickness. Confirm the finished planter will fit the plant and location before mixing.
Step 2
Cut a short PVC sleeve for the drainage path and tape or brace it so it stays centered. Coat the bucket and inner form only with a release product compatible with the plastic and concrete.
Step 3
Wear a dust-rated respirator, gloves, eye protection, and long sleeves. Mix concrete outdoors or in a ventilated area using the product’s water ratio.
Step 4
Fill the outer form in lifts, tapping and vibrating gently to release trapped air. Lower the inner form with spacers so the walls stay even and the PVC sleeve remains open.
Step 5
Weight and brace the inner form, then cover the mold while the concrete cures. Do not demold early just because the surface feels hard.
Step 6
Remove the outer and inner forms carefully. If plastic sticks, cut the sacrificial bucket rather than prying aggressively and cracking the planter.
Step 7
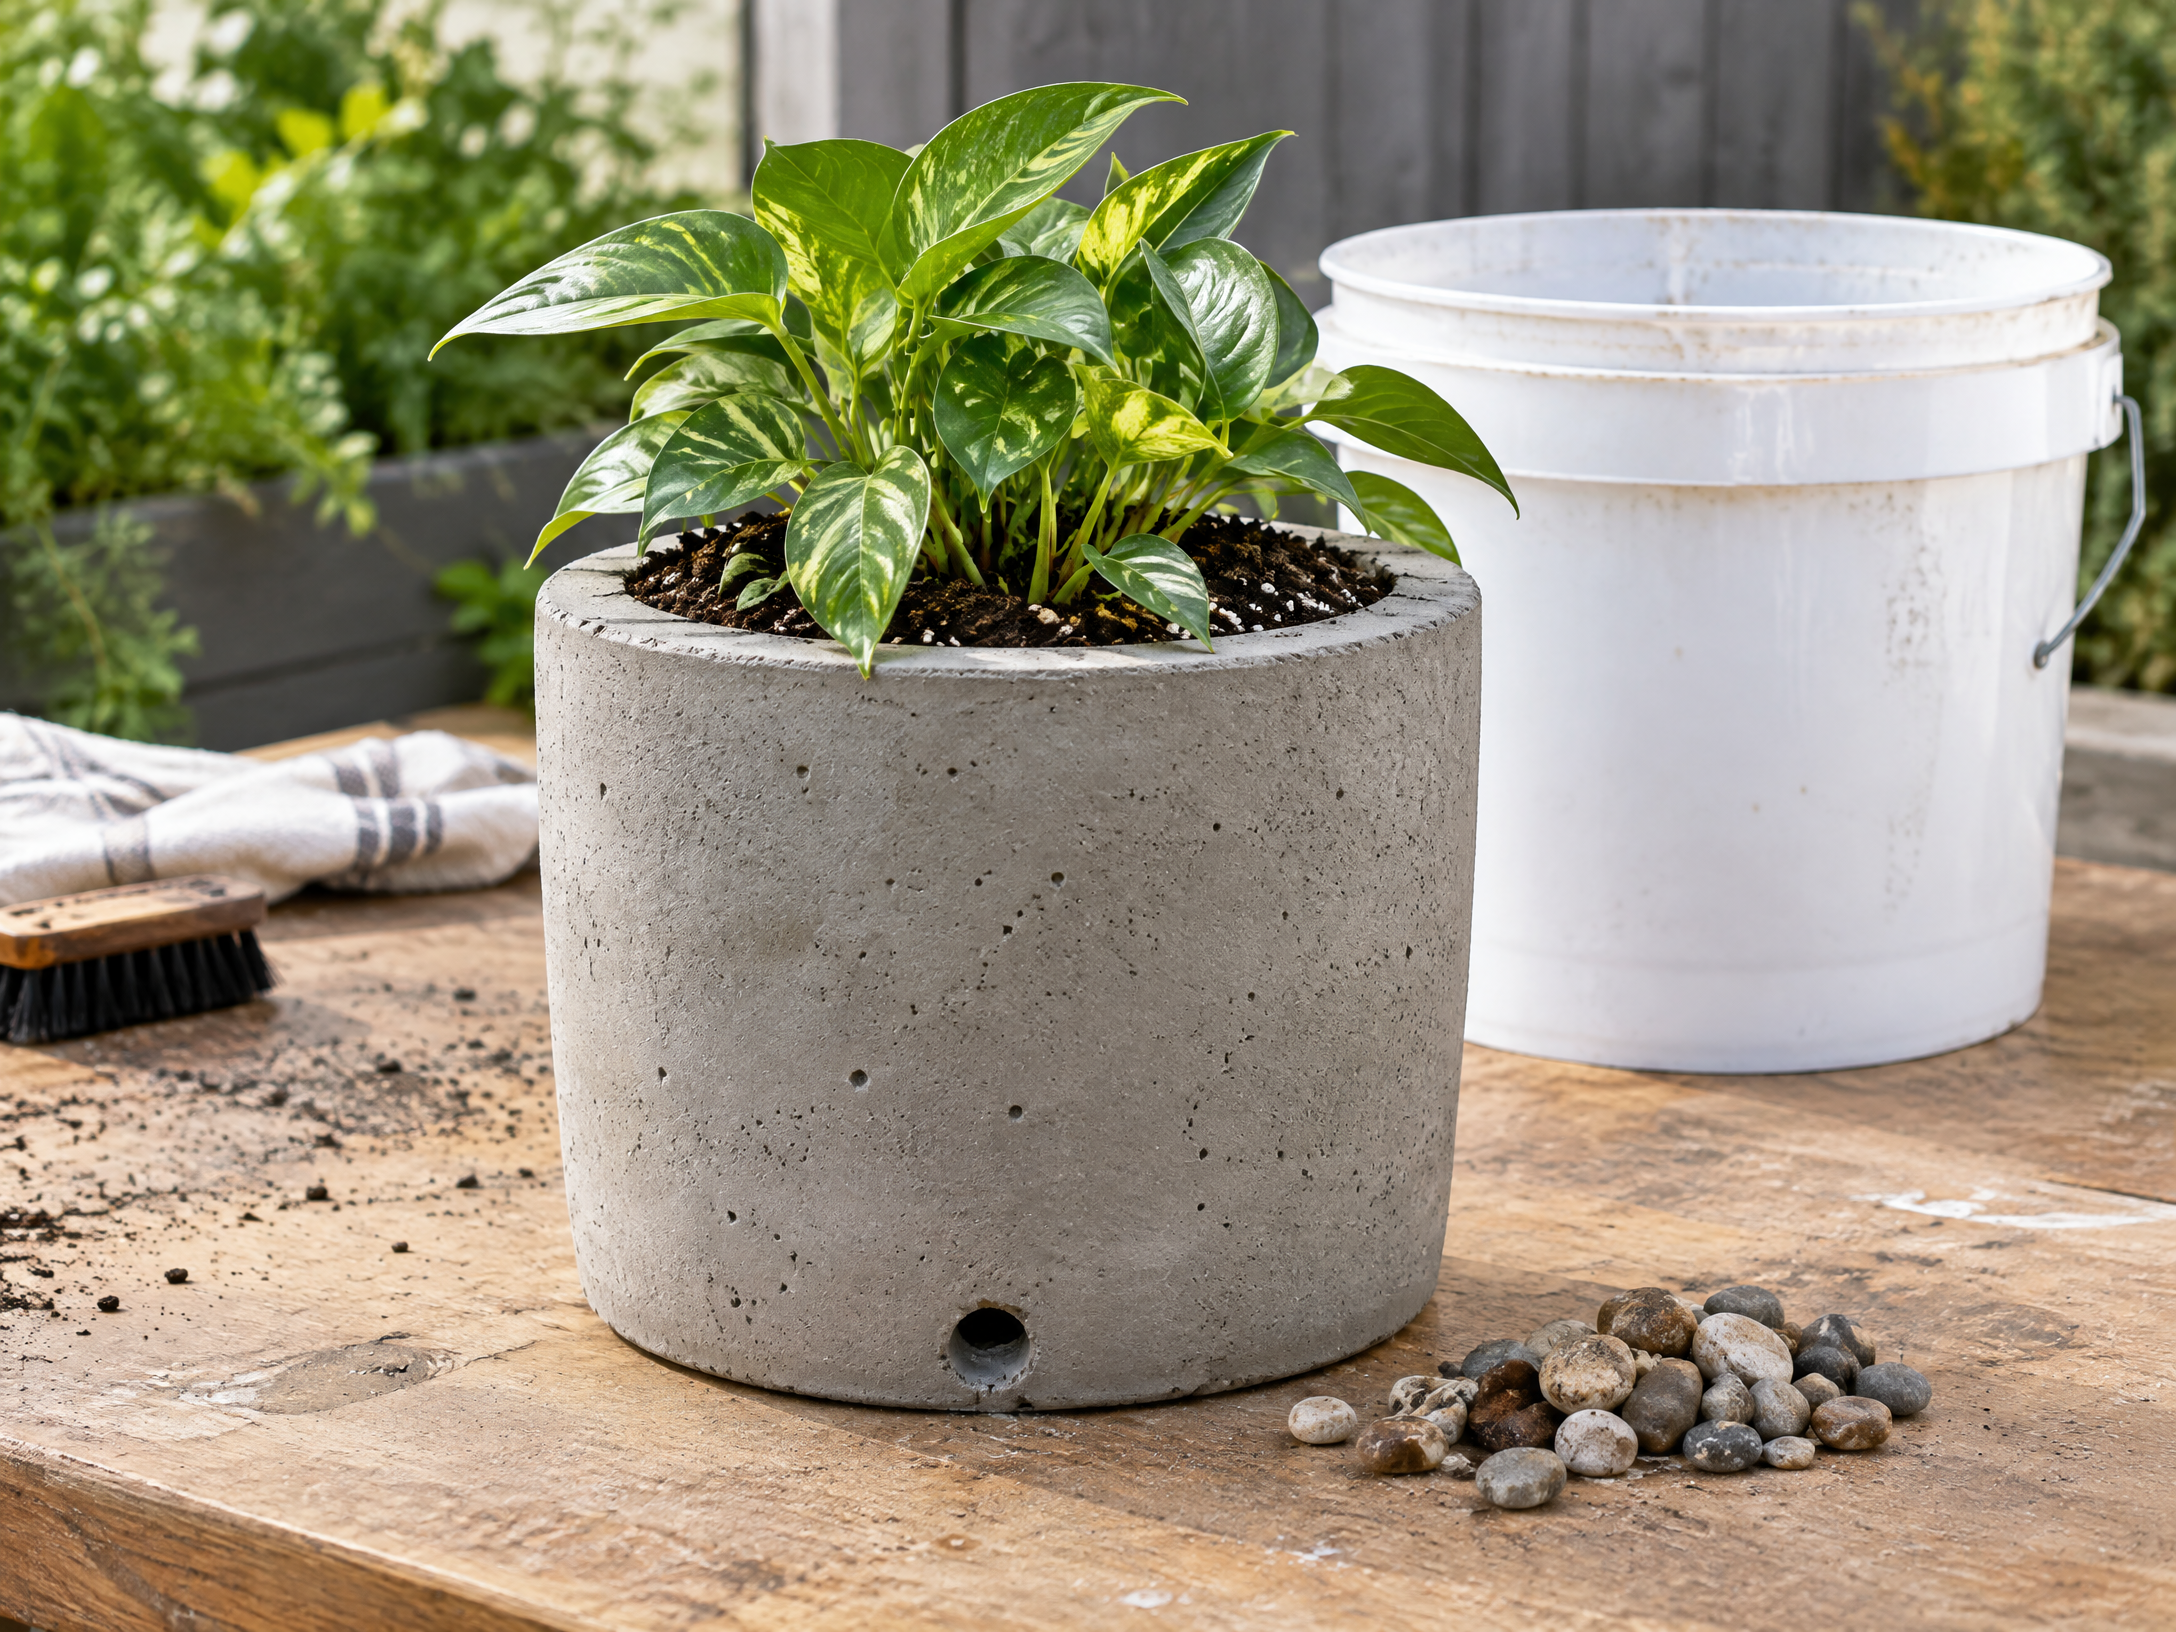
Keep the planter protected while it completes its cure, rinse dust, confirm the drainage path is open, and use a potting mix appropriate to the plant. Avoid freezing conditions during early cure.
Wet cement can burn skin and concrete dust can damage lungs. Use appropriate respiratory, eye, hand, and skin protection, follow the mix label, and keep children and pets away. Do not plant or place the planter outdoors until it has cured and any sealer label permits use.