Step-by-step instructions
Step 1
Map planting zones by water need, measure run lengths and elevation changes, and check local backflow requirements before selecting components.
Step 2
Shut off the irrigation water source, install the required backflow protection, filter, and pressure regulator in the manufacturer’s order.
Step 3
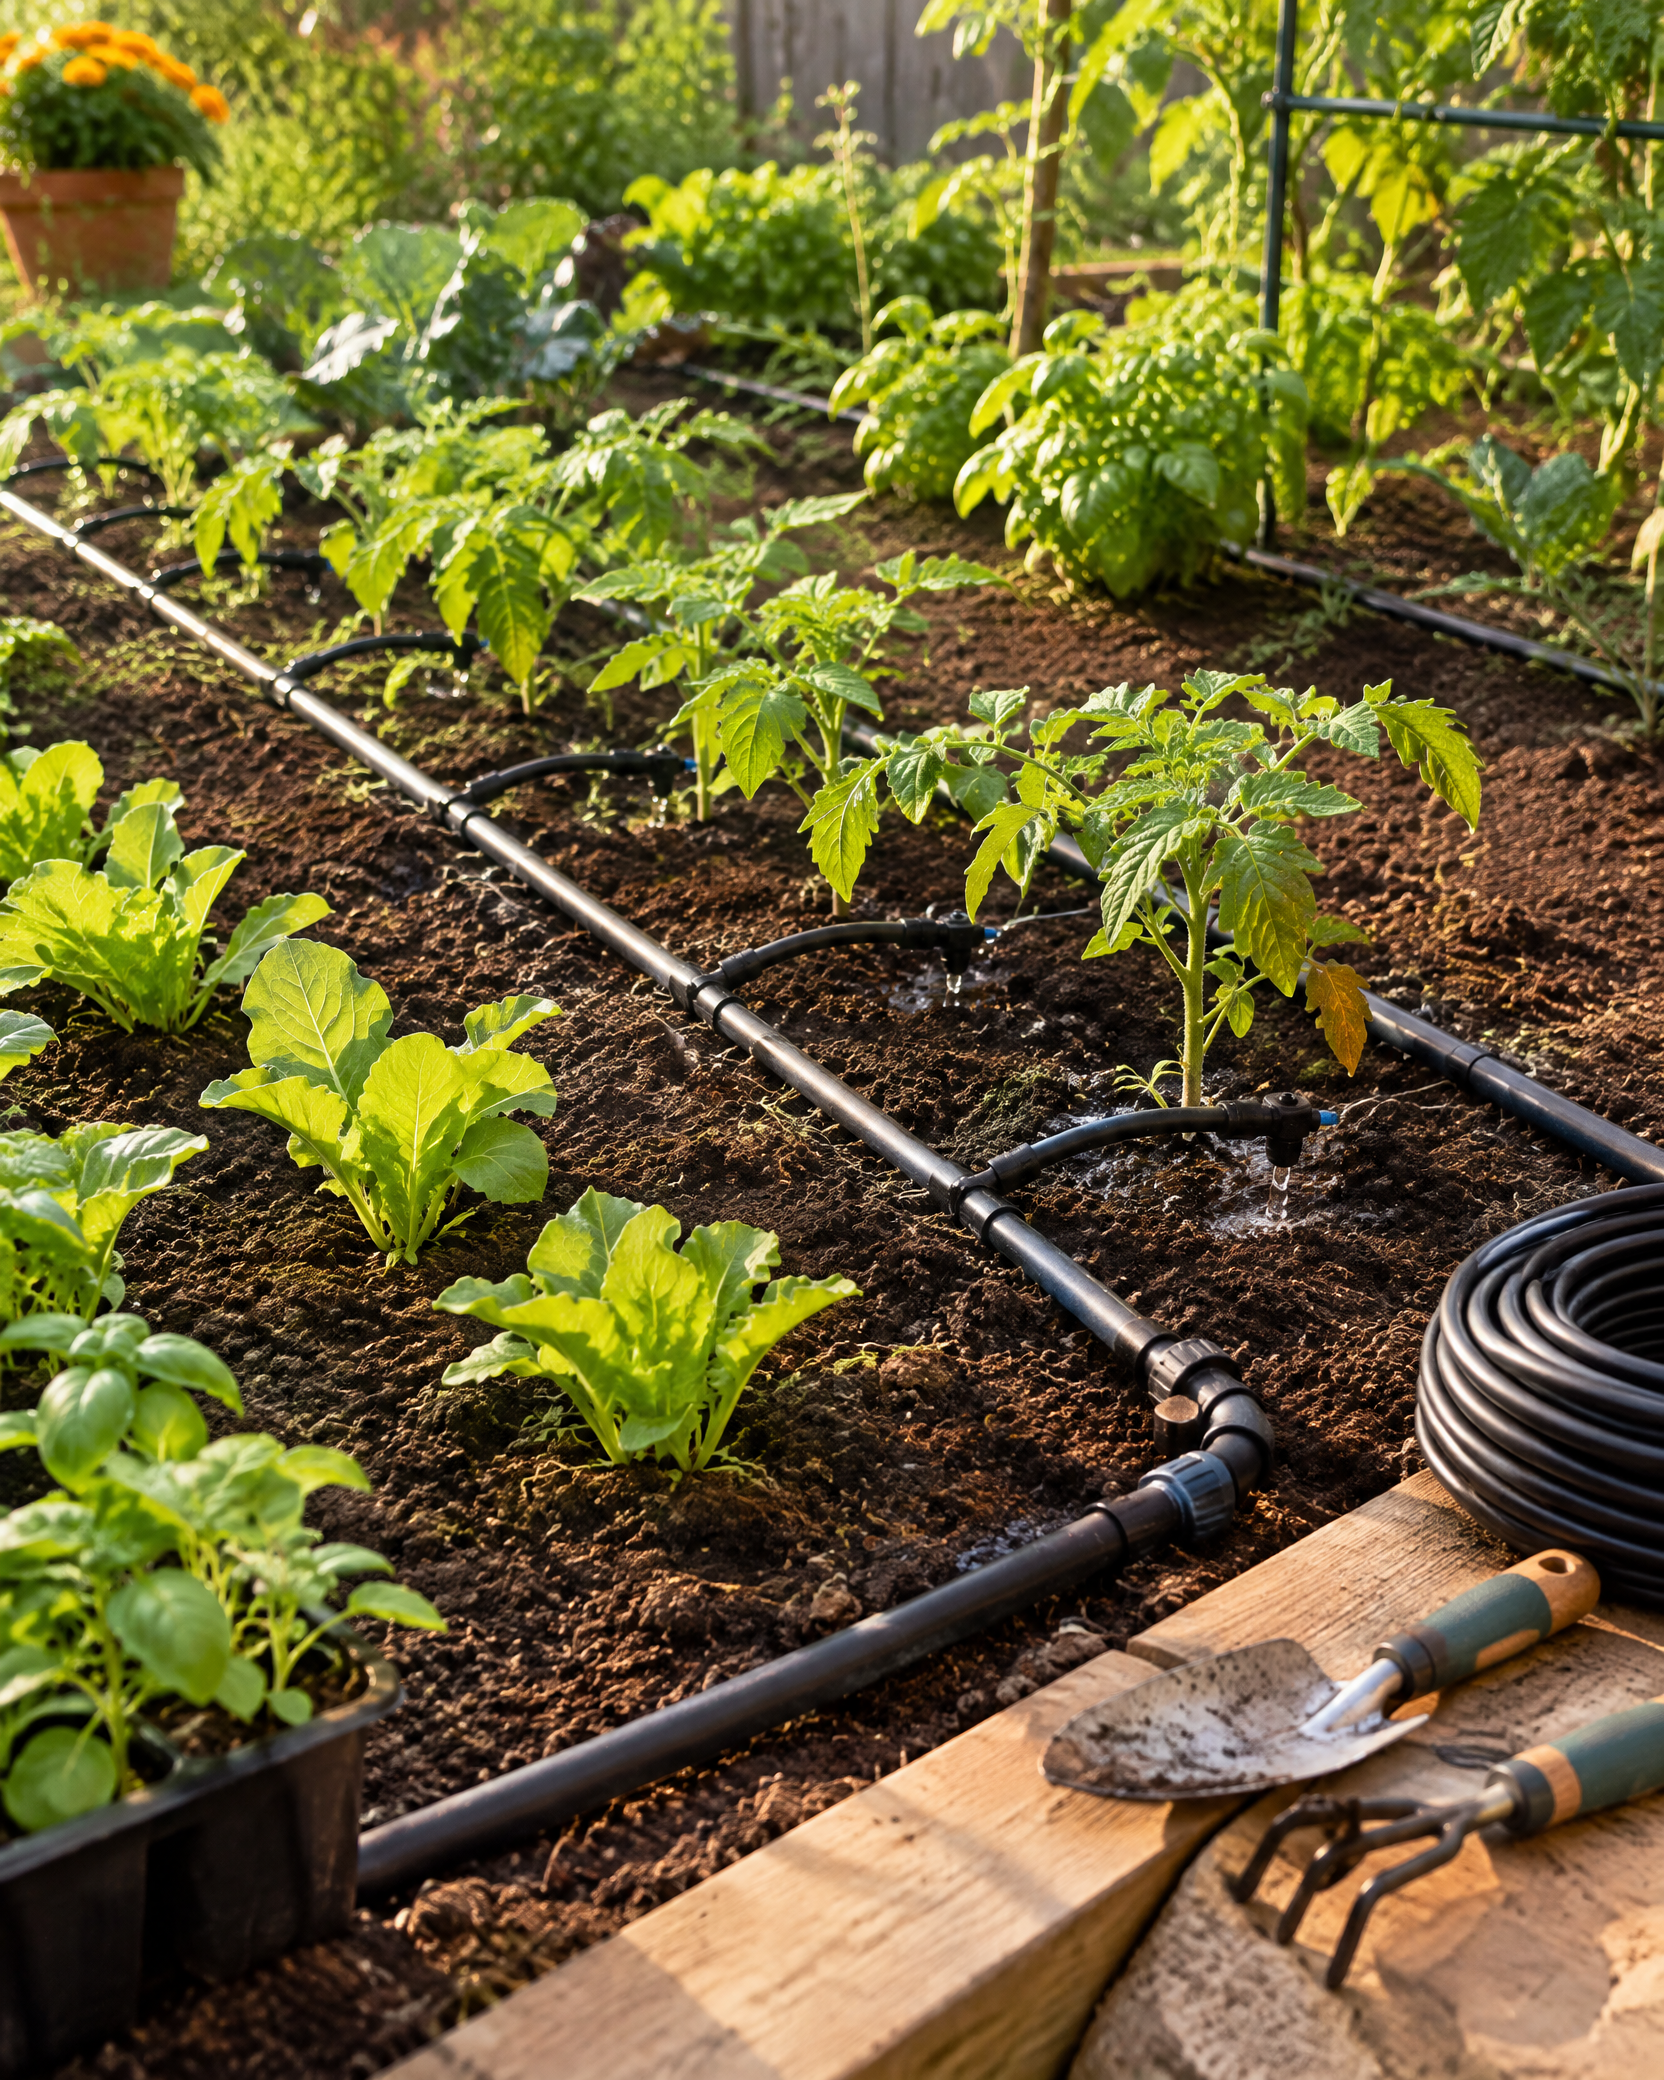
Lay mainline tubing in gentle curves, keep it out of walking and mowing paths, and cut square ends with a dedicated tubing cutter.
Step 4
Punch emitter holes only after tubing placement, use matched fittings, and assign emitter flow to each plant and soil type.
Step 5
Open the line ends and flush debris, close them, then pressurize slowly and inspect every connection for leaks.
Step 6
Run a timed catch test, adjust emitter placement or duration, mulch over—not inside—lines, and flush and winterize as climate requires.
Shut off water before cutting into an irrigation supply. Use required backflow protection and pressure regulation, and consult a licensed irrigation or plumbing professional if connecting to potable water, valves, pumps, or buried utilities is uncertain.