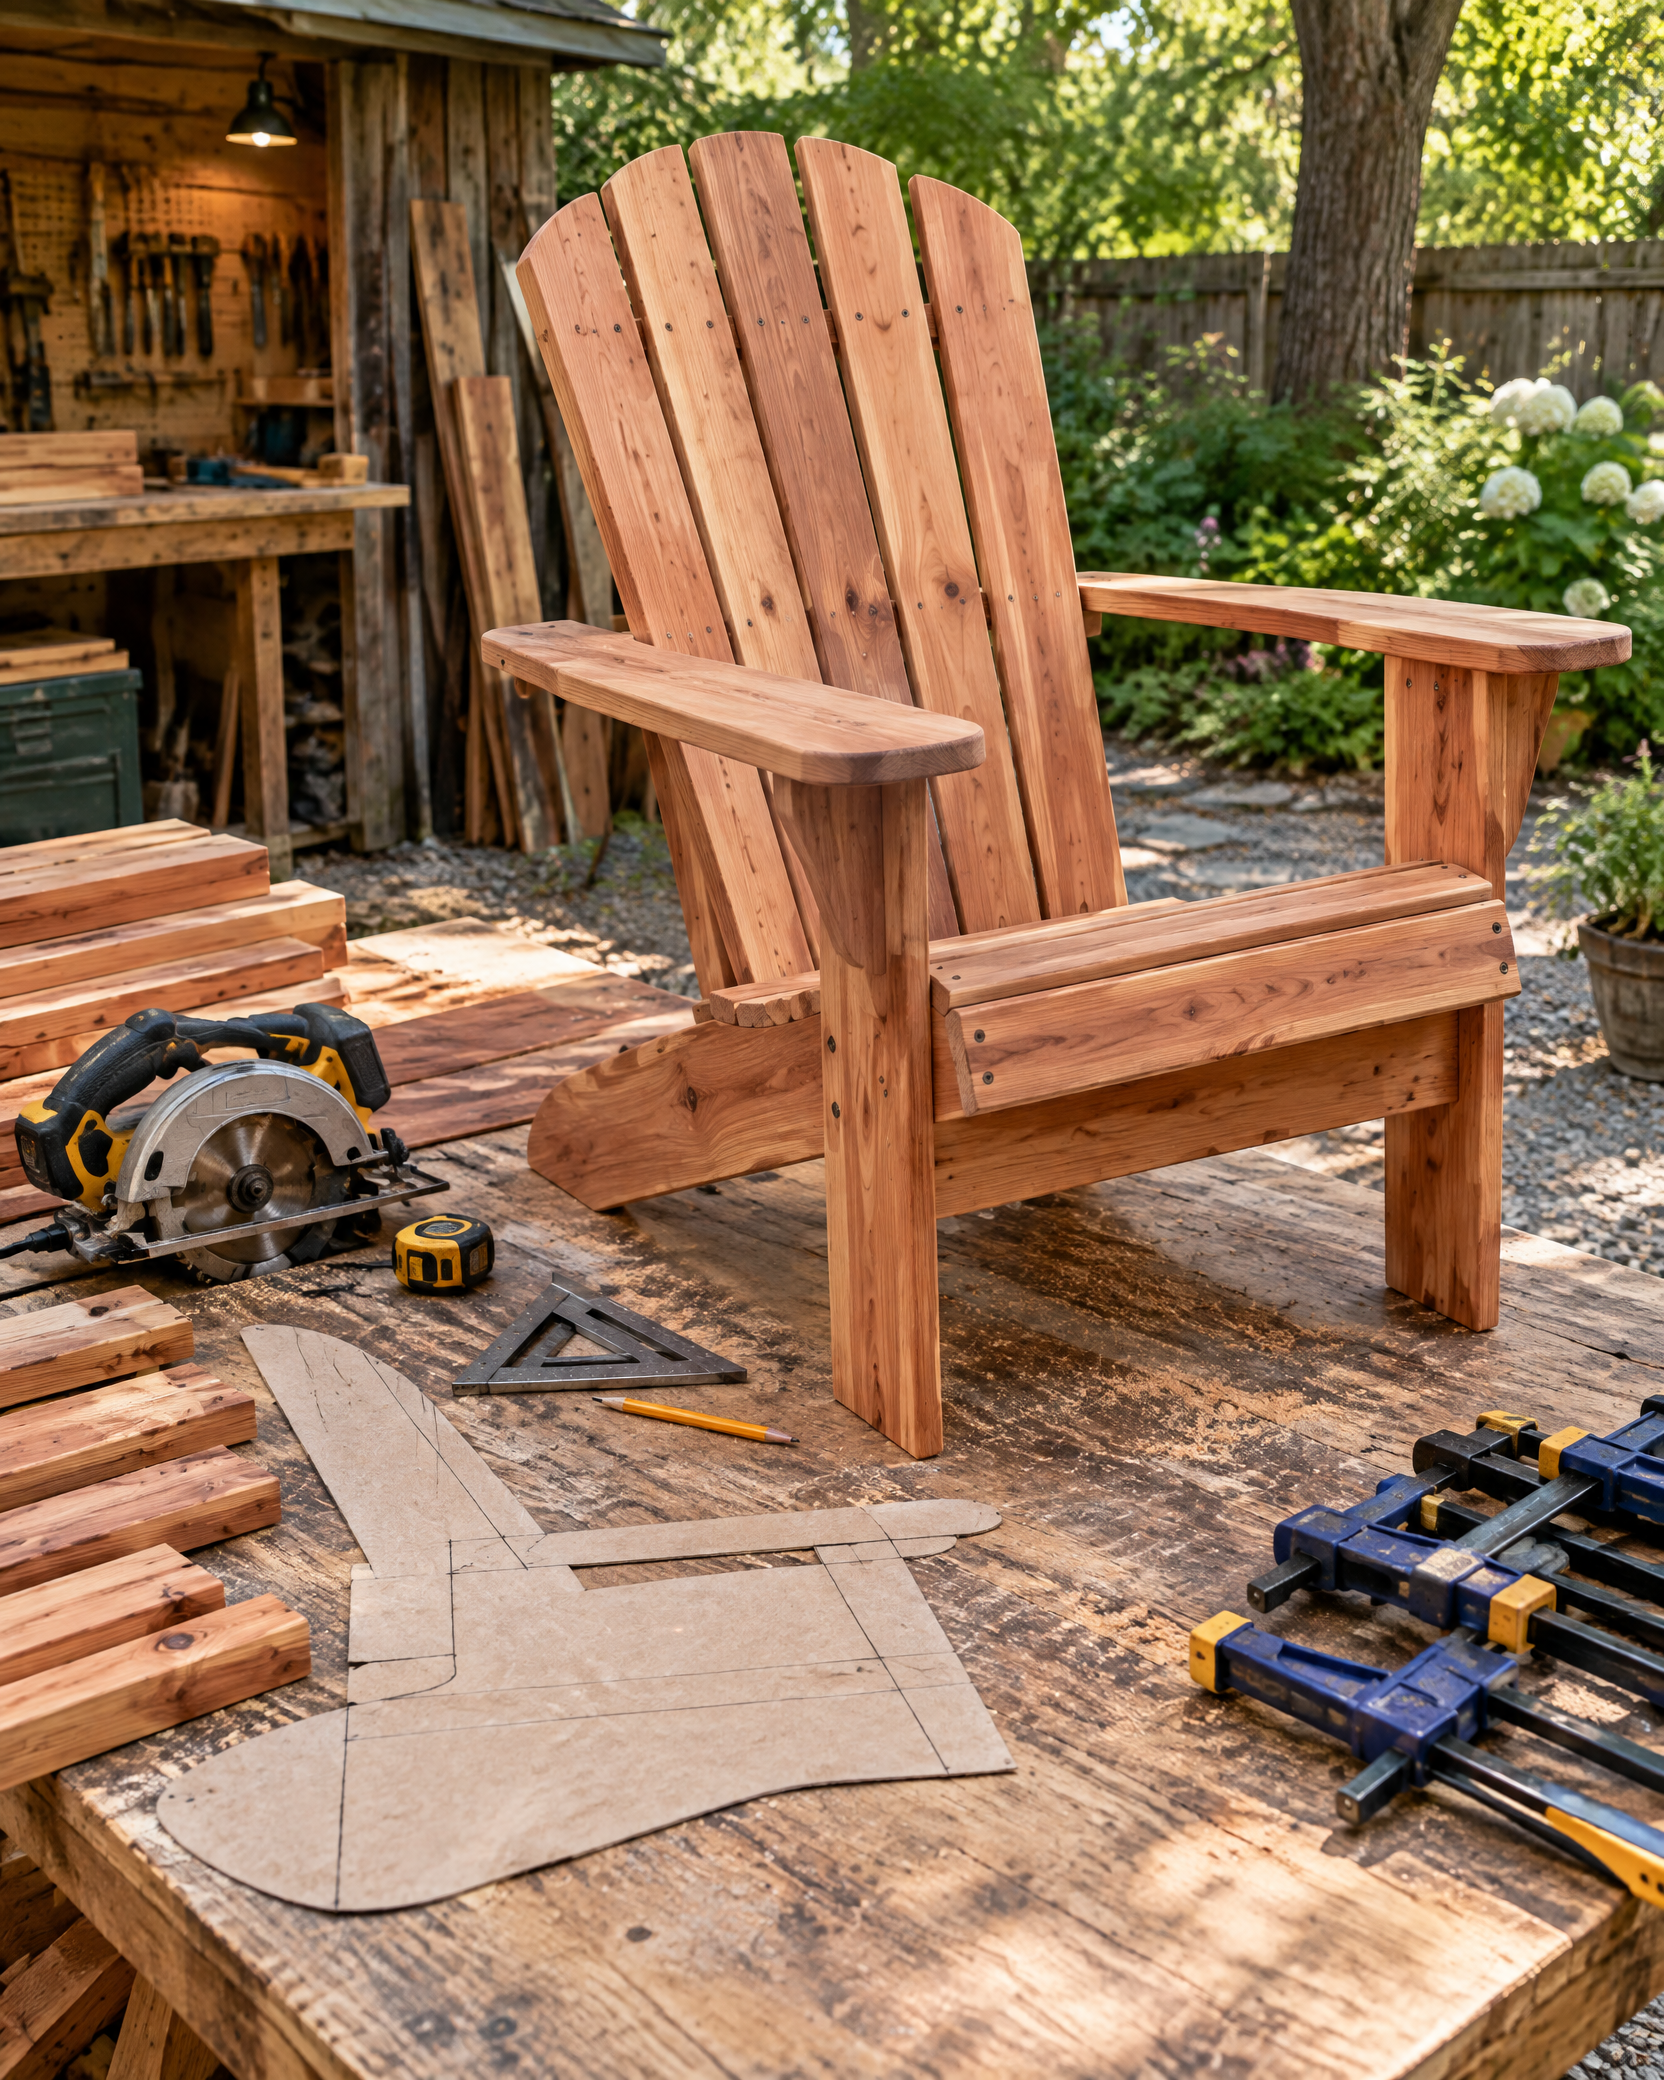
Step-by-step instructions
Step 1
Choose a proven chair geometry and adjust seat width or height only while preserving stable leg, arm, and back relationships.
Step 2
Make full-size templates, mark grain and part orientation, and cut paired components together for symmetry.
Step 3
Drill pilot holes and dry-assemble the legs, seat supports, and back frame on a flat surface.
Step 4
Install seat and back slats with consistent gaps, checking for square, stable four-point contact, and covered fastener tips.
Step 5
Round hand-contact edges, sand all surfaces, and apply an exterior finish to faces and end grain.
Step 6
Allow full cure, then sit-test gradually on level ground and re-tighten hardware after initial outdoor use.
Use eye, hearing, and dust protection and clamp curved parts securely before cutting. Confirm the chair sits flat and all structural fasteners are tight before use; do not stand on the chair.