Step-by-step instructions
Step 1
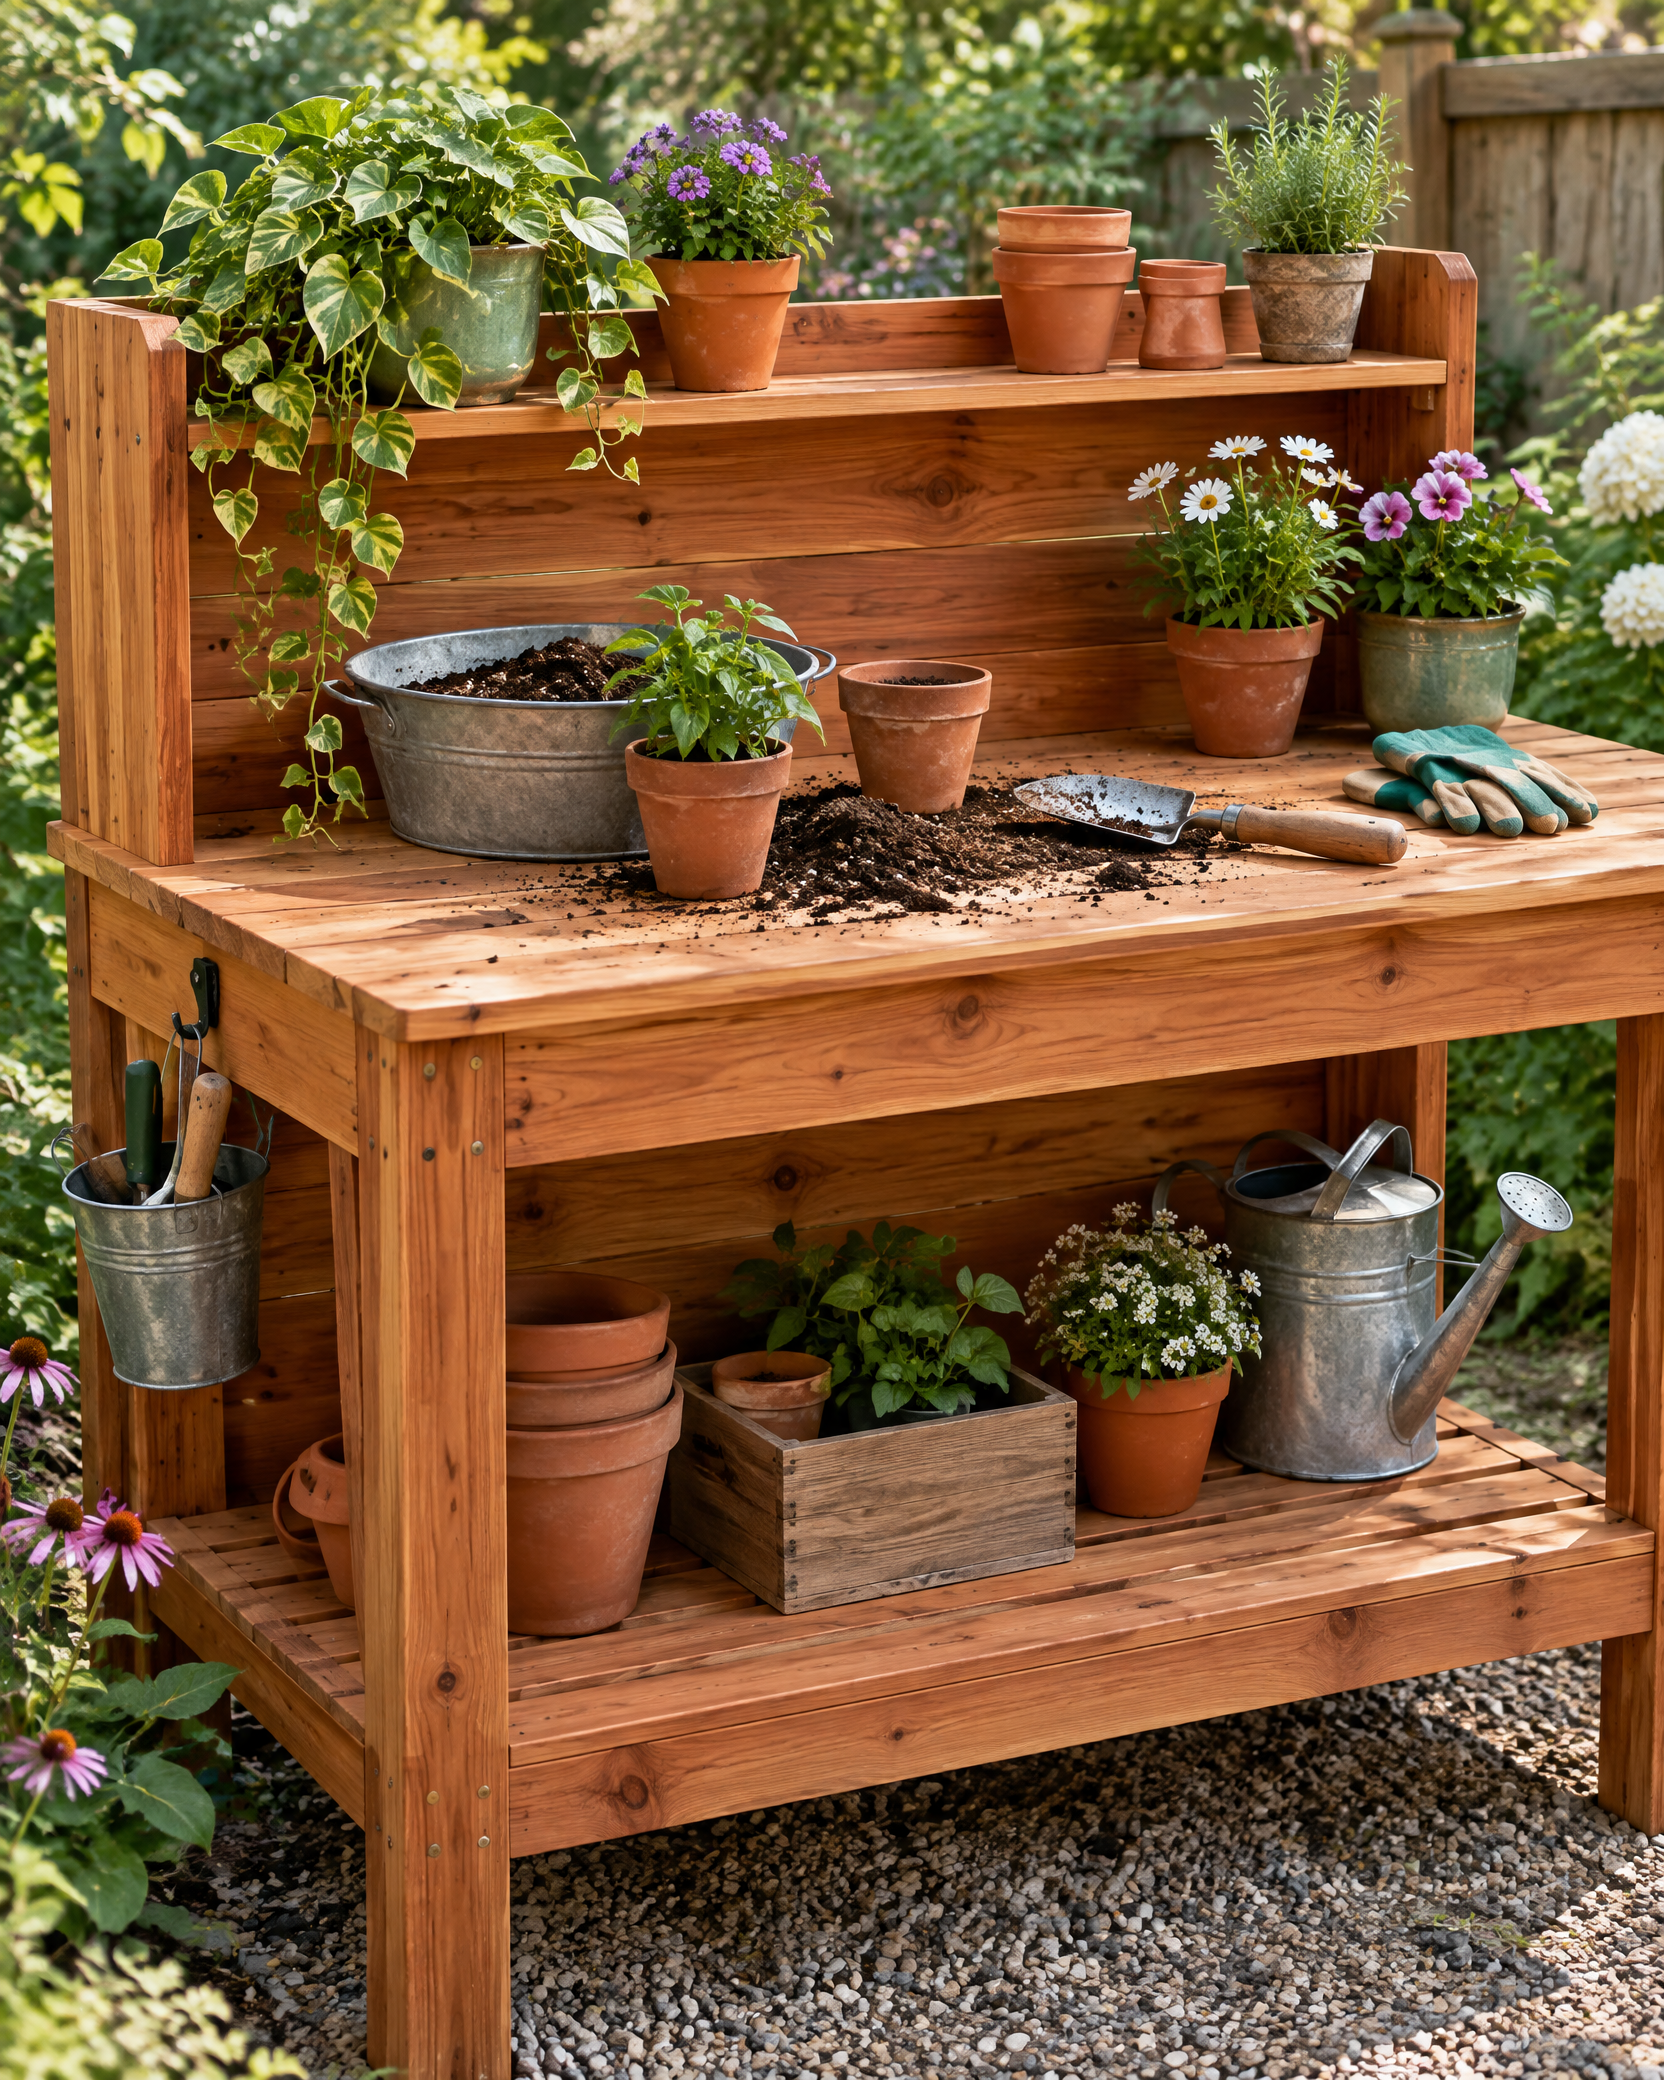
Choose a comfortable worktop height and finished footprint, allowing for pots, soil bins, and a stable stance.
Step 2
Create a cut list for legs, frames, shelves, worktop, and back, then cut and label all parts.
Step 3
Assemble the lower and upper frames square, add cross-bracing, and verify the bench cannot rack.
Step 4
Install shelves and worktop with drainage or removable-cleaning access, keeping fastener tips covered.
Step 5
Ease edges and apply exterior finish to all faces and end grain; allow full cure.
Step 6
Place the bench on level ground and secure it against tipping, then load heavy soil and pots on the lowest shelf.
Wear eye and hearing protection during fabrication. Prevent tip-over with a stable base or secure restraint, keep heavy materials low, and do not use the bench as a step or climbing surface.