Step-by-step instructions
Step 1
Identify the fixture type, bulb base, fitter diameter, lamp wattage/temperature, ventilation path, and manufacturer restrictions before designing the shade.
Step 2
Choose a shade material and frame intended for lighting use; reject paper, fabric, coating, or adhesive without adequate heat and flame suitability.
Step 3
Make a full-size mockup and confirm the finished shade will preserve bulb, socket, ceiling, and sprinkler clearances.
Step 4
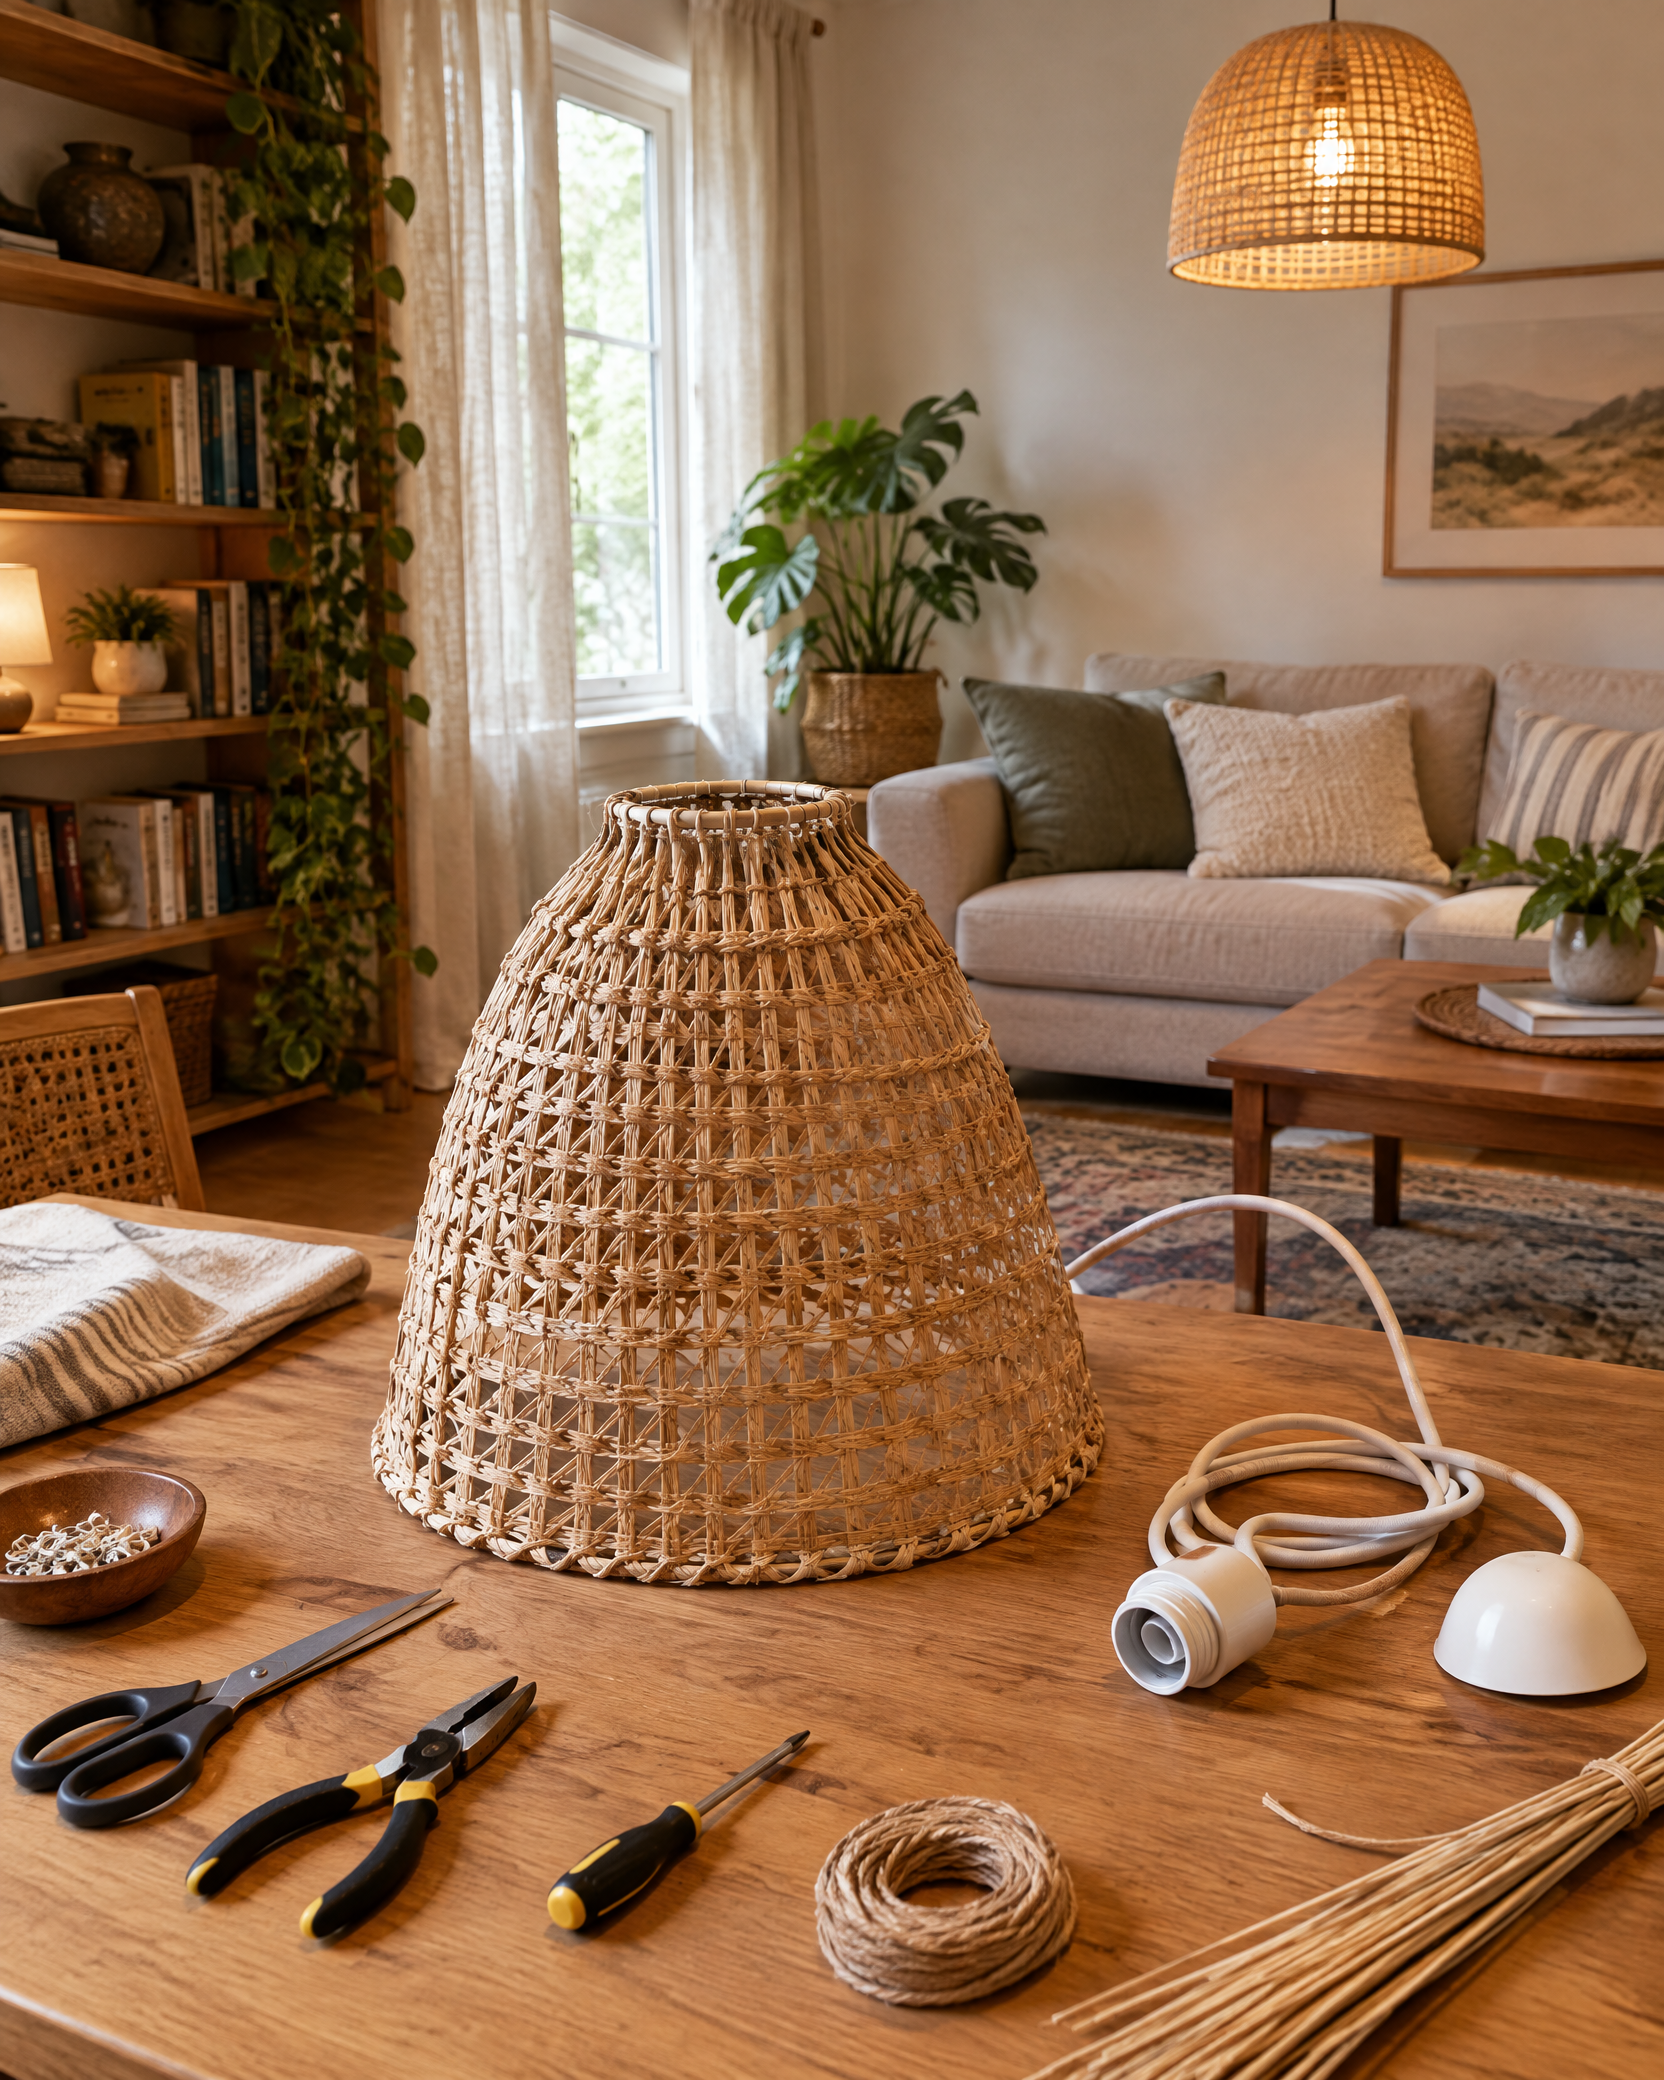
Cut and assemble the shade on a work surface, keeping seams, fasteners, and any diffuser away from the lamp envelope.
Step 5
Shut off power at the switch and breaker before removing or fitting any part near exposed electrical components; install only to the fixture’s designed fitter.
Step 6
Restore power, observe from a safe distance, and stop immediately for odor, discoloration, heat buildup, flicker, or contact with the lamp.
Lighting projects can involve heat and electricity. Shut off power before working at the fixture, use only lighting-rated materials within the fixture’s limits, and consult a licensed electrician if wiring, mounting, grounding, or compatibility is uncertain.