Step-by-step instructions
Step 1
Confirm the wallpaper is approved for the wall finish and that paint has cured for the manufacturer’s required period.
Step 2
Measure wall height at several points, calculate repeat waste, and order extra rolls from one dye lot.
Step 3
Clean, patch, sand, and prime as needed, then perform a hidden adhesion/removal test before covering a visible area.
Step 4
Mark a plumb starting line rather than following an out-of-square corner, and precut the first panel with trimming allowance.
Step 5
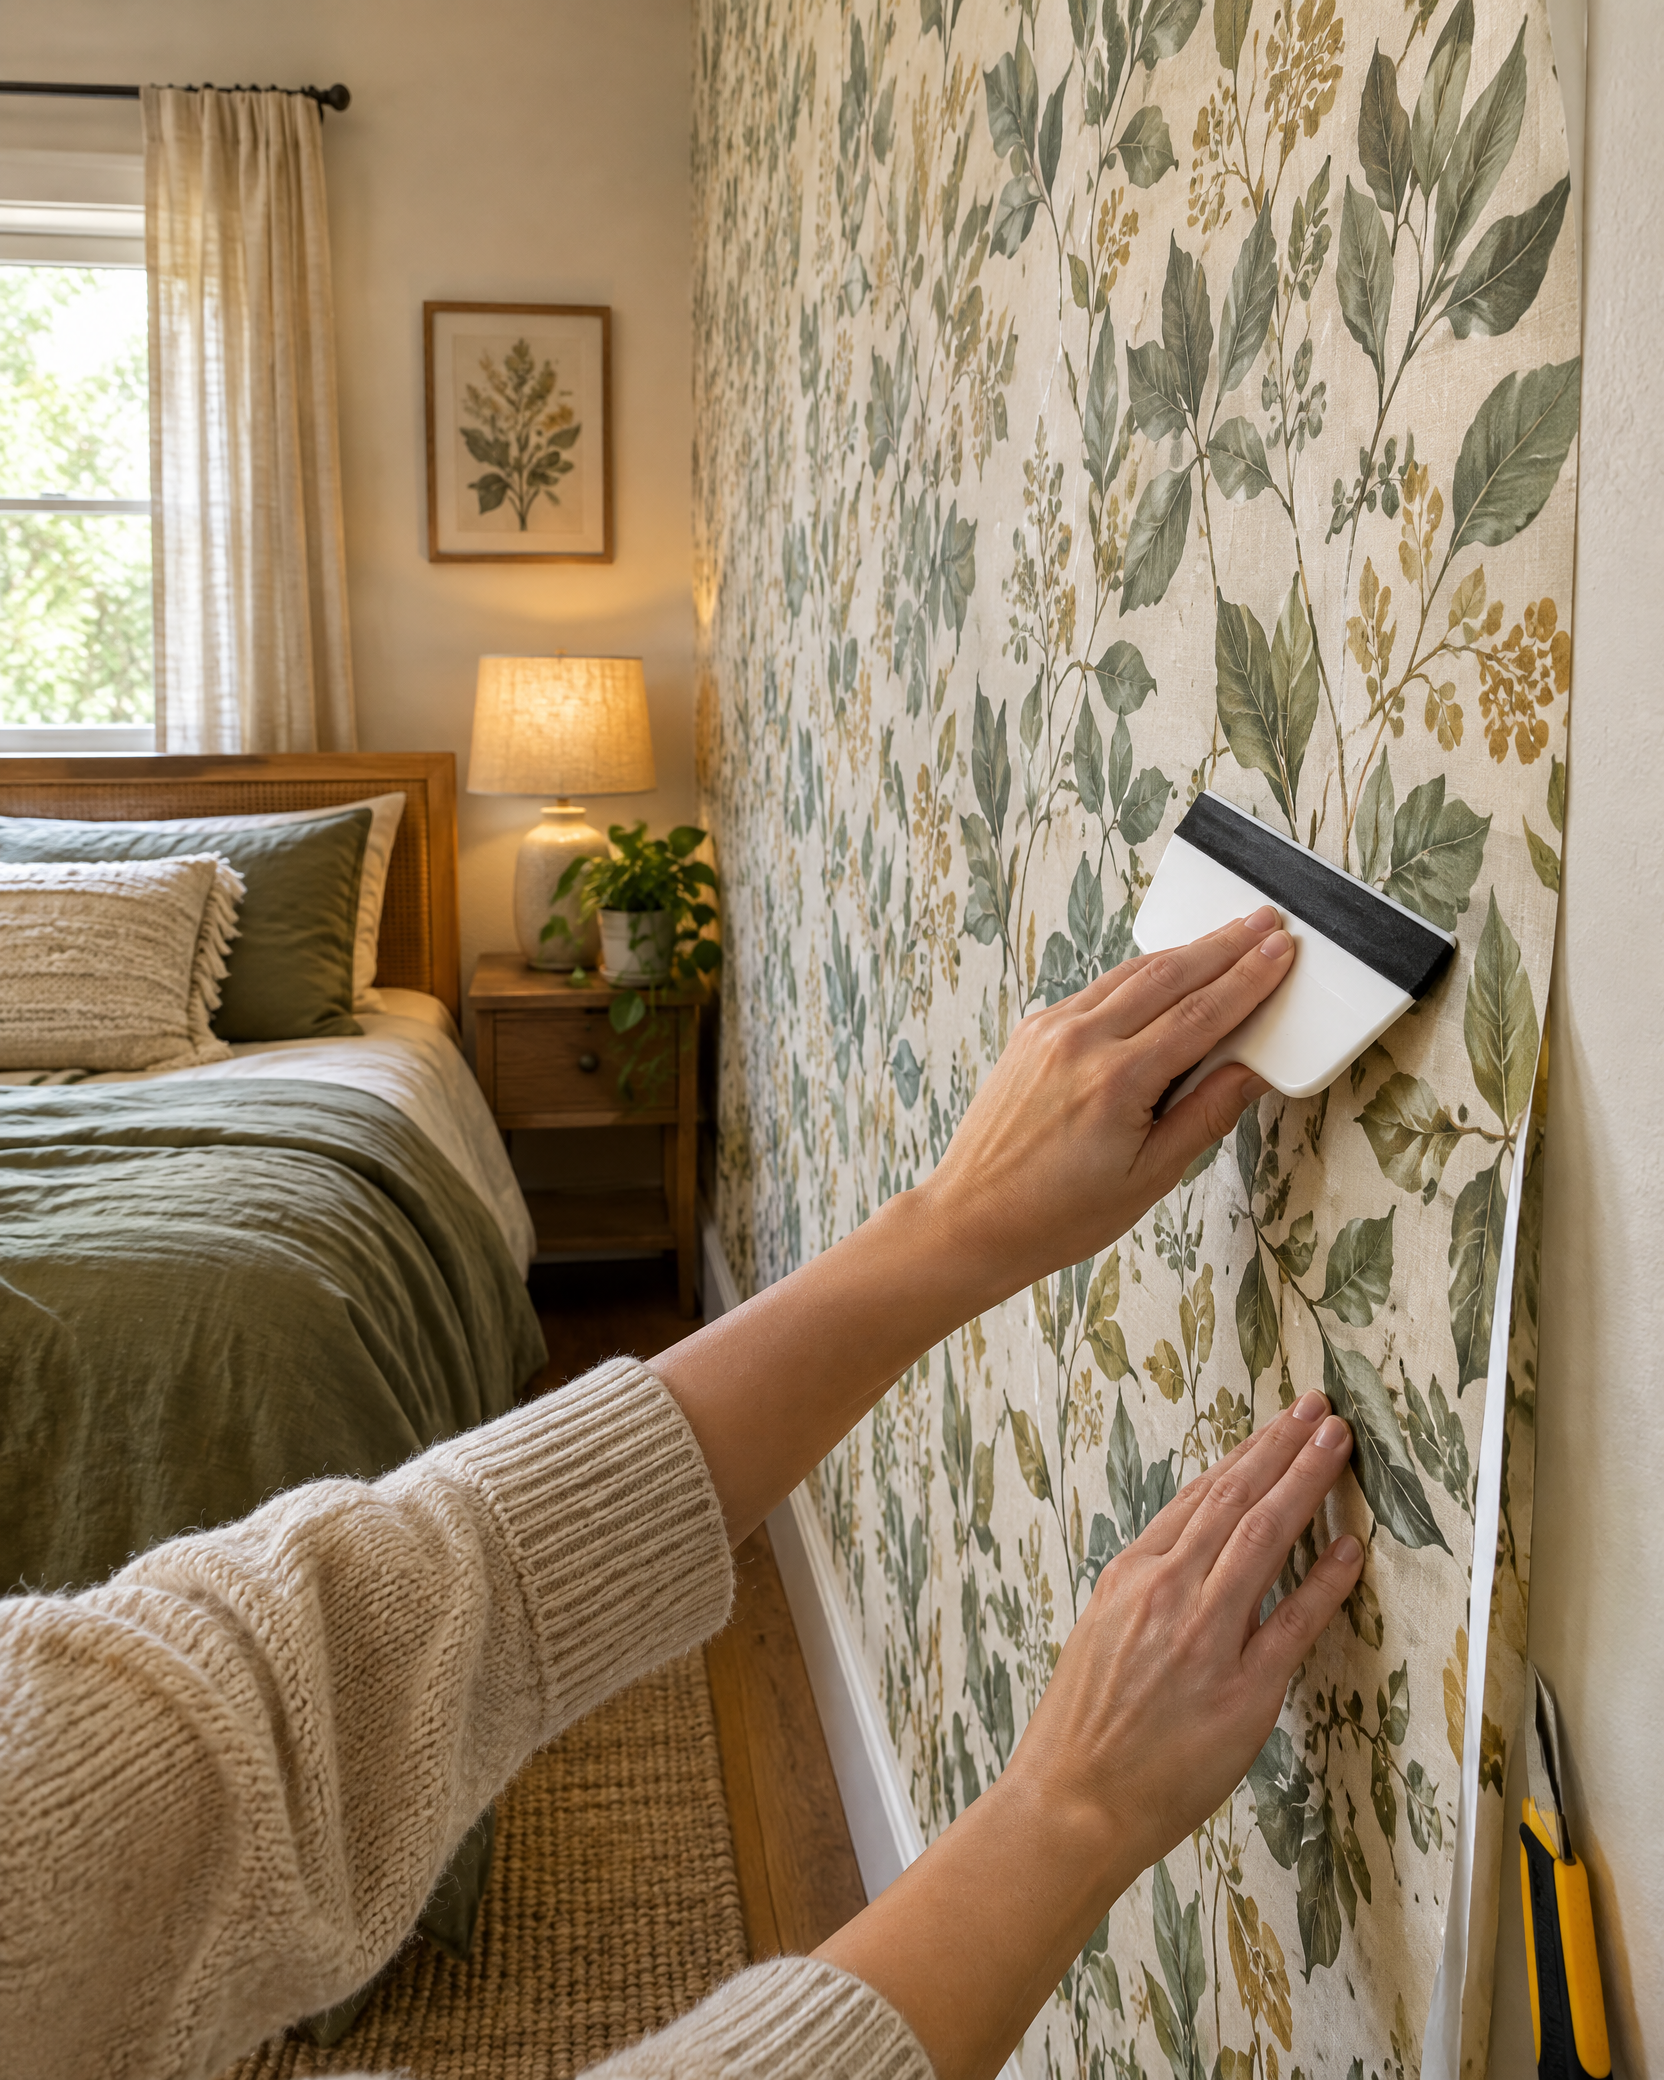
Peel and smooth gradually from top to bottom without stretching, align the pattern at eye level, and trim on a protected edge.
Step 6
Work across the wall checking plumb every few panels, then revisit seams and bubbles within the product’s repositioning window.
Use a stable ladder and keep blades away from wiring, outlet boxes, and the wall surface. Do not cover damp, moldy, flaking, or uncured walls; correct the underlying condition first.