Step-by-step instructions
Protect the room and test the door swing
Confirm the door is sound and identify the existing finish. Remove or mask the handle, latch plate, hinges, and weather seals; protect the floor and keep the door able to close between coats.
Clean, dull, and spot-prime the surface
Clean fingerprints and grease, lightly degloss glossy areas, and repair dents. Sand only enough to create a consistent surface and remove dust thoroughly.
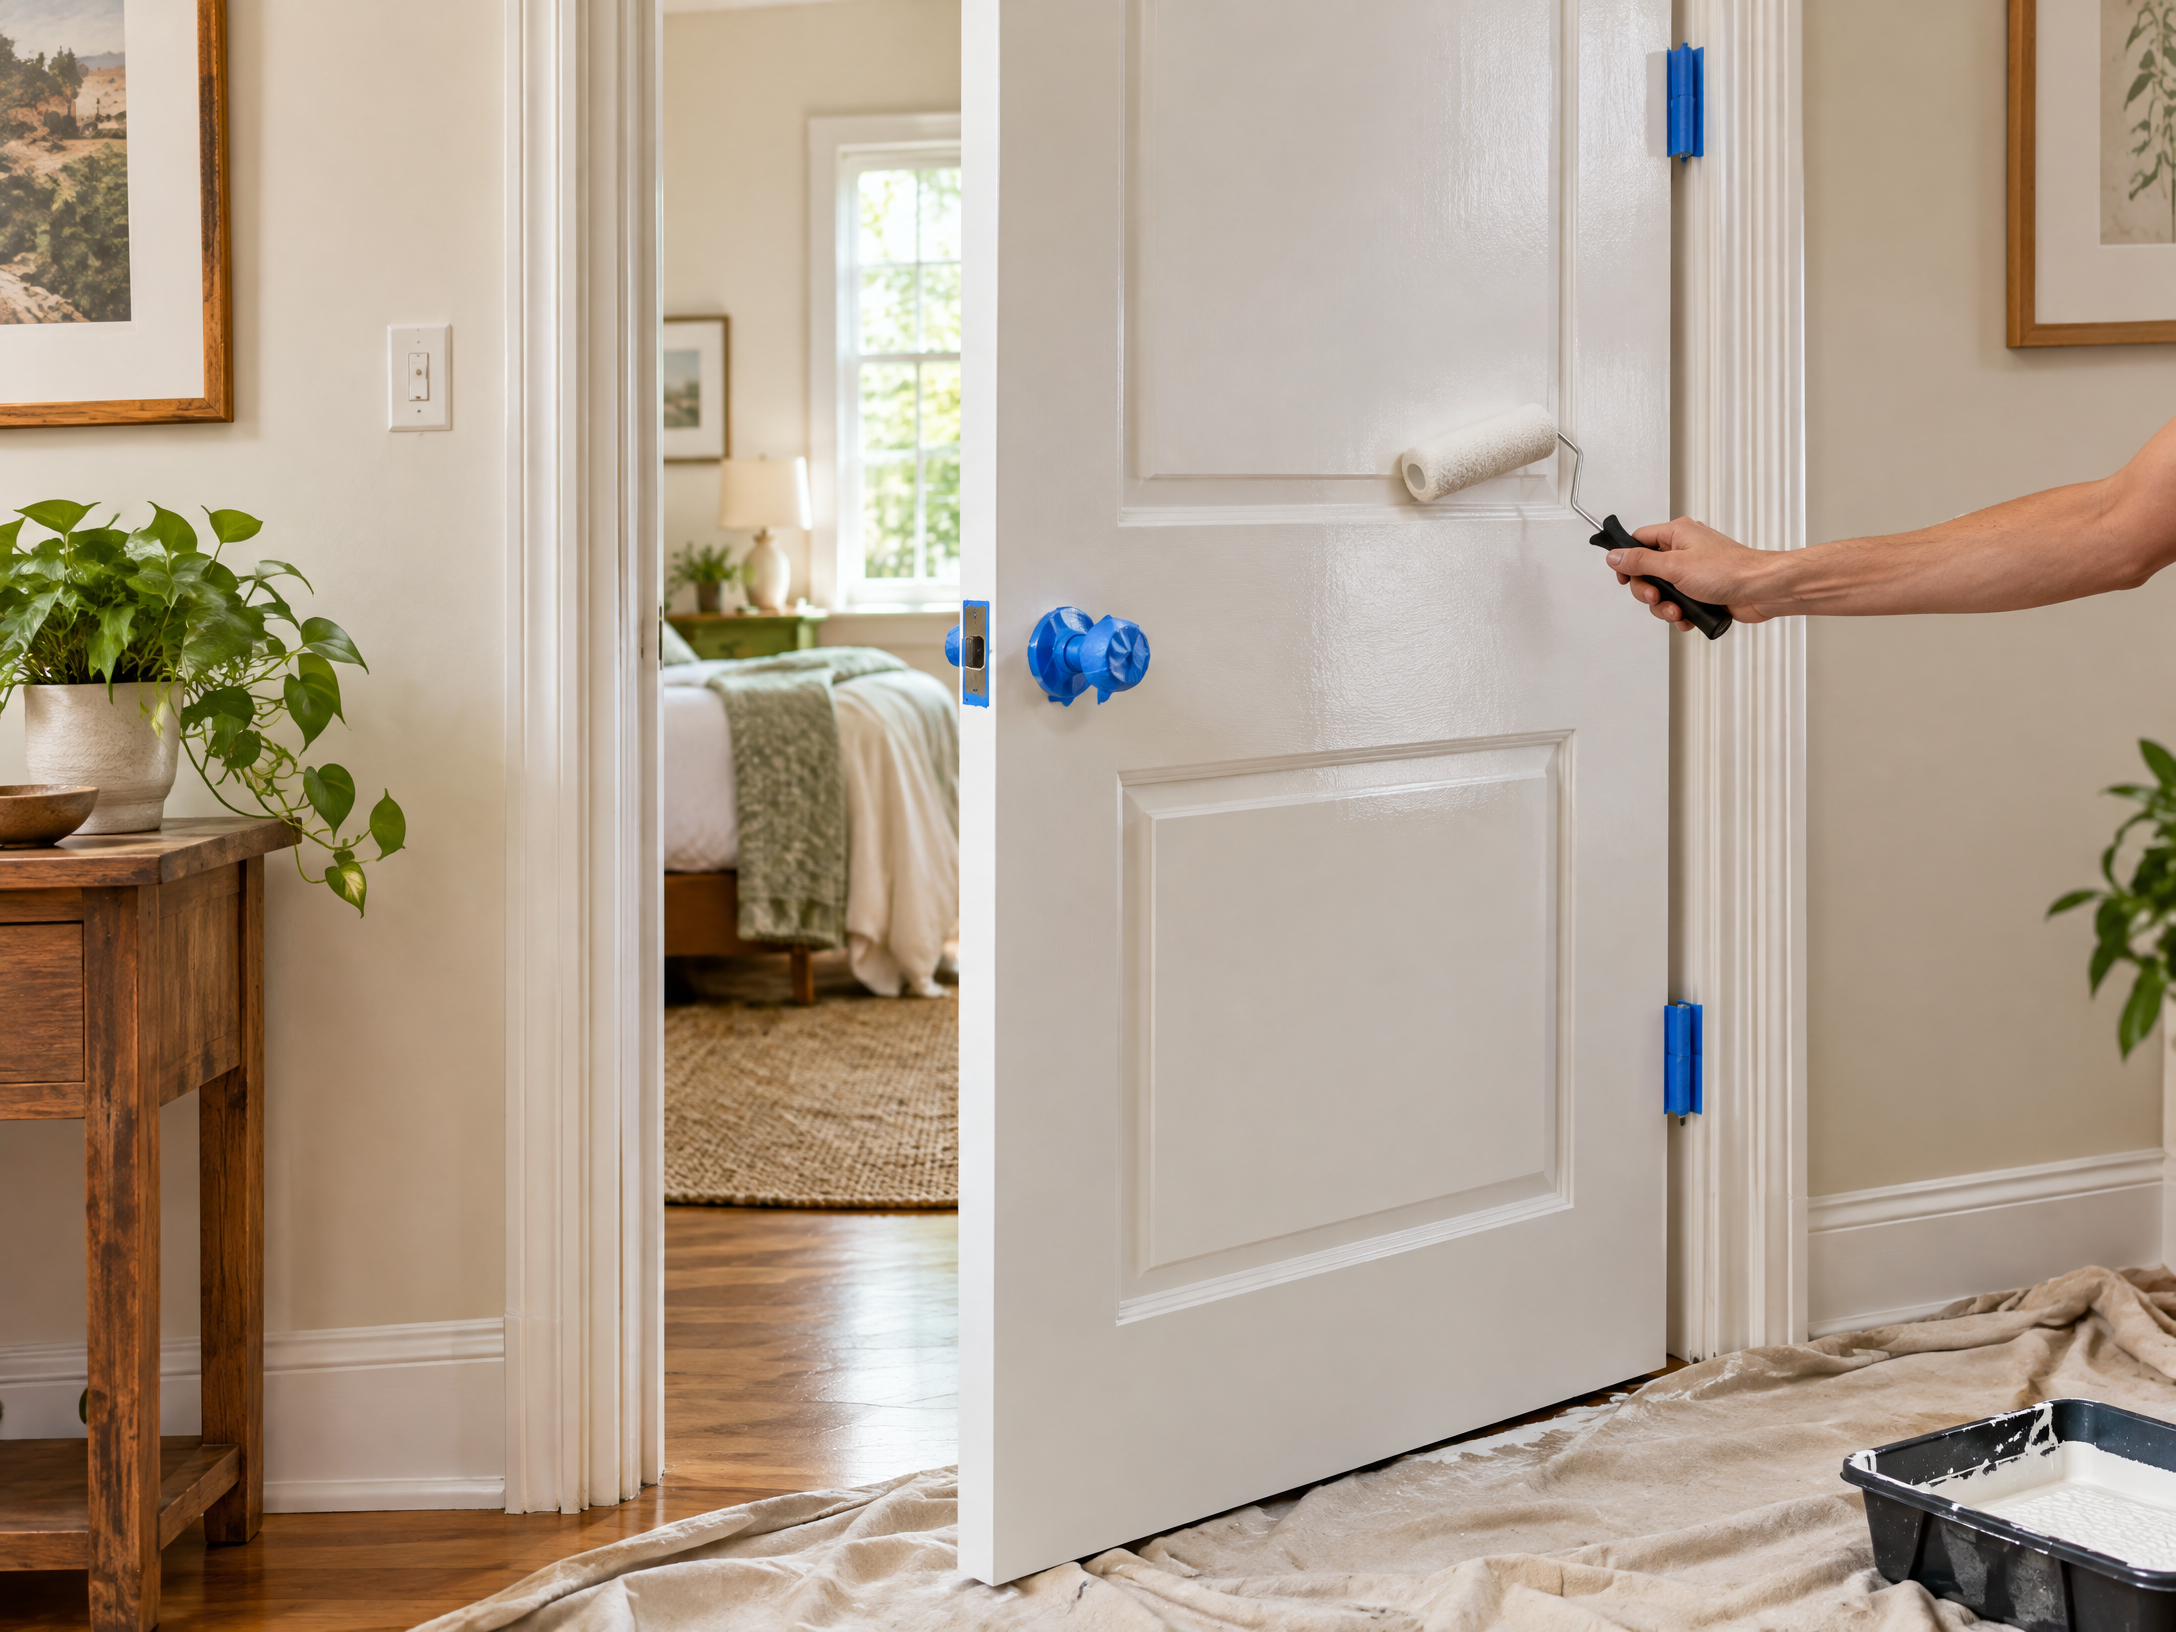
Mask hardware and keep the door open
Choose a compatible bonding primer and trim/cabinet enamel. Test the full coating system on an inconspicuous edge before committing to the visible face.
Paint the panels and rails in sequence
Paint the recessed panels first, then rails, stiles, and edges in a consistent direction. Keep a wet edge and use a lightly loaded mini roller rather than repeatedly brushing drying paint.
Lay off the stiles and edges with a light coat
Inspect at a low angle for roping, stipple, and sags. Tip off wet defects once; do not keep reworking paint that has started to set.
Inspect after cure and correct defects
Allow the manufacturer’s recoat time, scuff only when required, and apply the second coat with the same thin, controlled sequence.
Step 7
Reinstall hardware only after the finish has cured enough to resist sticking. Close the door gently at first and check that the latch and weatherstrip do not bond to uncured paint.
Ventilate the room and follow the coating label. Protect skin and eyes, keep the door supported, and avoid painting hinges or hardware mechanisms. Lead-paint concerns in older homes require professional testing and containment.