Back to all projects
Refresh a Room with Paint DIY project
Pinterest-ready project guide
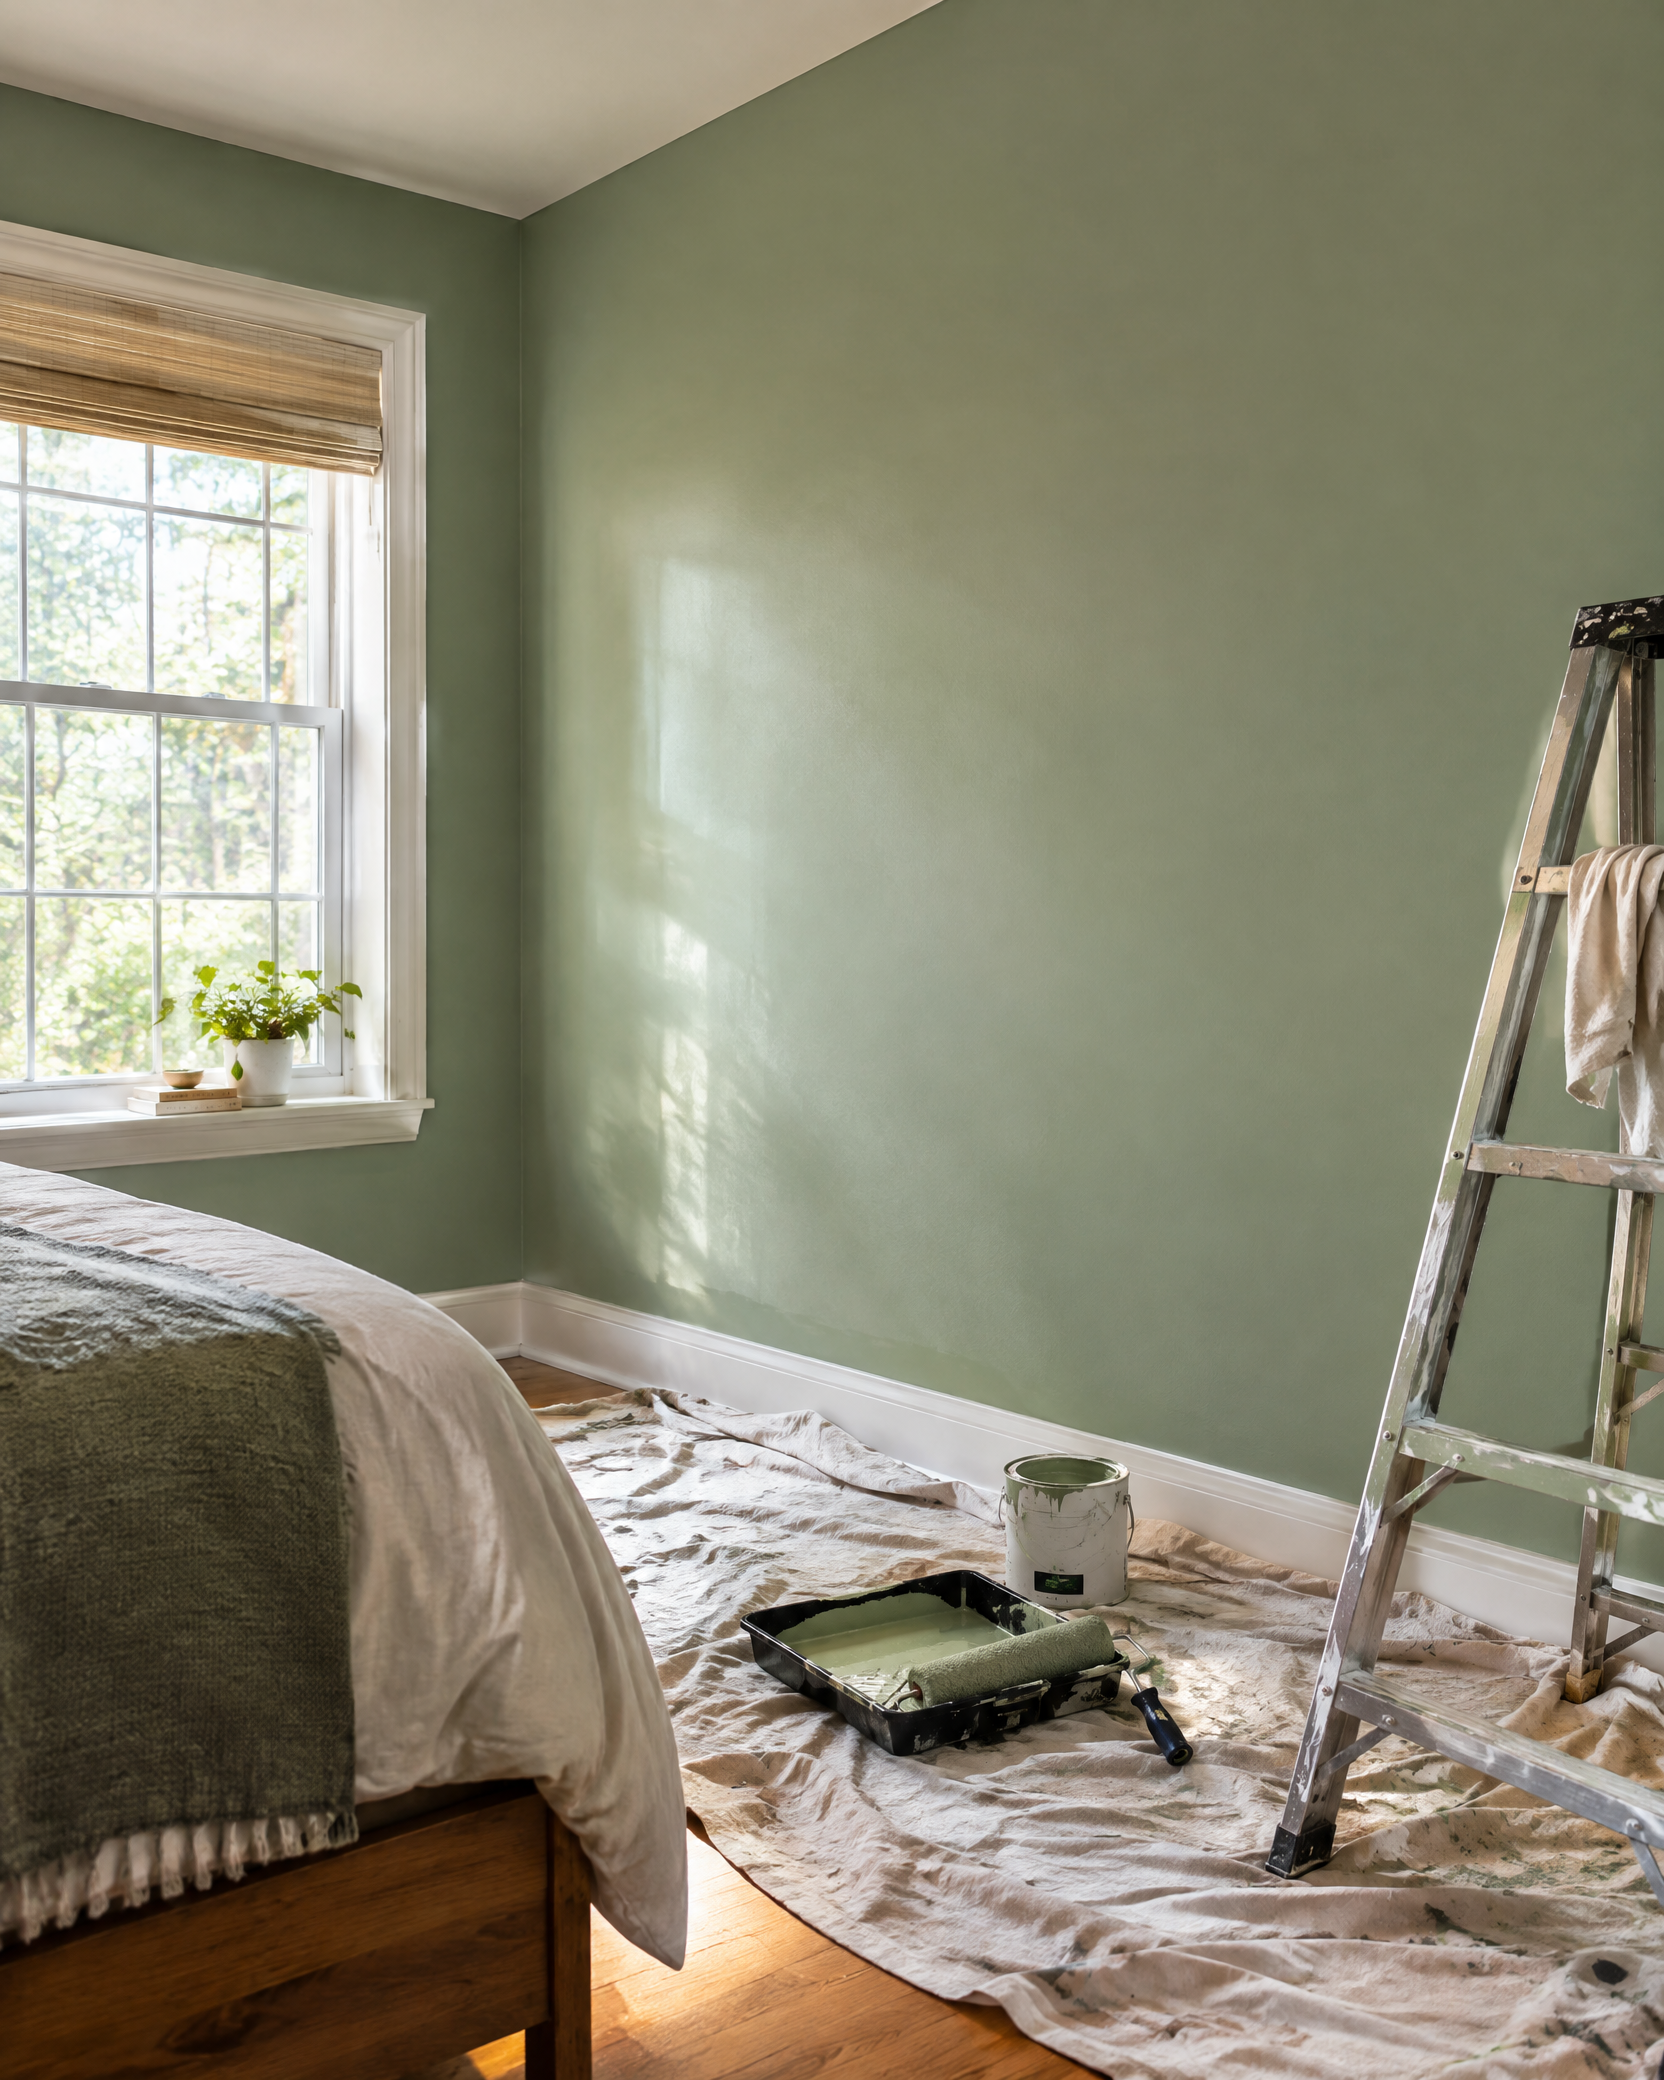
Refresh a Room with Paint
Seasonal note: Year-round DIY project

Refresh a Room with Paint

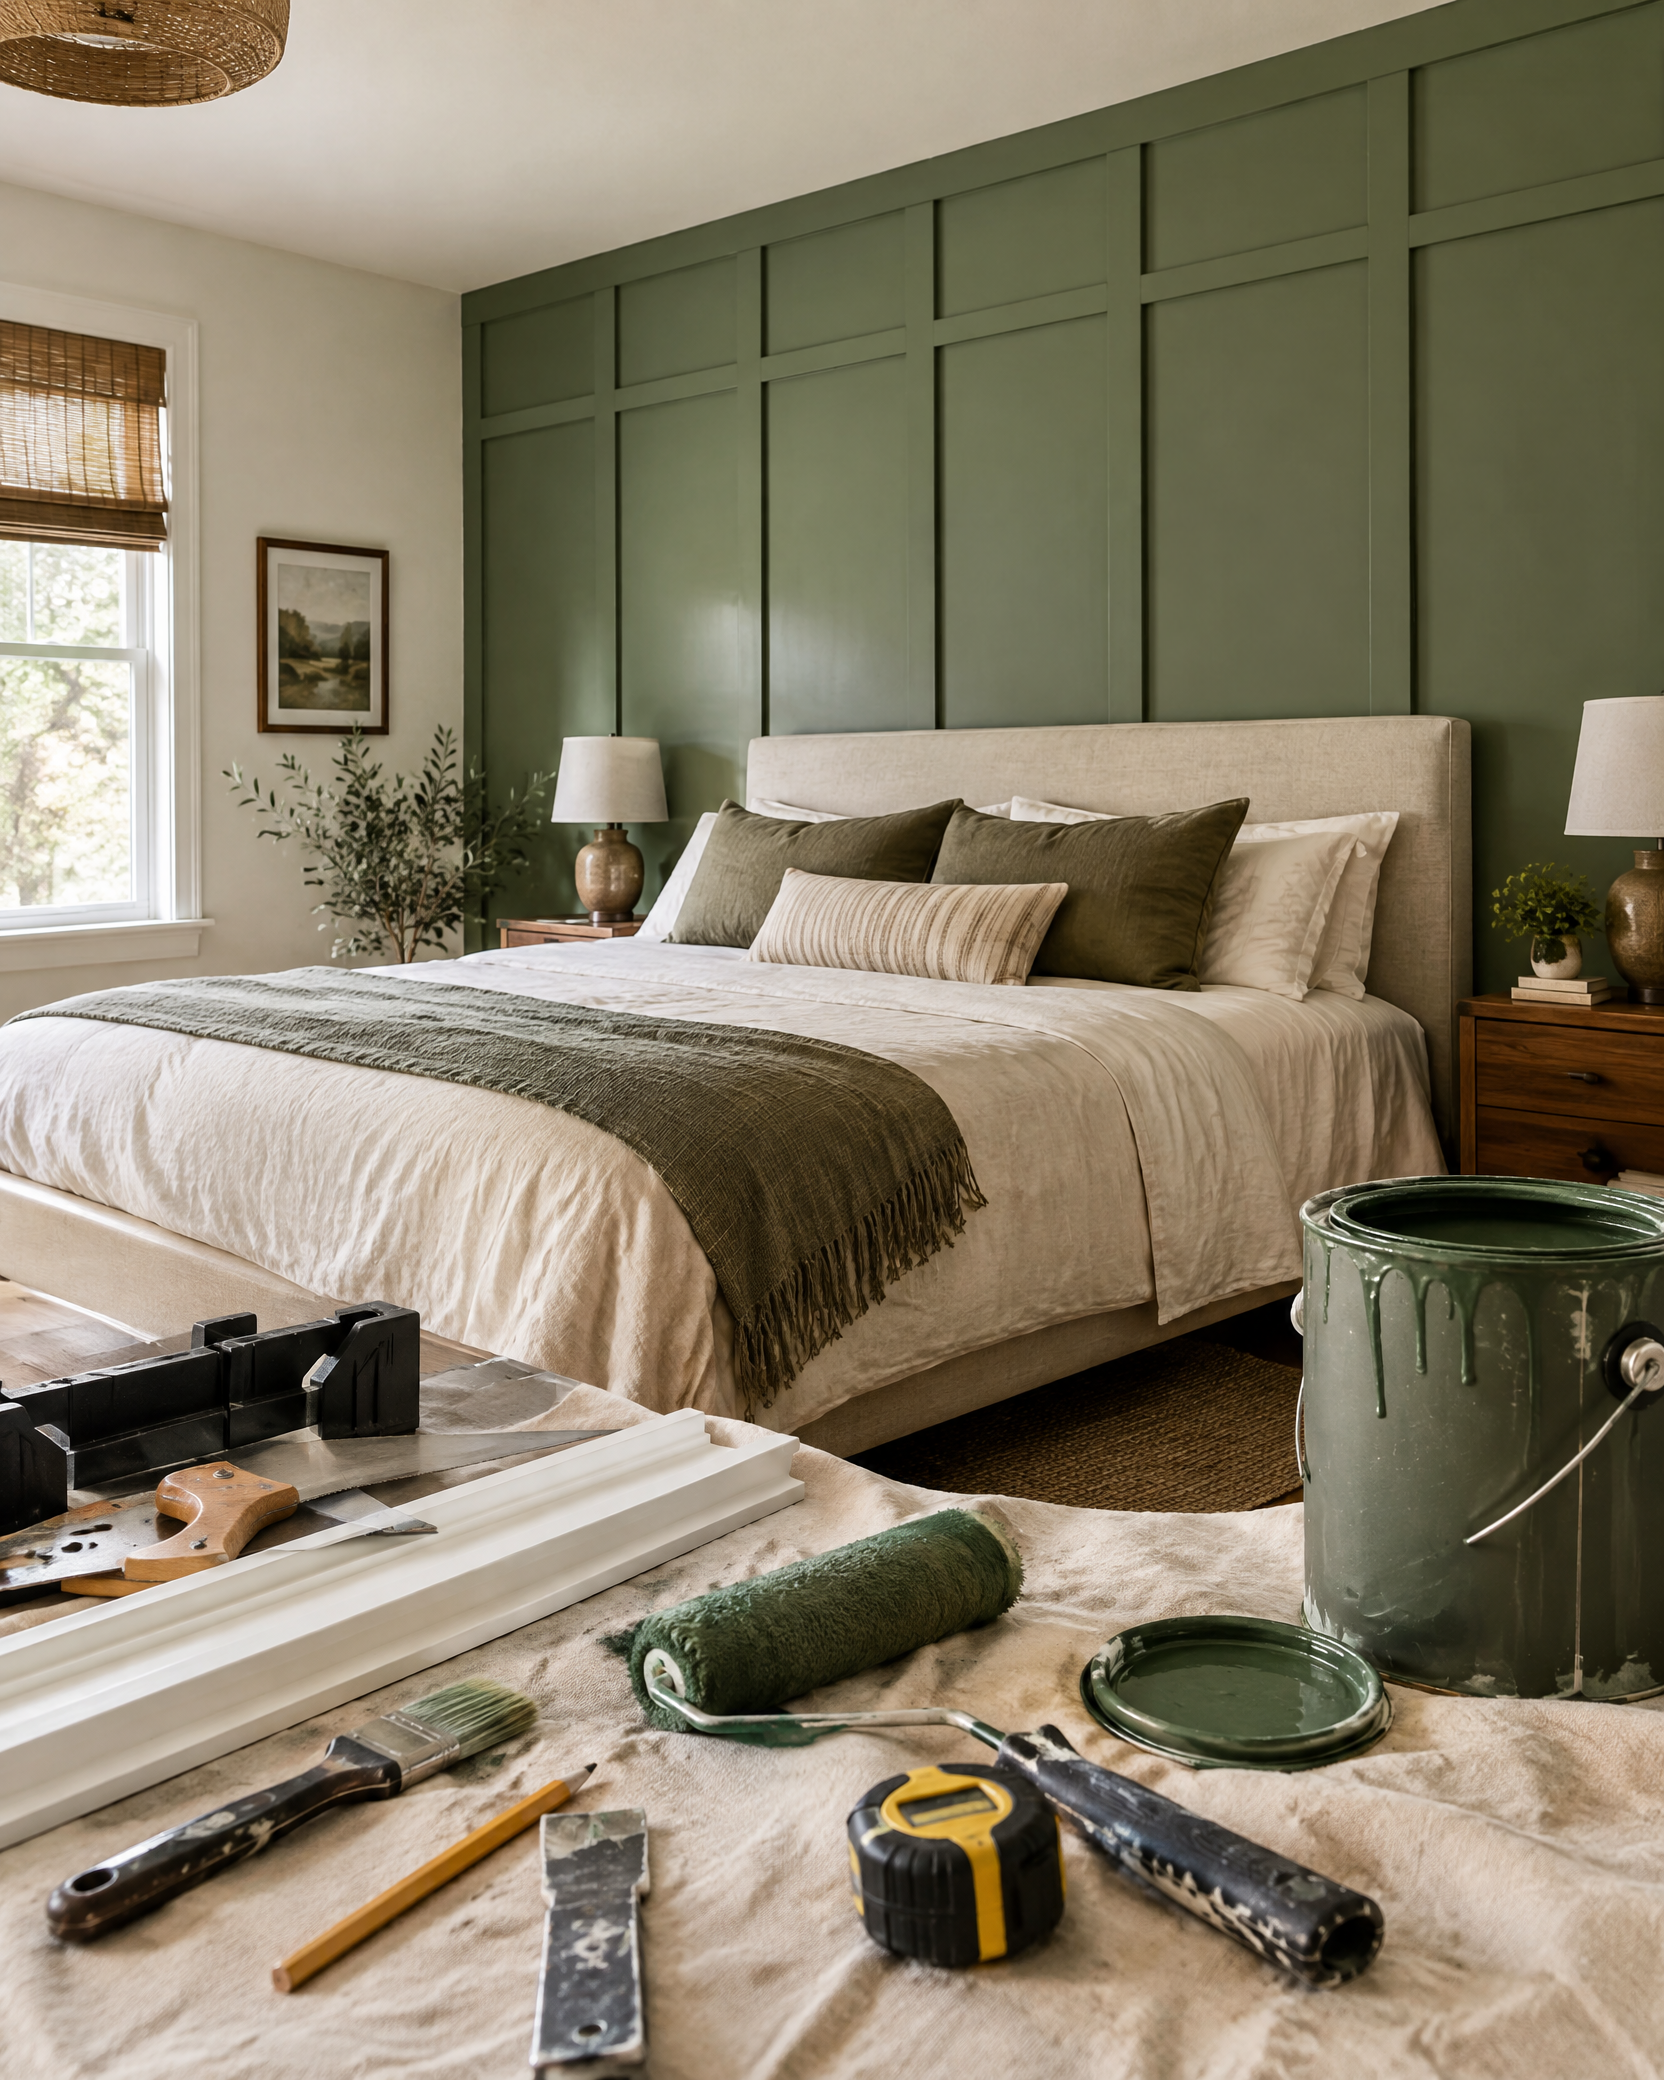
Refresh a Room with Paint is a bedroom project with a focused materials list, measured preparation steps, fit-and-finish checks, and practical safety notes.

By The DIY Haven Editorial Team · Last reviewed September 11, 2026 · Reviewed for clarity, safety, and source quality.

75–150Estimated cost
6Steps
10Shopping items
Shop starter supplies
Share this guide
Workshop plan

Step-by-step instructions

Save this page for the workshop
1

Step 1

Calculate wall area, confirm paint coverage on the label, and buy enough matching paint for two coats plus touch-ups.

2

Step 2

Move or cover furnishings, remove switch plates, and clean walls so dust and grease cannot interfere with adhesion.

3

Step 3

Fill only stable holes and dents, sand repairs smooth, remove dust, and spot-prime patches or stains.

4

Step 4

Cut in one manageable section with an angled brush, then roll that section while the edge remains wet to reduce lap marks.

5

Step 5

Apply the second coat only after the manufacturer’s recoat time, then remove tape before the finish becomes brittle.

6

Step 6

Reinstall plates after the coating has cured sufficiently and save labeled touch-up paint for future repairs.

Safety check

Ventilate the room, follow coating labels, use a stable ladder, and do not sand coatings that may contain lead without appropriate testing and controls. Stop if you uncover moisture, damaged wiring, or deteriorated wall material.
Helpful answers

Frequently Asked Questions

Plan for approximately 75–150, depending on material quality, local prices, and which tools you already own.
Community notes

Ratings & Reviews

—

Be the first to review

Share your workshop experience

Real notes from DIY Haven readers.

No reviews yet. Your workshop notes can help the next maker.

Was this guide helpful?

Your anonymous feedback helps us improve future project instructions.

Before finishing bathroom surfaces

Resolve a noisy exhaust fan before sealing or painting

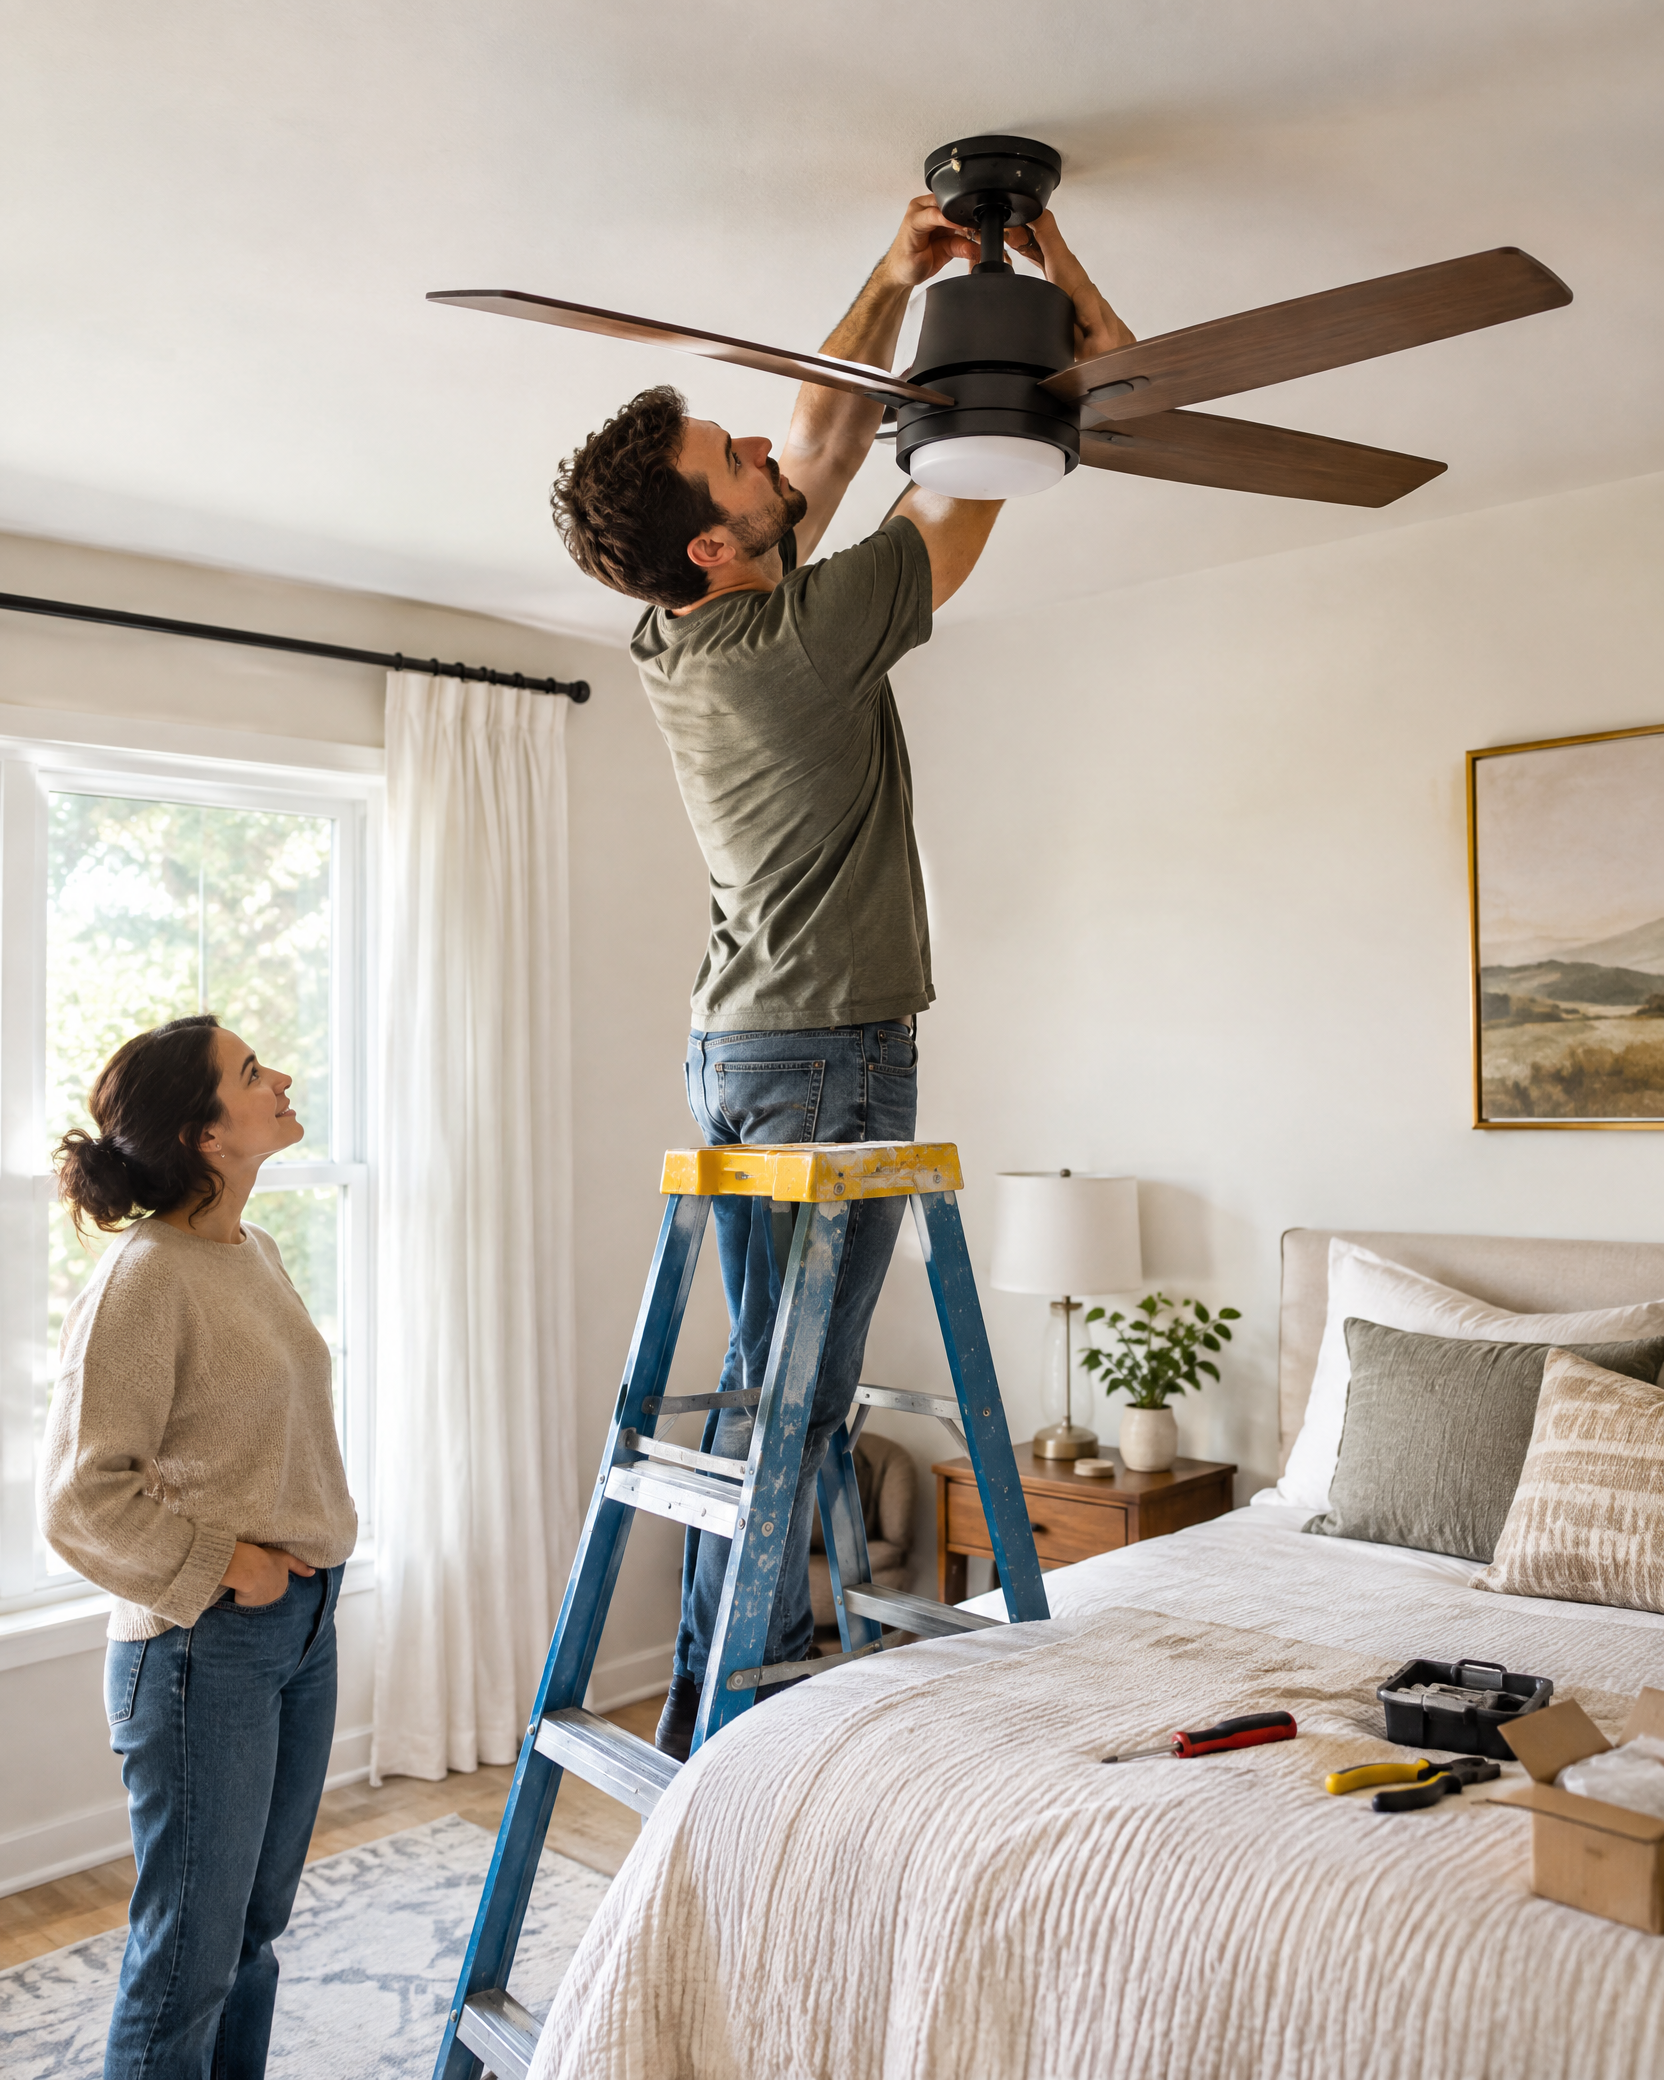
For ceiling or wall painting, allow the room to dry and address unusual fan noise before coating the surface. For shower or tub caulking, solve moisture and ventilation concerns before sealing a joint. Diagnose a rattling bathroom exhaust fan safely before deciding whether cleaning, a model-matched part, or qualified service is the right next step.

Keep building

More ideas selected for this room, skill level, and project style.

Ready to make it yours?

Pin this guide, save it for later, and take the checklist into your workshop.