Step-by-step instructions
Step 1
Identify the cabinet material and existing finish, then verify the selected primer and coating system is compatible; ‘no sanding’ does not mean no preparation.
Step 2
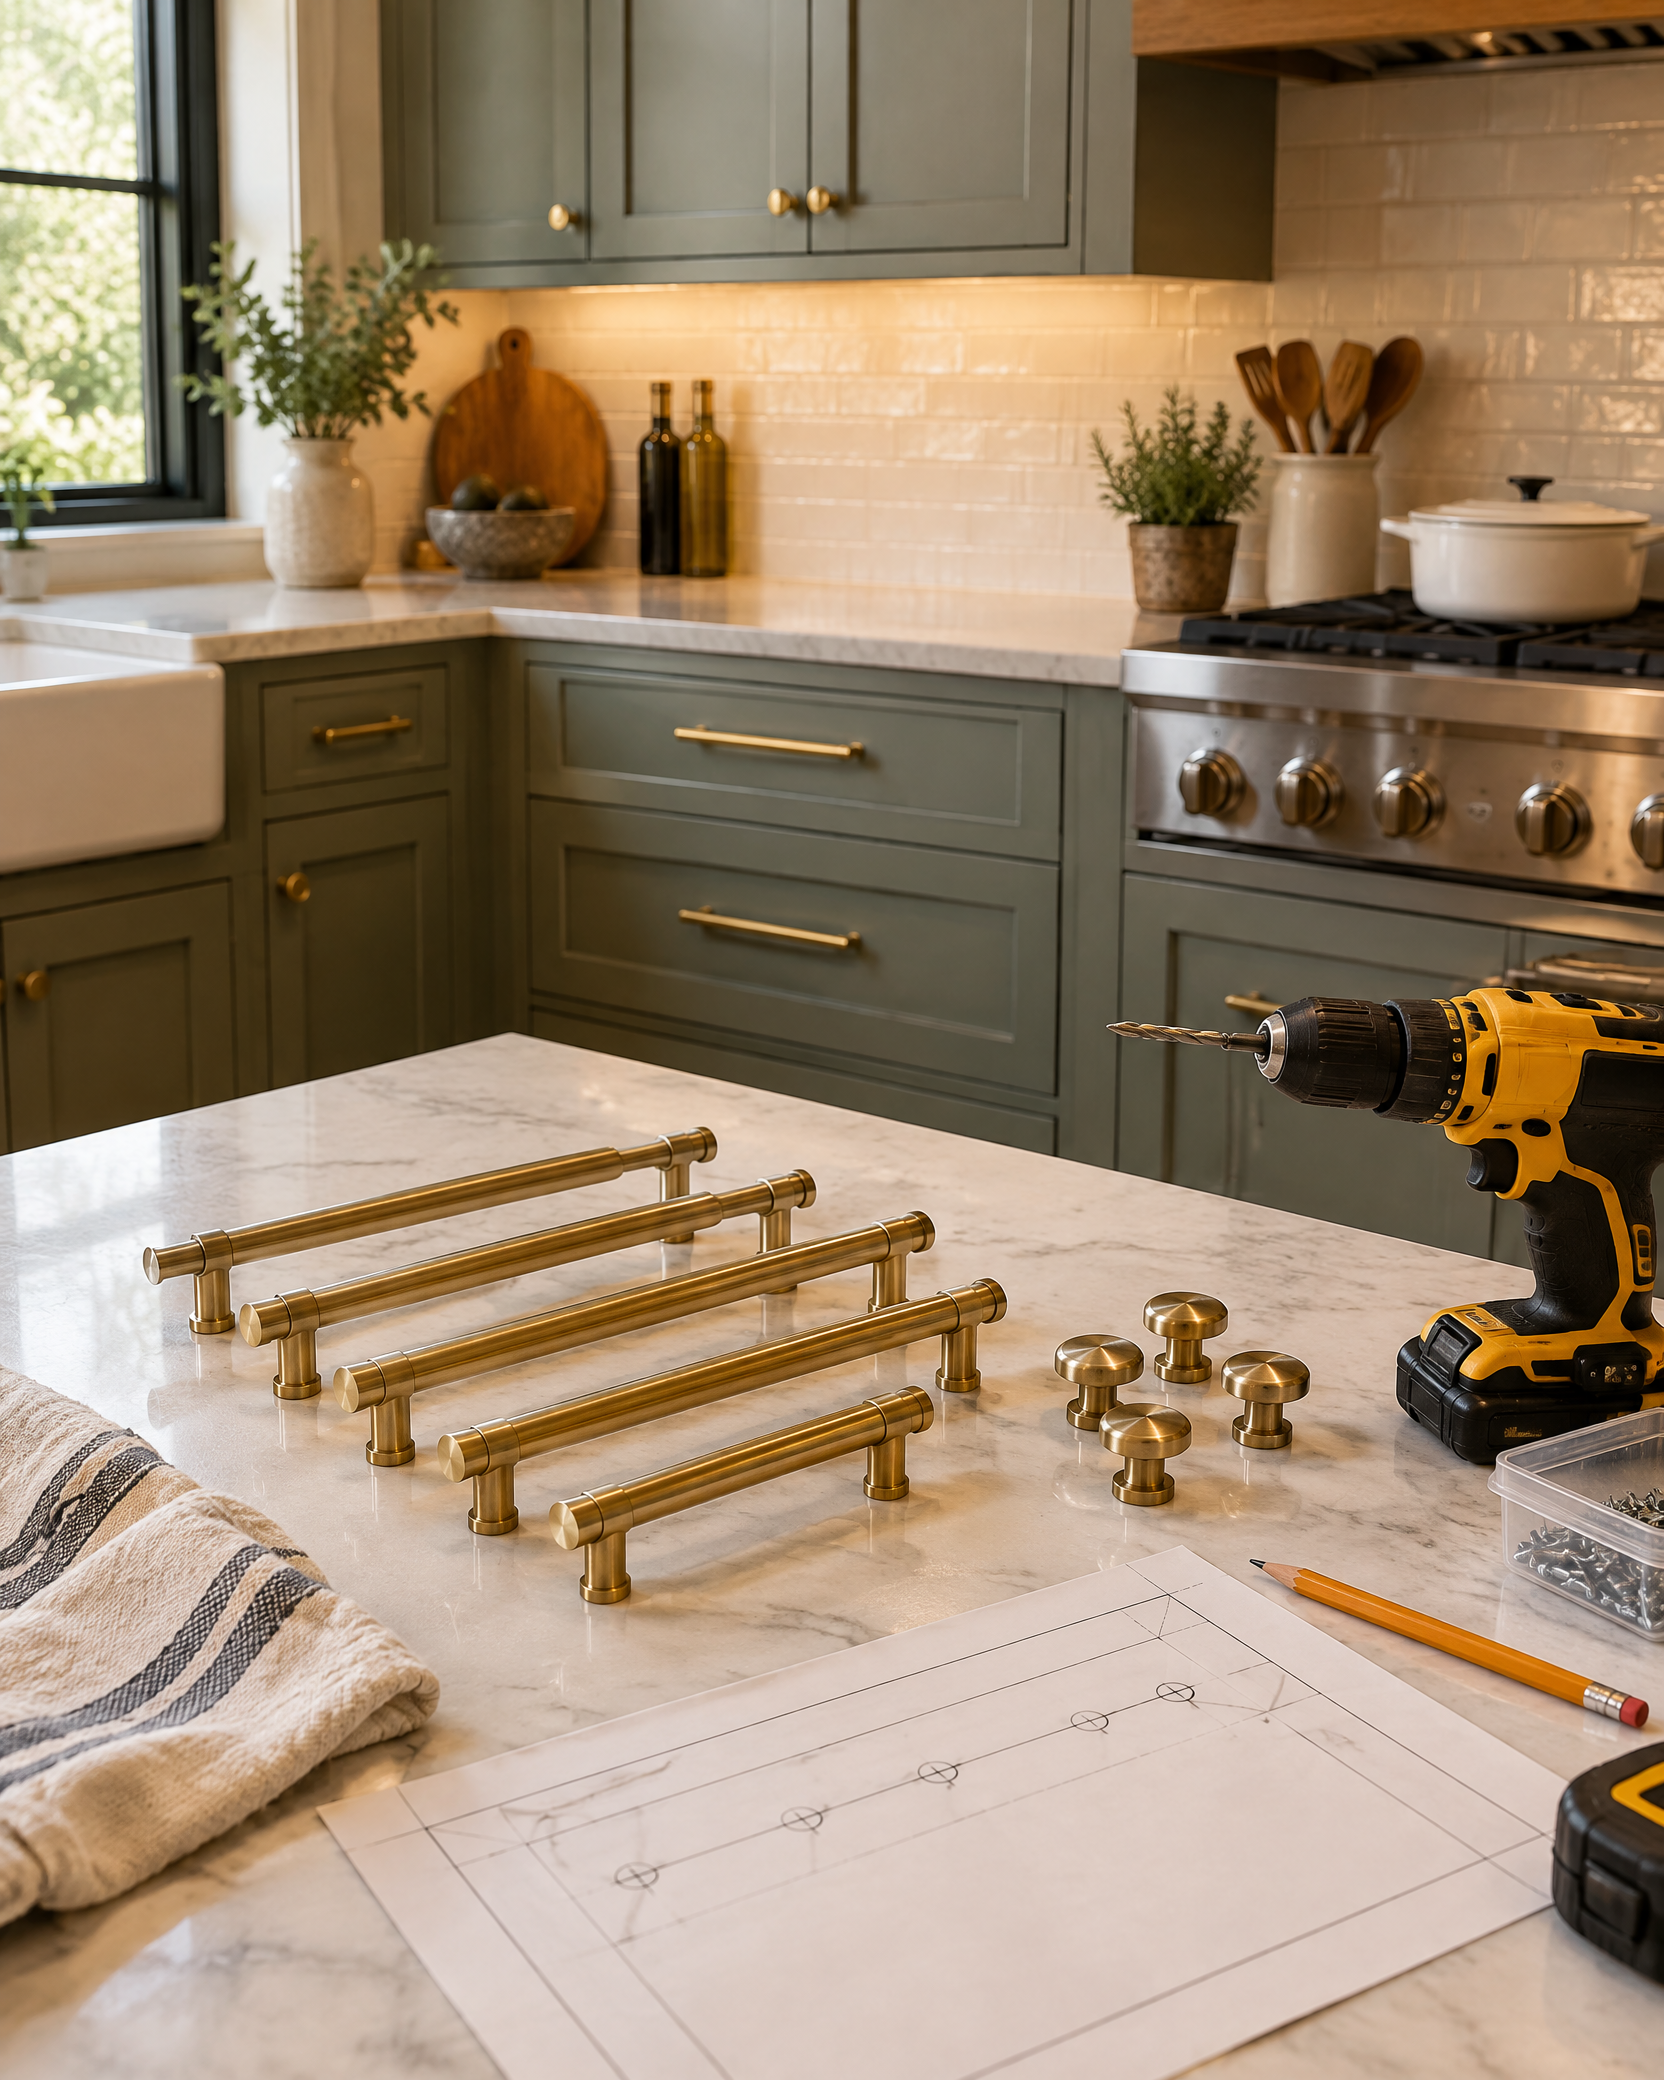
Label every door, drawer, hinge, and hardware location before removal, then protect counters, appliances, floors, and ventilation openings.
Step 3
Degrease thoroughly, rinse or neutralize as directed, repair stable defects, and scuff or degloss exactly as the coating system requires.
Step 4
Prime the backs first, maintain clean edges, and allow the specified dry and recoat time before turning pieces.
Step 5
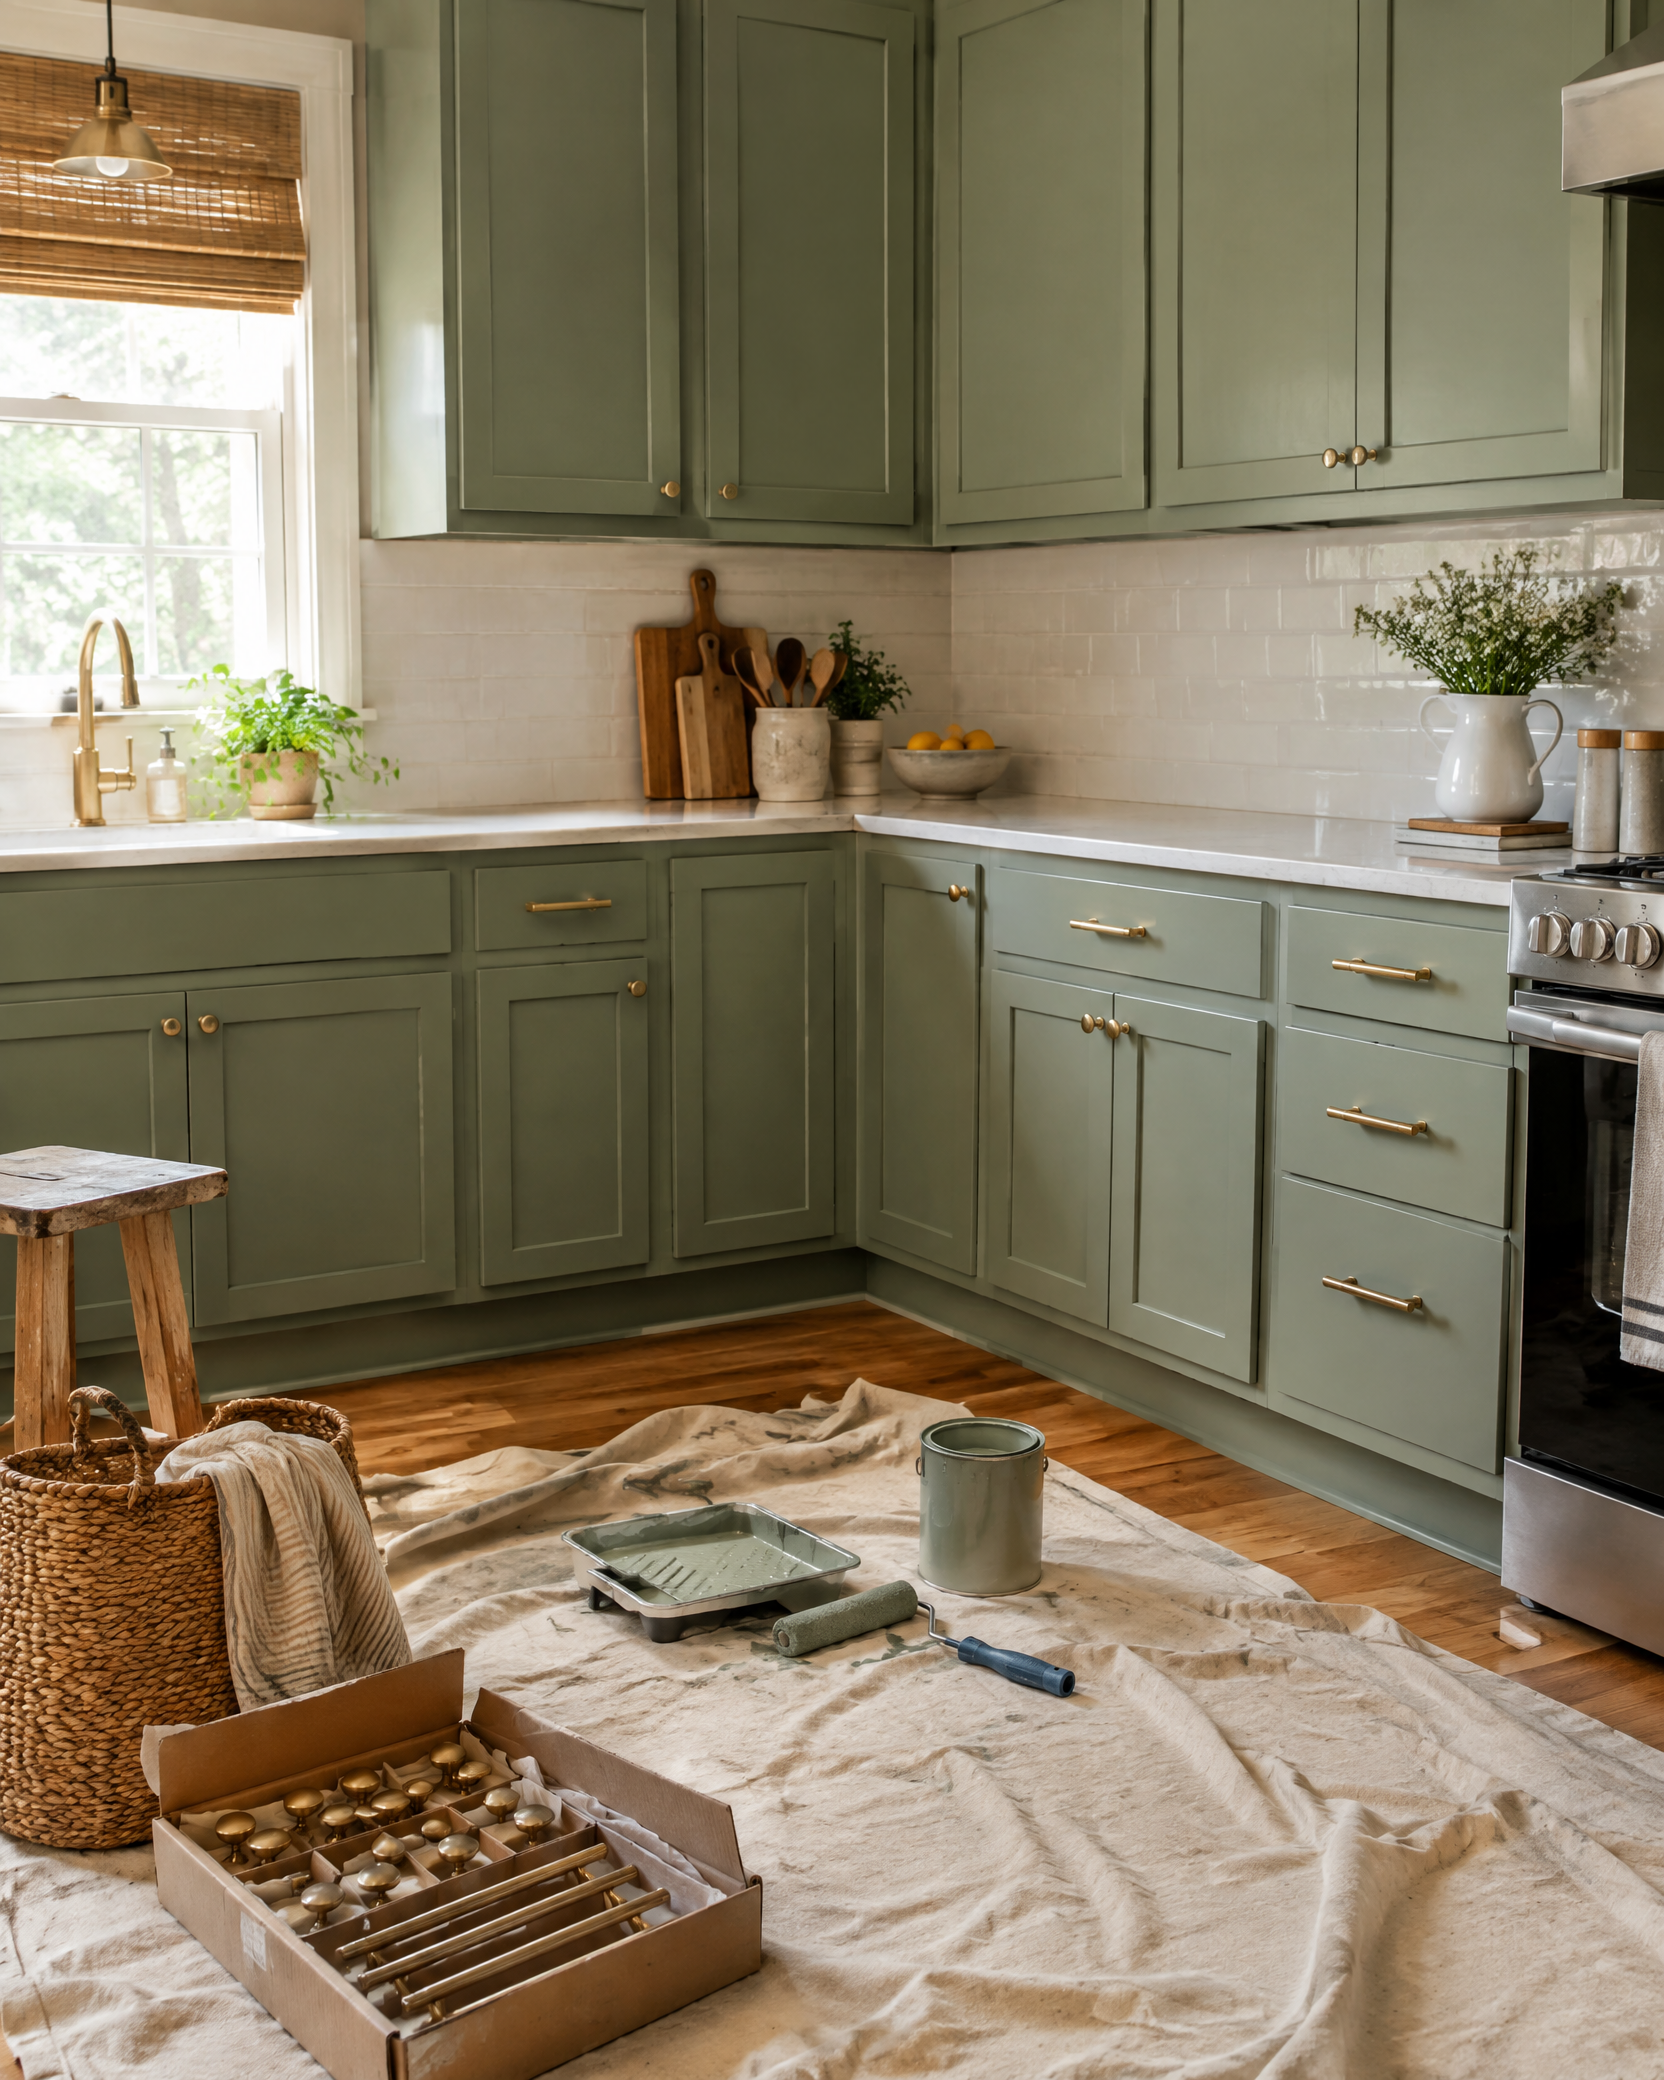
Apply thin finish coats with the recommended applicator, watching profiles and corners for sags and pooled paint.
Step 6
Allow the stated cure time—not just dry-to-touch time—before reinstalling hardware and putting doors back into normal service.
Ventilate the work area and follow coating, cleaner, and respirator-label requirements. Test older coatings for lead before sanding, and stop if cabinets contain moisture damage, unstable surfaces, or wiring/plumbing that must be altered.