Step-by-step instructions
Step 1
Inventory doors and drawers, measure existing hole spacing and thickness, and verify new screws will not bottom out or protrude.
Step 2
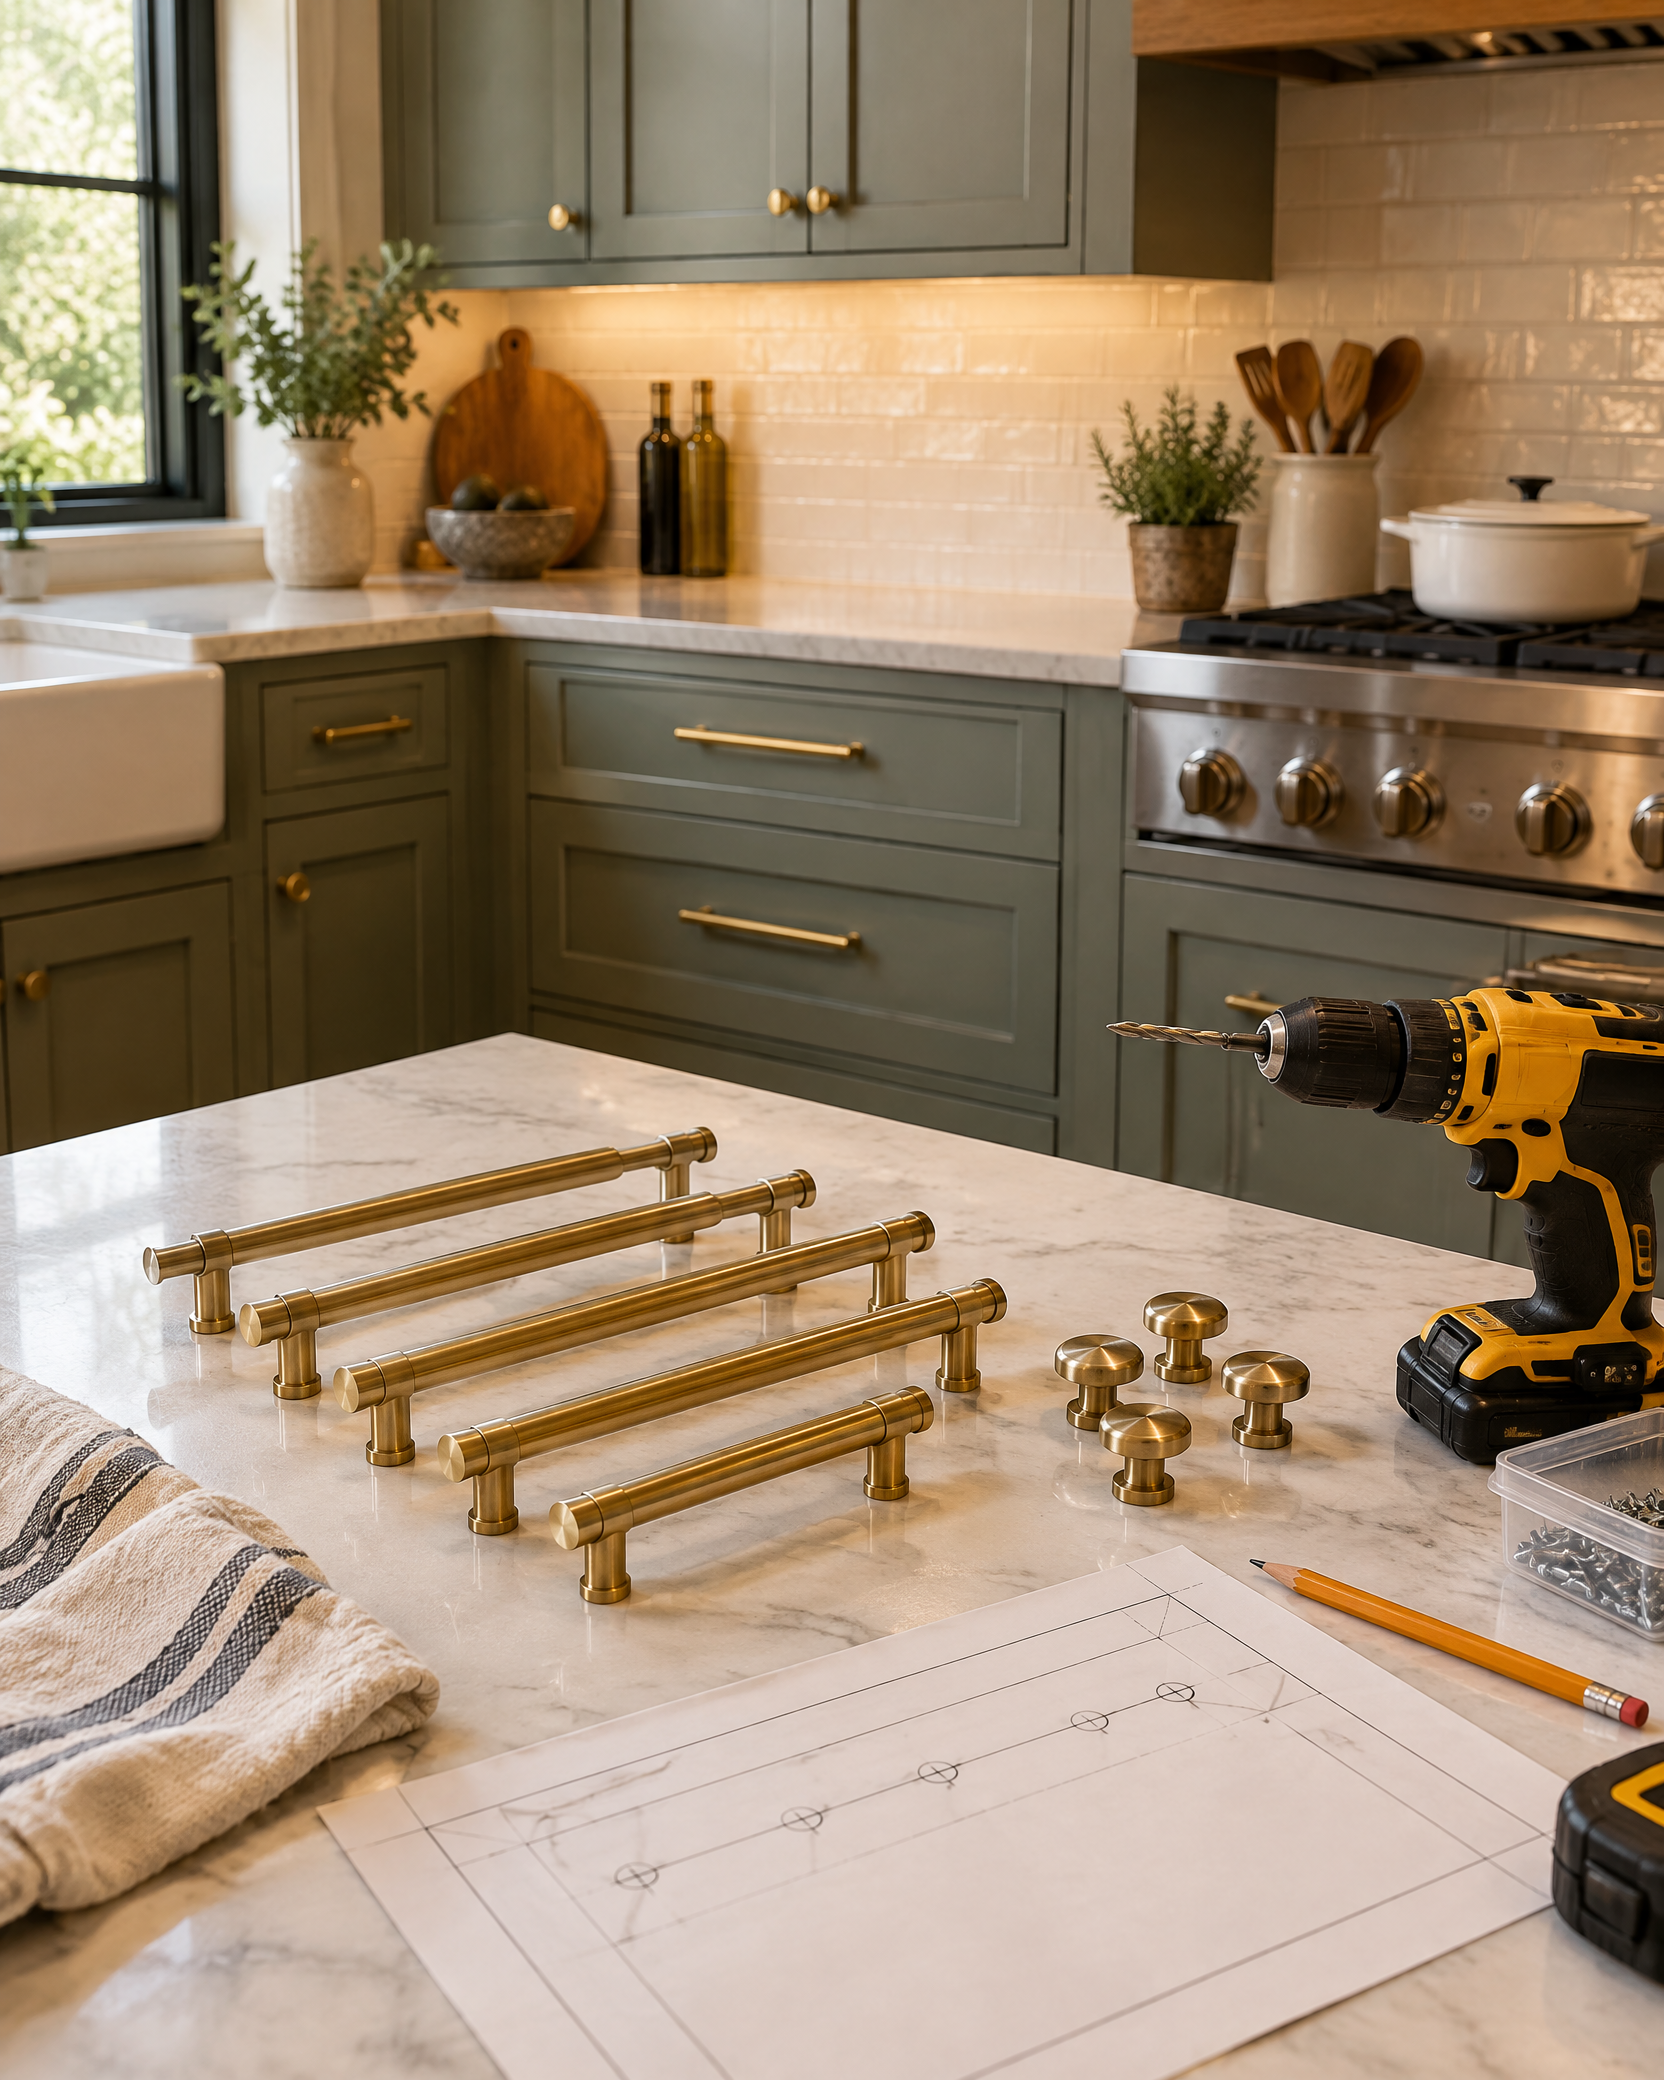
Choose a repeatable hardware position and test it with a temporary paper template on one representative door and drawer.
Step 3
Clamp a quality jig and scrap backer block in place, verify orientation twice, and drill the first test location at controlled speed.
Step 4
Install one handle by hand, check grip clearance and alignment from normal sightlines, then use that confirmed setup for the remaining fronts.
Step 5
For changed hole patterns, plug and finish old holes with a repair suited to the door material instead of hiding unstable damage.
Step 6
Tighten hardware by hand until secure without crushing the door face, then recheck alignment and screw length across the set.
Support doors and drawers while drilling, use eye protection, and keep hands behind the bit. Verify panel thickness and avoid hidden glass, wiring, or specialty hardware; repair loose hinges before adding new pulls.