Step-by-step instructions
Step 1
Check the window size, frame depth, operating path, and whether the opening needs daylight, privacy, or both. Test a small static-cling sample at day and night before building a panel.
Step 2
Choose a thin acrylic sheet that fits inside the opening with a small clearance. Do not make a panel so tight that it bows the frame or prevents emergency egress.
Step 3
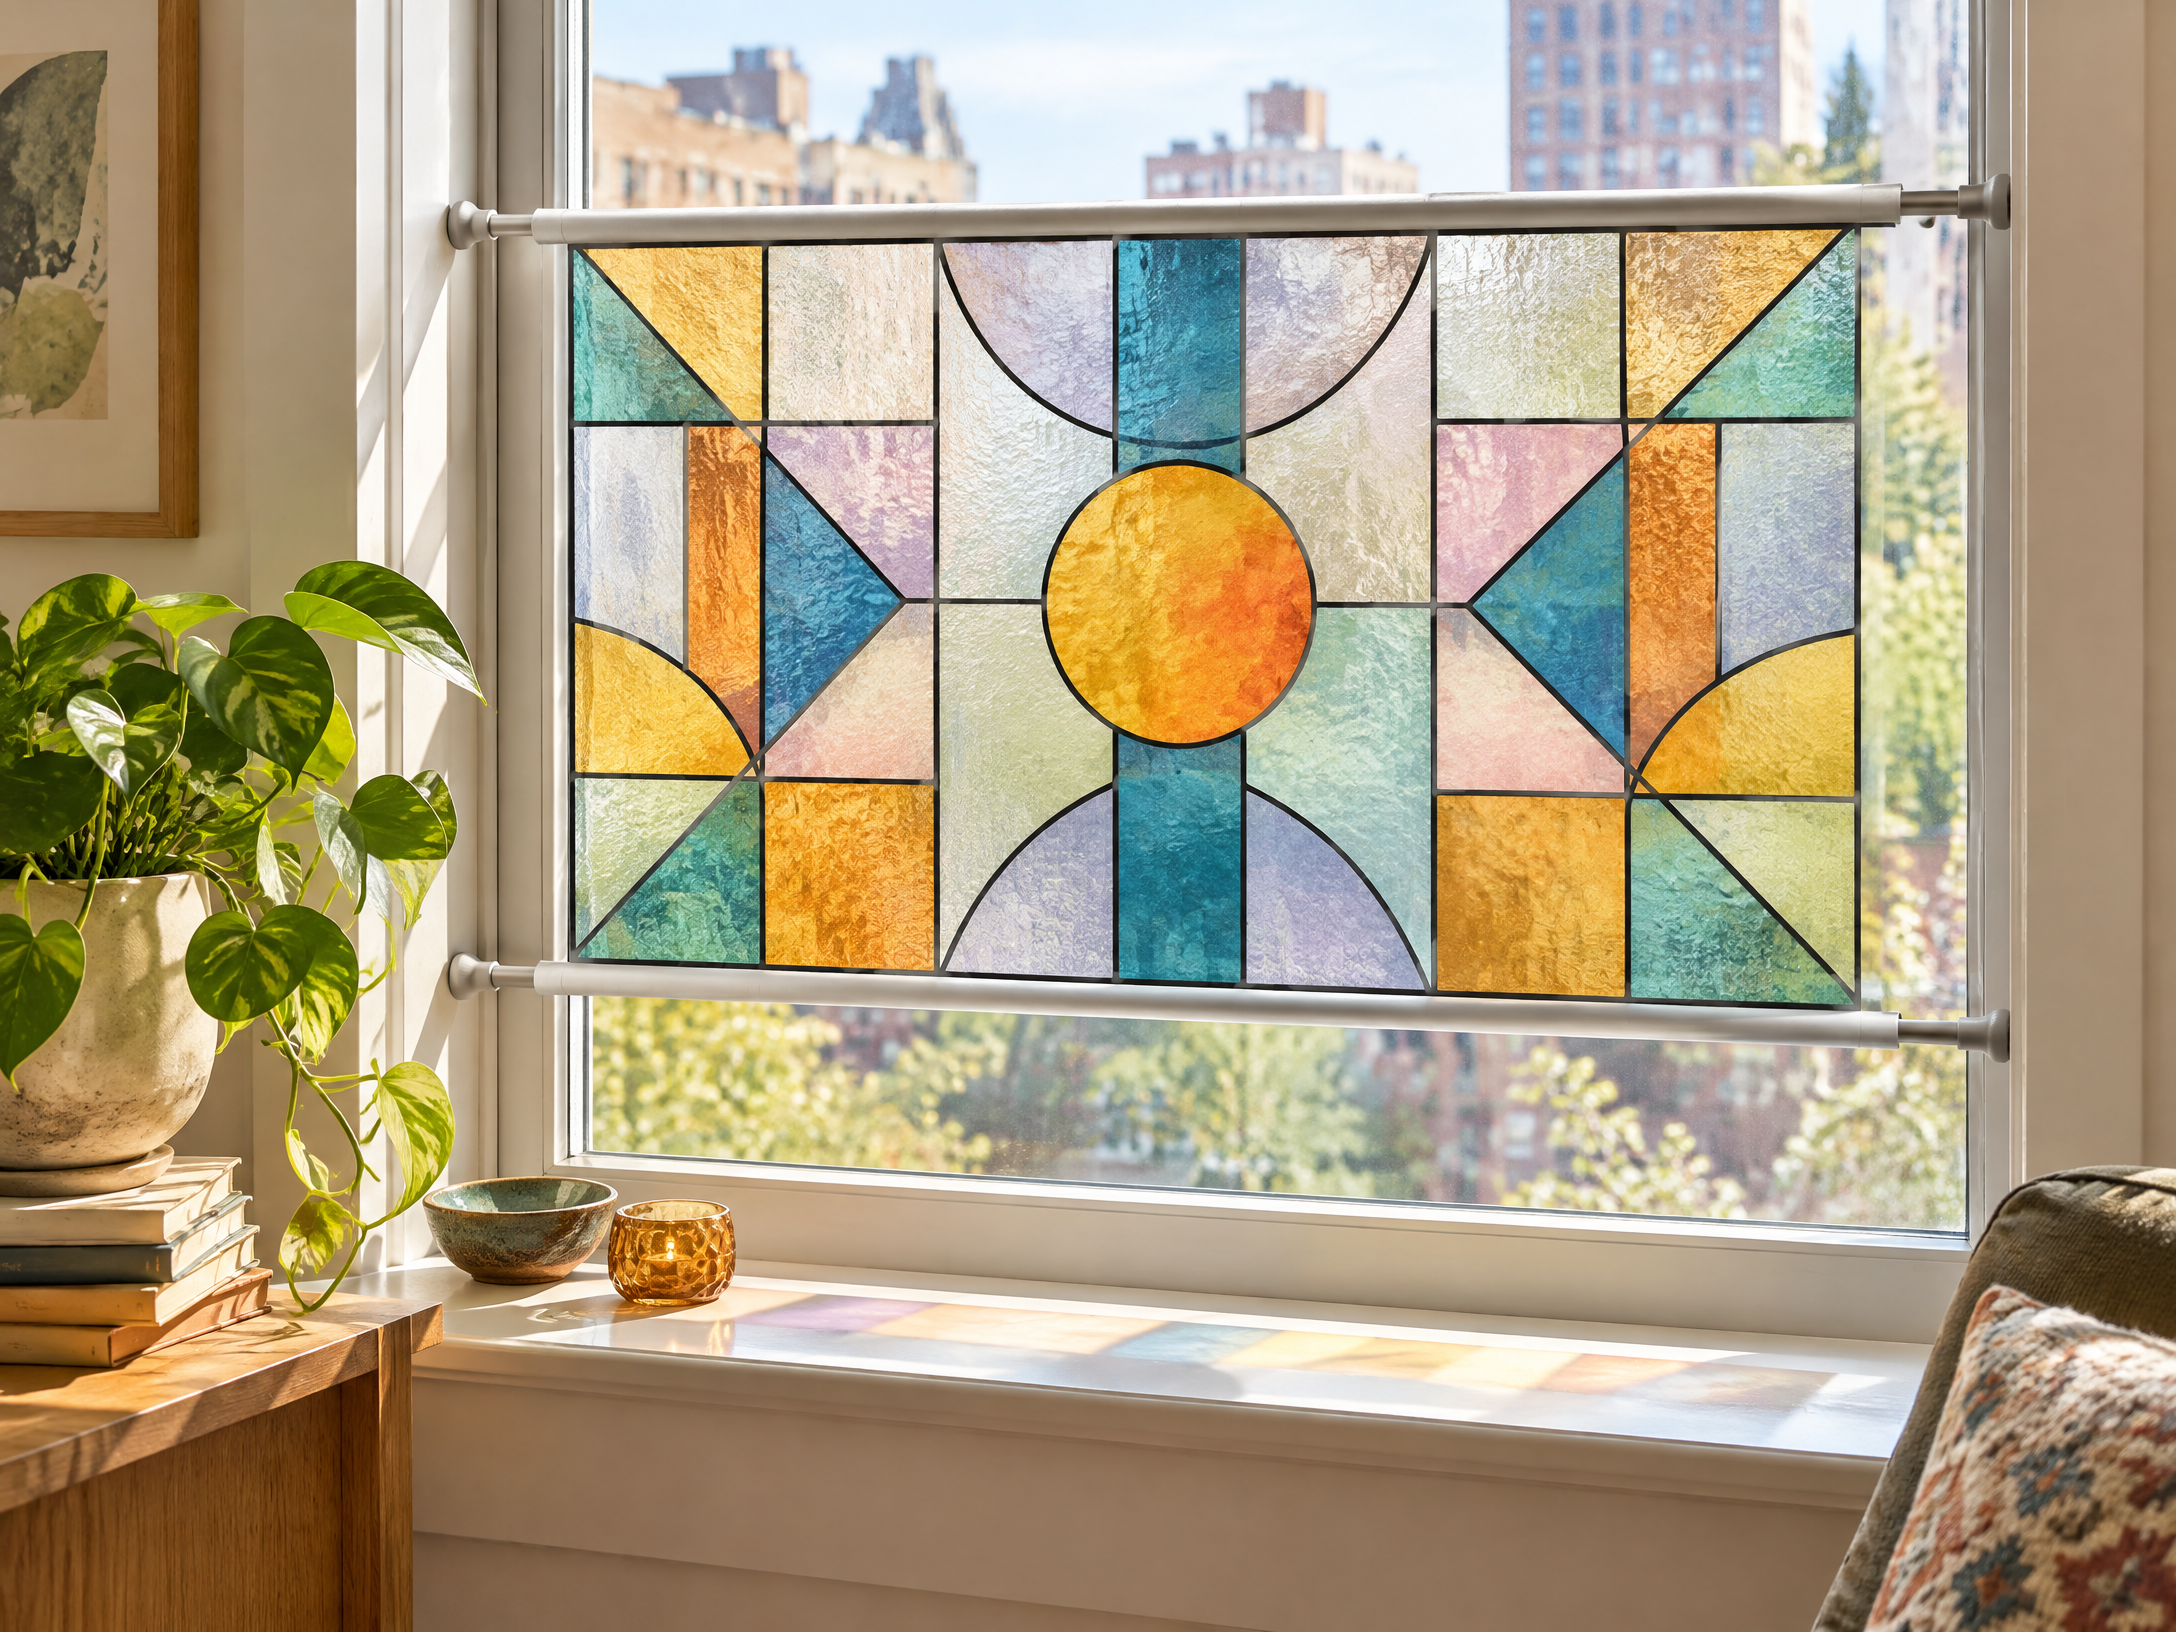
Clean the acrylic, apply the static-cling film with a spray solution, and work bubbles toward the edge with a soft squeegee. Trim the film after it is flat.
Step 4
Add decorative lead-effect tape only after the film is cured and the layout is checked. Keep the design simple enough to repeat on a second panel if needed.
Step 5
Apply felt or clear bumpers to the panel edges and add a discreet pull tab. Use a removable tension strip or compression fit that does not rely on wall adhesive.
Step 6
Install the panel gently, confirm it cannot fall into the room, and verify that the window can still be opened if it is an egress window.
Step 7
Retest privacy after sunset with indoor lights on. Remove the insert if it creates heat, blocks ventilation, or interferes with emergency exit requirements.
Do not block an egress window or an emergency-release mechanism. Wear eye protection when trimming acrylic, support the sheet so it cannot crack, and use only removable attachment methods that will not damage the rental frame.