Before you begin

This project may involve electrical, gas, plumbing, or structural conditions. Shut off and verify the relevant power, water, or gas supply before starting. If the system, support, code requirement, or safe procedure is unclear, stop and consult an appropriately licensed professional.

Back to DIY projects
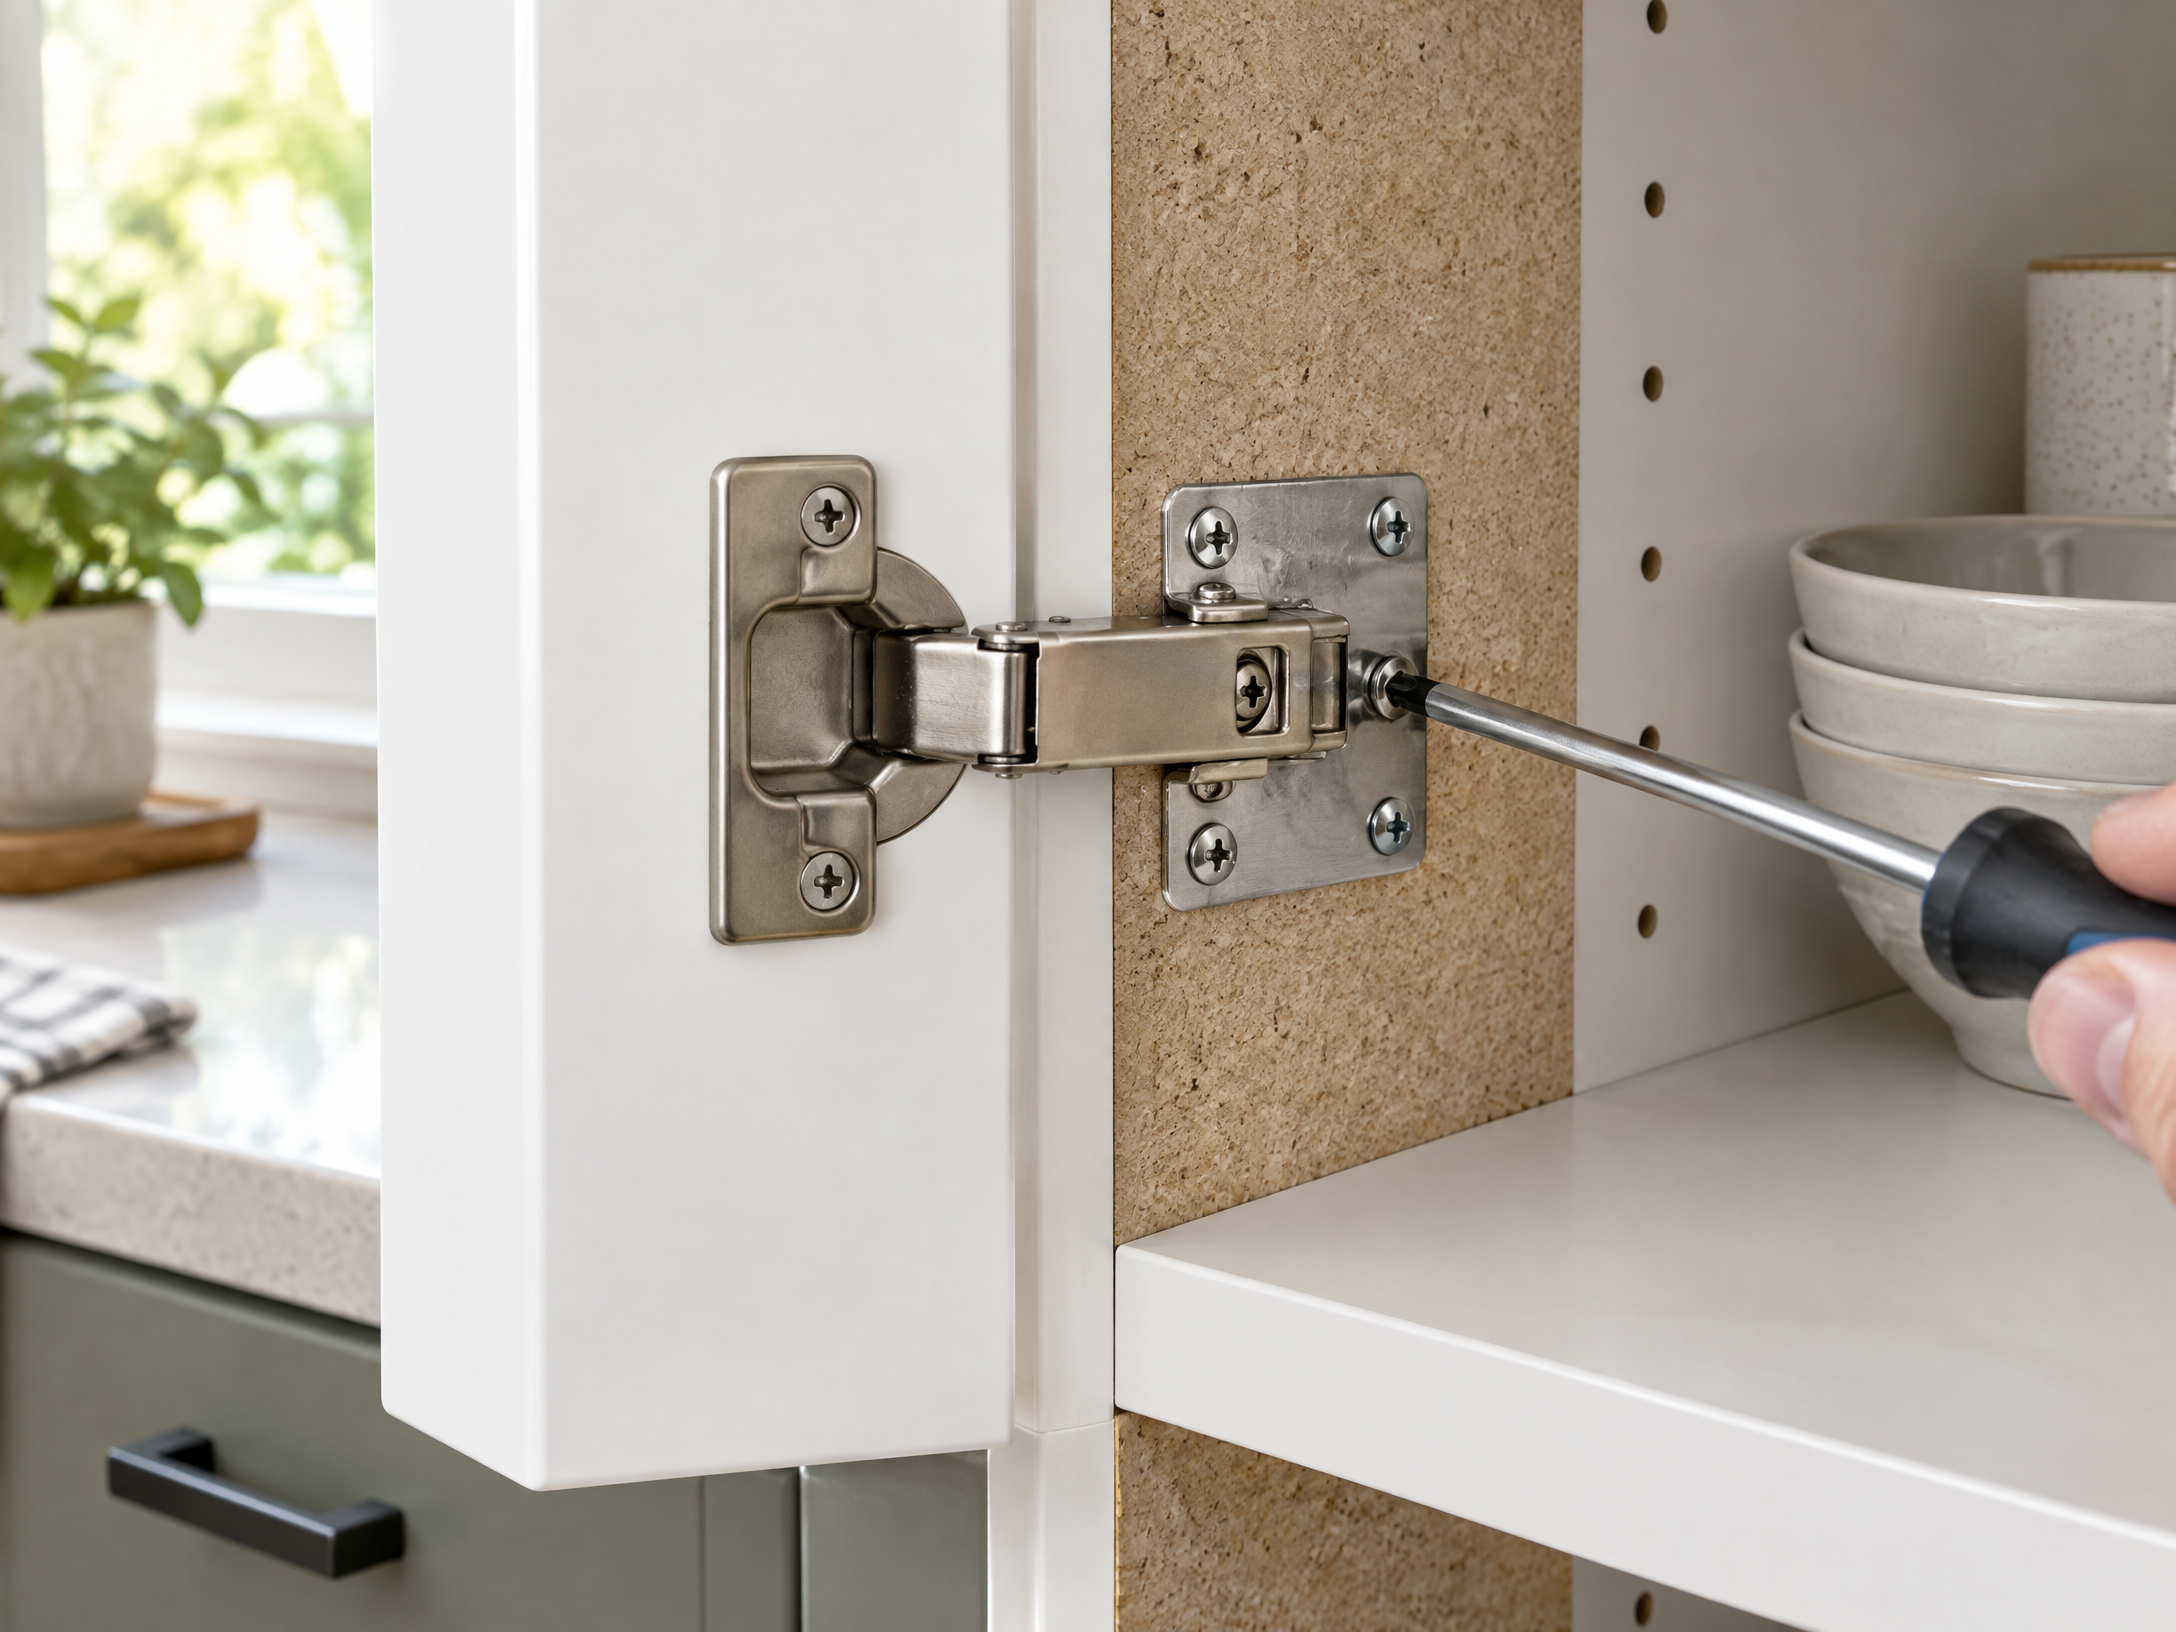
Concealed cabinet hinge repair on a particleboard cabinet side
Kitchen repair guide
Repair the mounting surface, then restore the door reveal.

How to Fix Stripped Cabinet Hinge Screw Holes in Particleboard

Short answer: if a concealed-hinge screw has stripped the cabinet-side particleboard, first support the door and identify whether the problem is the screw, the board, or the hinge. A compatible screw-on repair plate is often the more predictable option for damaged particleboard; use a plug repair only where solid, sound material remains.

By The DIY Haven Editorial Team · Last reviewed September 13, 2026 · Reviewed for clarity, safety, and source quality.

$8–$25Repair materials
30–45 minActive work
Product-specificCure time
Start with the correct problem

What actually failed?

A door that drops, rubs, or drifts out of alignment does not automatically need a board repair. With the door supported, inspect the mounting plate, the screws, the hinge arm and cup, and the cabinet side before you buy parts or drill anything.

Loose screw only

The screw turns but the surrounding material looks intact. Confirm the original hardware and the correct mounting location before retightening.

Stripped board

The screw hole is enlarged, fuzzy, or no longer holds. A compatible repair plate may spread the load beyond the failed area.

Hinge hardware damage

Bent hinge arms, cracked cups, missing fasteners, or failed soft-close mechanisms call for compatible replacement hardware—not a board filler.

Stop and reassess

Swelling, dark staining, a split cabinet side, loose clips, or crumbling board can indicate moisture or structural damage beyond a simple repair.

Illustration of stripped hinge mounting holes in a cabinet sideA concealed hinge mounting plate sits beside three examples of a loose screw, a damaged particleboard hole, and a swollen or crumbling cabinet side.HINGE / PLATELoose screwThreads may still be sound.Stripped boardHole is enlarged or fibers are loose.Swollen or crumbling boardStop: inspect for moisture damage.
Illustration: identify the failed part before choosing a repair. This general layout is not a substitute for your hinge or repair-plate instructions.
A careful first check

Support the door before you remove hardware

  1. 1.Open the door just enough to see the hinge, then support its weight with a helper, stack, or padded support. Do not let a loose hinge carry the door.
  2. 2.Photograph the hinge, mounting plate, and door reveal. This gives you a reference before anything moves.
  3. 3.Check whether the moving part is the hinge arm, the cabinet-side mounting plate, the screws, or the board around the screws.
  4. 4.Read the hinge brand and any part number. Compatibility depends on the hinge and cabinet construction, not a generic appearance.
Repair decision

Repair plate or plug?

Choose the method from the condition of the substrate and the exact hardware—not the quickest-looking workaround. Richelieu specifies that its screw-on repair plate is for 35 mm European-style hinge cups; it is not a universal solution for every hinge or cabinet style. Check the manufacturer’s compatibility and instructions before ordering.

Comparison of cabinet hinge repair plate and plug repair methods
MethodBest fitWhat it needsLimitations and avoidable mistakes
Compatible repair platePreferred for damaged particleboard when the plate matches the hinge.Enlarged or crumbling screw holes where surrounding cabinet material remains sound enough for the plate’s fasteners.A plate made for your hinge style, its supplied instructions and fasteners, and room around the plate for the cabinet construction.Do not assume the plate fits all hinges. Do not add adhesive unless the specific product instructions call for it. Do not fasten into swollen or split board.
Plug repair in sound materialA controlled option for solid, stable wood—not a cure for disintegrating particleboard.A cleanly defined damaged hole where a solid wood substrate is sound enough to accept a controlled plug and new pilot hole.A properly sized hardwood plug, an adhesive approved for the exact substrate, and a method that keeps the new pilot hole correctly positioned.Do not use a plug to disguise water-swollen or crushed particleboard. Toothpicks are a temporary light-duty shortcut, not a predictable repeated-load repair.
Illustration of a repair plate spanning damaged particleboardA steel repair plate fits over the damaged hinge zone and sends mounting screws into sound material around the original damaged holes.FASTEN TOSOUND MATERIALCheck35 mm cupplate patterncabinet type
Illustration: a compatible screw-on plate spreads fastening across a wider area. Confirm the cup size, hole pattern, cabinet construction, and supplied instructions before drilling.
Compatibility checkpoint

Confirm before drilling or fastening

  • • Check the hinge cup diameter, mounting-plate style, and whether the cabinet is face-frame or frameless.
  • • Make sure the cabinet side has enough intact material and clearance for the repair hardware.
  • • Use the hardware maker’s instructions for the screw pattern, fastener selection, spacing, and adjustment sequence.
  • • If the cabinet side is moisture-damaged, split through, or no longer rigid, a cabinet professional may need to evaluate replacement rather than repair.
Workshop plan

Step-by-step cabinet-side repair

These steps match the visible repair sequence and focus on the controlled decisions that weak guides often skip. The active work is typically 30–45 min; any adhesive or finish cure time is product-specific and should come from that product’s label.

  1. 1

    Support the cabinet door before loosening hardware. If the hinge maker specifies a removal method, remove the door only with its weight supported; otherwise keep it stabilized. Photograph the hinge, mounting plate, and door gaps, then determine whether the screw, cabinet-side board, hinge arm, or hinge cup has actually moved.

  2. 2

    Inspect the particleboard around each cabinet-side screw. Stop for swelling, staining, splitting, or crumbly material; those conditions can indicate damage that a simple fastener repair should not hide.

  3. 3

    Read the hinge and plate markings, then identify the cabinet construction. Check the actual cabinet-side thickness at an exposed edge and confirm the repair hardware matches the hinge cup size, mounting pattern, cabinet style, and available material before drilling or fastening.

  4. 4

    For a compatible screw-on repair plate, remove loose debris, position the plate over intact surrounding material, and mark only the fastener locations specified by the plate manufacturer. Do not assume adhesive is part of a plate repair.

  5. 5

    For a plug repair, proceed only where solid, sound material remains. Fit a properly sized hardwood plug with an adhesive approved for the exact substrate, then follow the adhesive label before making a controlled pilot hole.

  6. 6

    Reinstall the hinge with hardware that matches the hinge and repair method. Tighten until secure without forcing fasteners; over-tightening can damage particleboard again.

  7. 7

    Use the specific hinge maker’s adjustment instructions in small turns, then open and close the door at least five times. Stop if the plate shifts, the cabinet side flexes, or the door continues to pull on compromised material.
Illustration of the cabinet hinge repair sequenceA four-stage sequence shows supporting the door, inspecting the damage, completing the selected repair, then adjusting and testing the door.1Support door2Inspect damage3Repair or replace4Adjust & test
Illustration: the repair is complete only when the door can cycle repeatedly without shifting or stressing the cabinet side.
Finish the repair

Reinstall, adjust, and test the door

Install the hinge and mounting plate according to the exact hardware instructions. Concealed hinges are not all adjusted the same way, even when their general shape looks familiar. Blum directs users to match the hinge kit code to the correct instruction sheet, while Hettich describes its clip-on systems as having 3-dimensional adjustment. Use the instructions for your actual hinge before changing any adjustment screw.

A controlled final check

  • • Adjust one screw type at a time, in small turns, while watching the door reveal.
  • • Open and close the door at least five times; check for rubbing, binding, a drifting gap, or a plate that moves against the cabinet.
  • • Stop if the repair hardware shifts, the cabinet side flexes, or the door still carries its weight on compromised material.
Adjustment reference

Watch a hinge-adjustment overview

This Hettich video is a general visual reference for concealed-hinge adjustment. It does not replace the instructions for your specific hinge or repair plate.

Open the Hettich video
Troubleshooting

If the screws keep pulling out

The plate will not sit flat

Do not bend or force it over a face frame, obstruction, or incompatible hinge geometry. Recheck the cabinet style and the plate’s compatibility note; a different hardware repair or cabinet-side replacement may be required.

A plug repair breaks out or wanders

Stop before enlarging the damage. The plug route depends on a sound substrate and a controlled pilot hole. If the board is crushed or friable, moving to a compatible plate or replacing the damaged component is safer than repeating the same repair.

The door is still crooked after repair

Check that the mounting plate itself is secure, then use the manufacturer’s adjustment sequence in small increments. A cracked hinge cup, bent arm, or mismatched plate may look like an adjustment issue but needs replacement hardware.

When repair is unsuitable

Do not proceed with a cosmetic filler patch where water damage, cabinet-side splitting, a loose mirror-like panel, exposed wiring, or an unstable cabinet condition is present. Get qualified help when the cabinet must be rebuilt or safely removed.

Sources and method notes

Hardware instructions used for this update

The repair advice above was checked against current manufacturer or hardware-provider guidance for repair-plate compatibility, concealed-hinge installation, and adjustment. Always follow the manual supplied with the exact hardware in your cabinet; the sources below do not make every hinge or plate interchangeable.

Continue the kitchen refresh

Useful next projects, not duplicate repairs

Once the door is secure, choose the next cabinetry project that fits the condition of your kitchen and your comfort level.

Browse kitchen projects
Choose the right approach

Best for

Homeowners repairing a loose concealed hinge where the particleboard face is intact and the hinge can be removed safely.

Not for

Cabinets with split panels, water-swollen board, a torn-out hinge cup, or a door that needs structural rebuilding.

Troubleshooting before you start

Common mistakes

  • Driving a larger screw into the same damaged fibers instead of rebuilding the hole.
  • Packing the repair with glue alone, which does not restore a strong threaded surface.
  • Drilling before the epoxy has fully cured.
  • Skipping a depth stop and drilling through the cabinet side or face.
  • Over-tightening the hinge screws and crushing the repaired area.
Know the limit

When to stop and call a pro

Stop if the cabinet side is load-bearing, water-damaged, split beyond the hinge area, or the hinge cup has pulled out of the door. A cabinetmaker can assess whether a larger repair plate or panel replacement is safer.

Helpful answers

Frequently Asked Questions

That is a temporary fix at best. For a hinge that carries repeated loads, rebuild the damaged hole with a compatible two-part repair compound or use a manufacturer-approved repair plate, then predrill and tighten carefully.
Community notes

Ratings & Reviews

—

Be the first to review

Share your workshop experience

Real notes from DIY Haven readers.

No reviews yet. Your workshop notes can help the next maker.

Was this guide helpful?

Your anonymous feedback helps us improve future project instructions.

Keep building

Practical next projects selected for a kitchen cabinet refresh.