Before you begin

This project may involve electrical, gas, plumbing, or structural conditions. Shut off and verify the relevant power, water, or gas supply before starting. If the system, support, code requirement, or safe procedure is unclear, stop and consult an appropriately licensed professional.

Back to all projects
Caulk a Bathtub or Shower DIY project
Pinterest-ready project guide
Caulk a Bathtub or Shower
Seasonal note: Year-round DIY project

Caulk a Bathtub or Shower

Caulk a Bathtub or Shower is a bathroom project with a focused materials list, measured preparation steps, fit-and-finish checks, and practical safety notes.

By The DIY Haven Editorial Team · Last reviewed September 11, 2026 · Reviewed for clarity, safety, and source quality.

15–45Estimated cost
6Steps
10Shopping items
Shop starter supplies
Share this guide

Sources and safety references

We consulted these public references for safety, installation, or product-use guidance. They are provided for context and do not replace local code or a licensed professional.

Workshop plan

Step-by-step instructions

Save this page for the workshop
1

Step 1

Identify whether the joint is a movement joint that should be sealed and correct active leaks, loose tile, or failed substrate before cosmetic recaulk work.

2

Step 2

Remove all old sealant without gouging the tub, shower pan, tile, or waterproofing membrane.

3

Step 3

Clean away soap residue and mildew staining, rinse as appropriate, and let the joint dry completely for the sealant maker’s required period.

4

Step 4

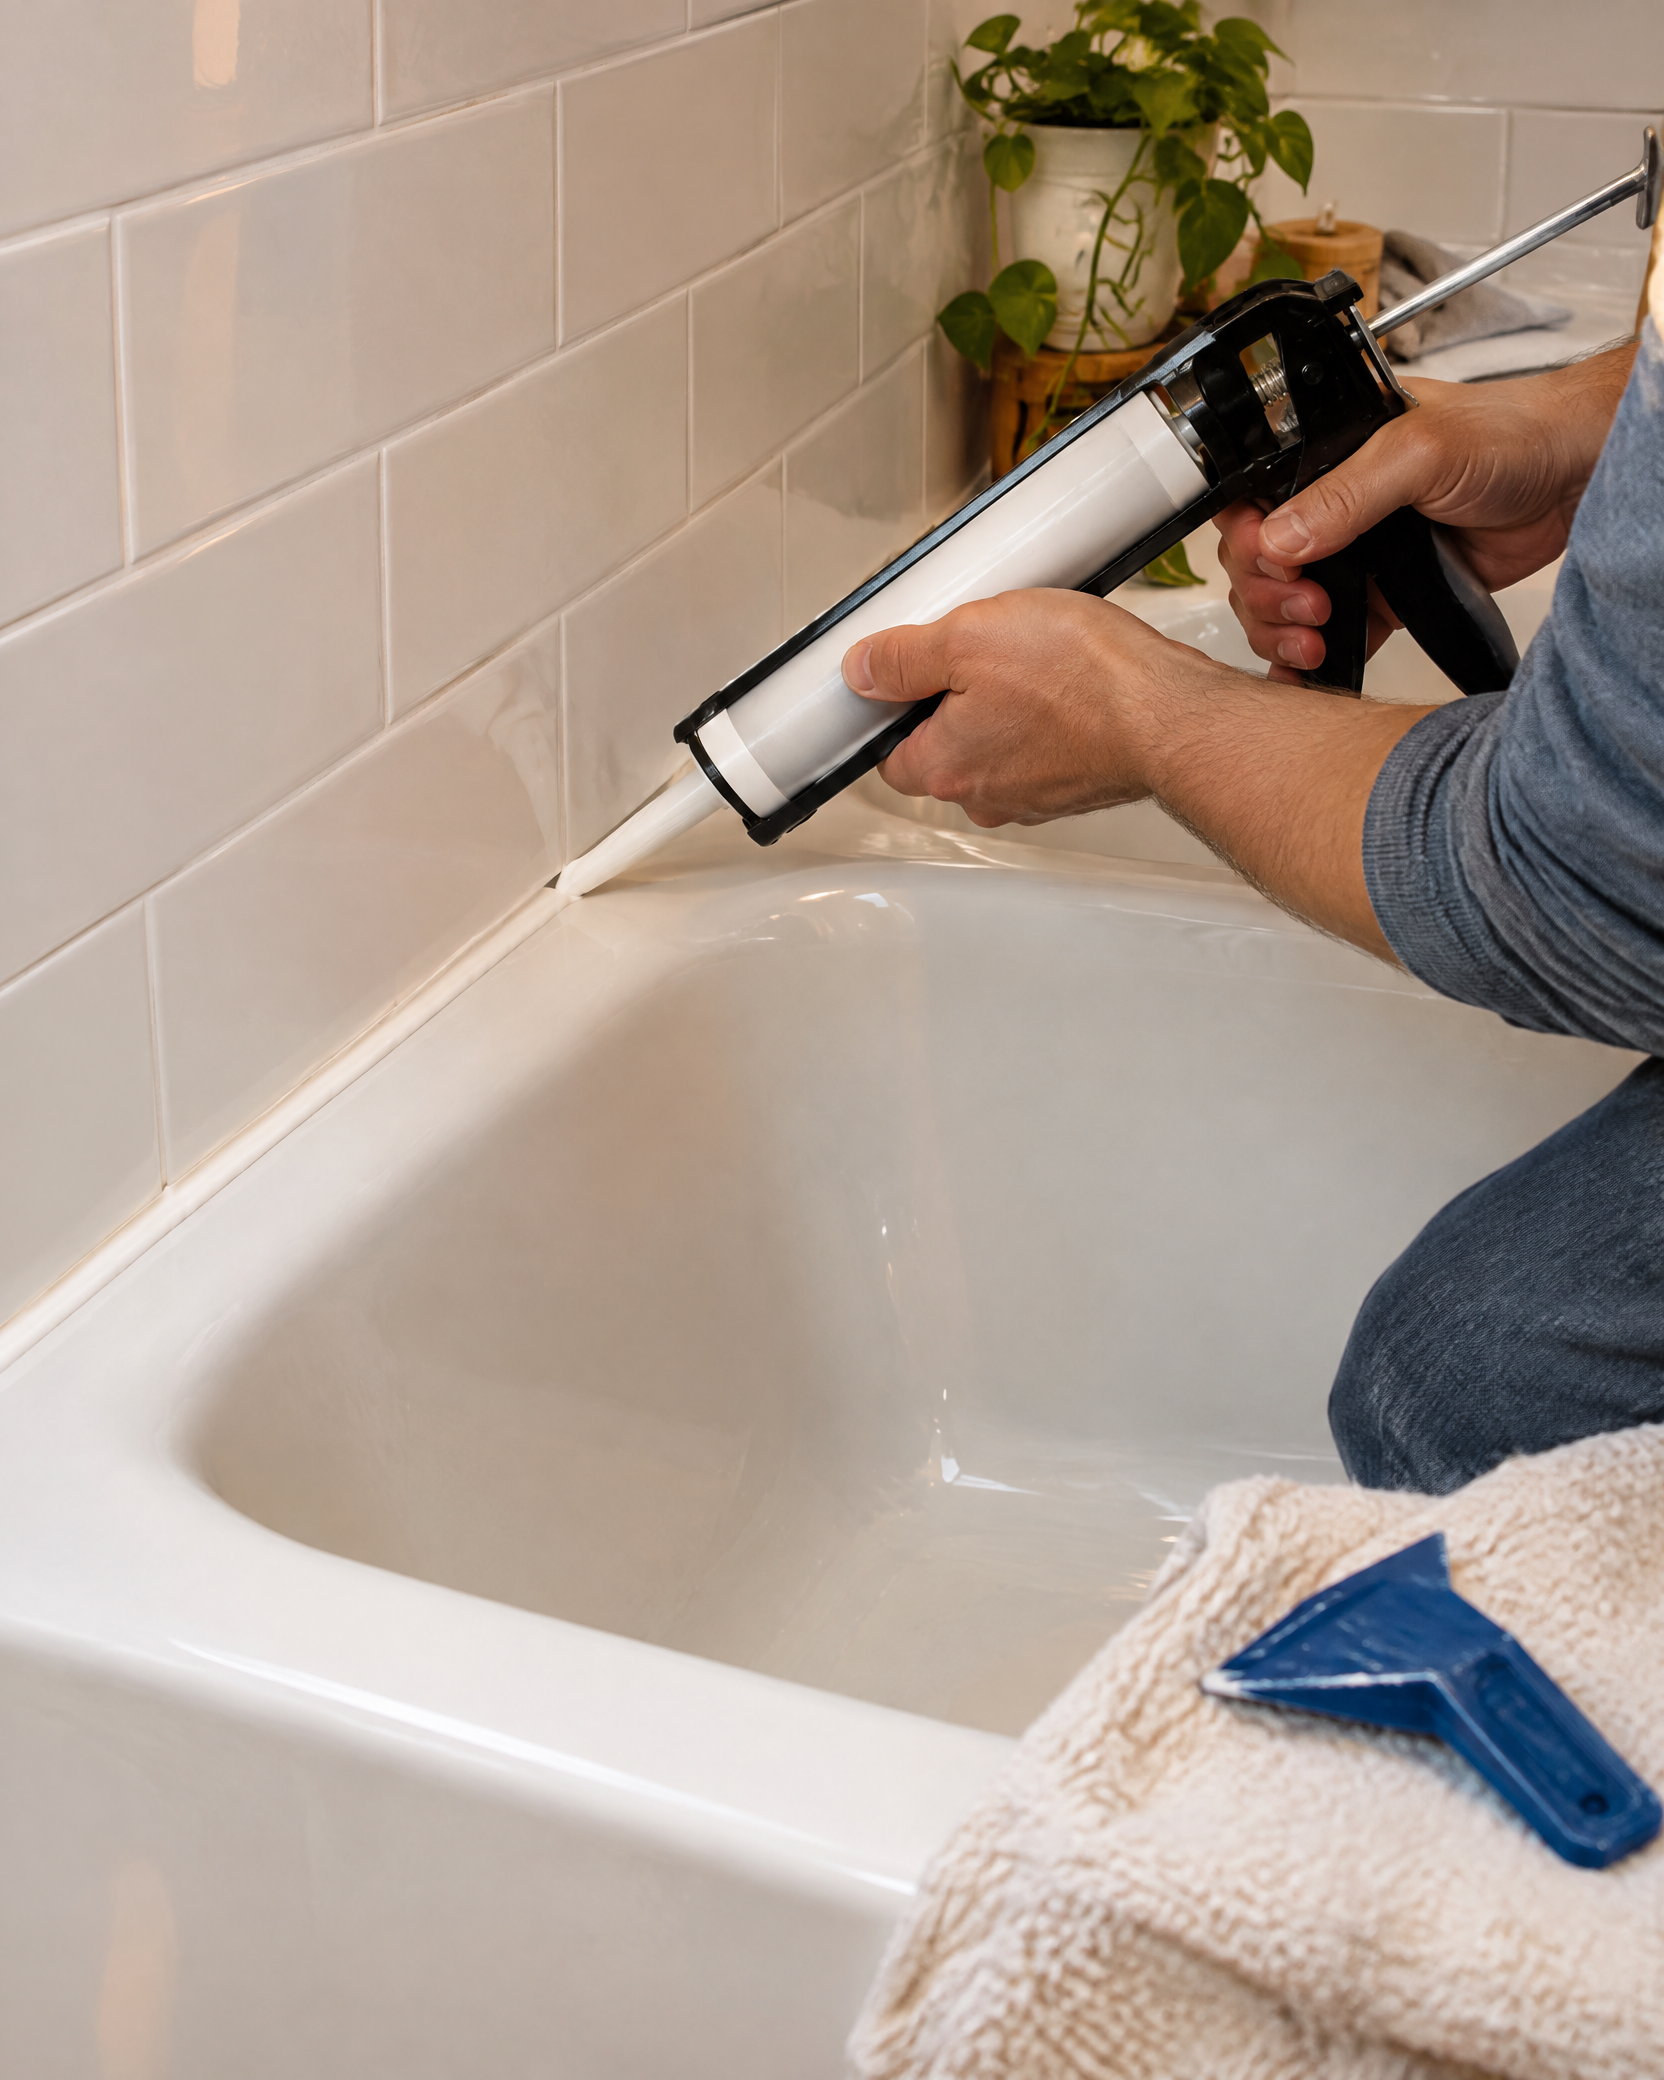
Mask both sides for the target bead width, cut the nozzle conservatively, and apply one continuous bead while maintaining steady pressure.

5

Step 5

Tool the bead once within the product’s open time, remove tape immediately, and avoid repeated passes that thin or tear the seal.

6

Step 6

Keep the joint dry and unused for the full cure time on the label, then inspect adhesion at corners and transitions.

Safety check

Do not seal over an active plumbing leak, loose surround, mold-contaminated substrate, or water-damaged wall. Shut off water if inspection exposes plumbing, and consult a licensed plumber or qualified remediation professional when the source is uncertain.
Helpful answers

Frequently Asked Questions

Plan for approximately 15–45, depending on material quality, local prices, and which tools you already own.
Community notes

Ratings & Reviews

—

Be the first to review

Share your workshop experience

Real notes from DIY Haven readers.

No reviews yet. Your workshop notes can help the next maker.

Was this guide helpful?

Your anonymous feedback helps us improve future project instructions.

Before finishing bathroom surfaces

Resolve a noisy exhaust fan before sealing or painting

For ceiling or wall painting, allow the room to dry and address unusual fan noise before coating the surface. For shower or tub caulking, solve moisture and ventilation concerns before sealing a joint. Diagnose a rattling bathroom exhaust fan safely before deciding whether cleaning, a model-matched part, or qualified service is the right next step.

Keep building

More ideas selected for this room, skill level, and project style.

Ready to make it yours?

Pin this guide, save it for later, and take the checklist into your workshop.