Step-by-step instructions
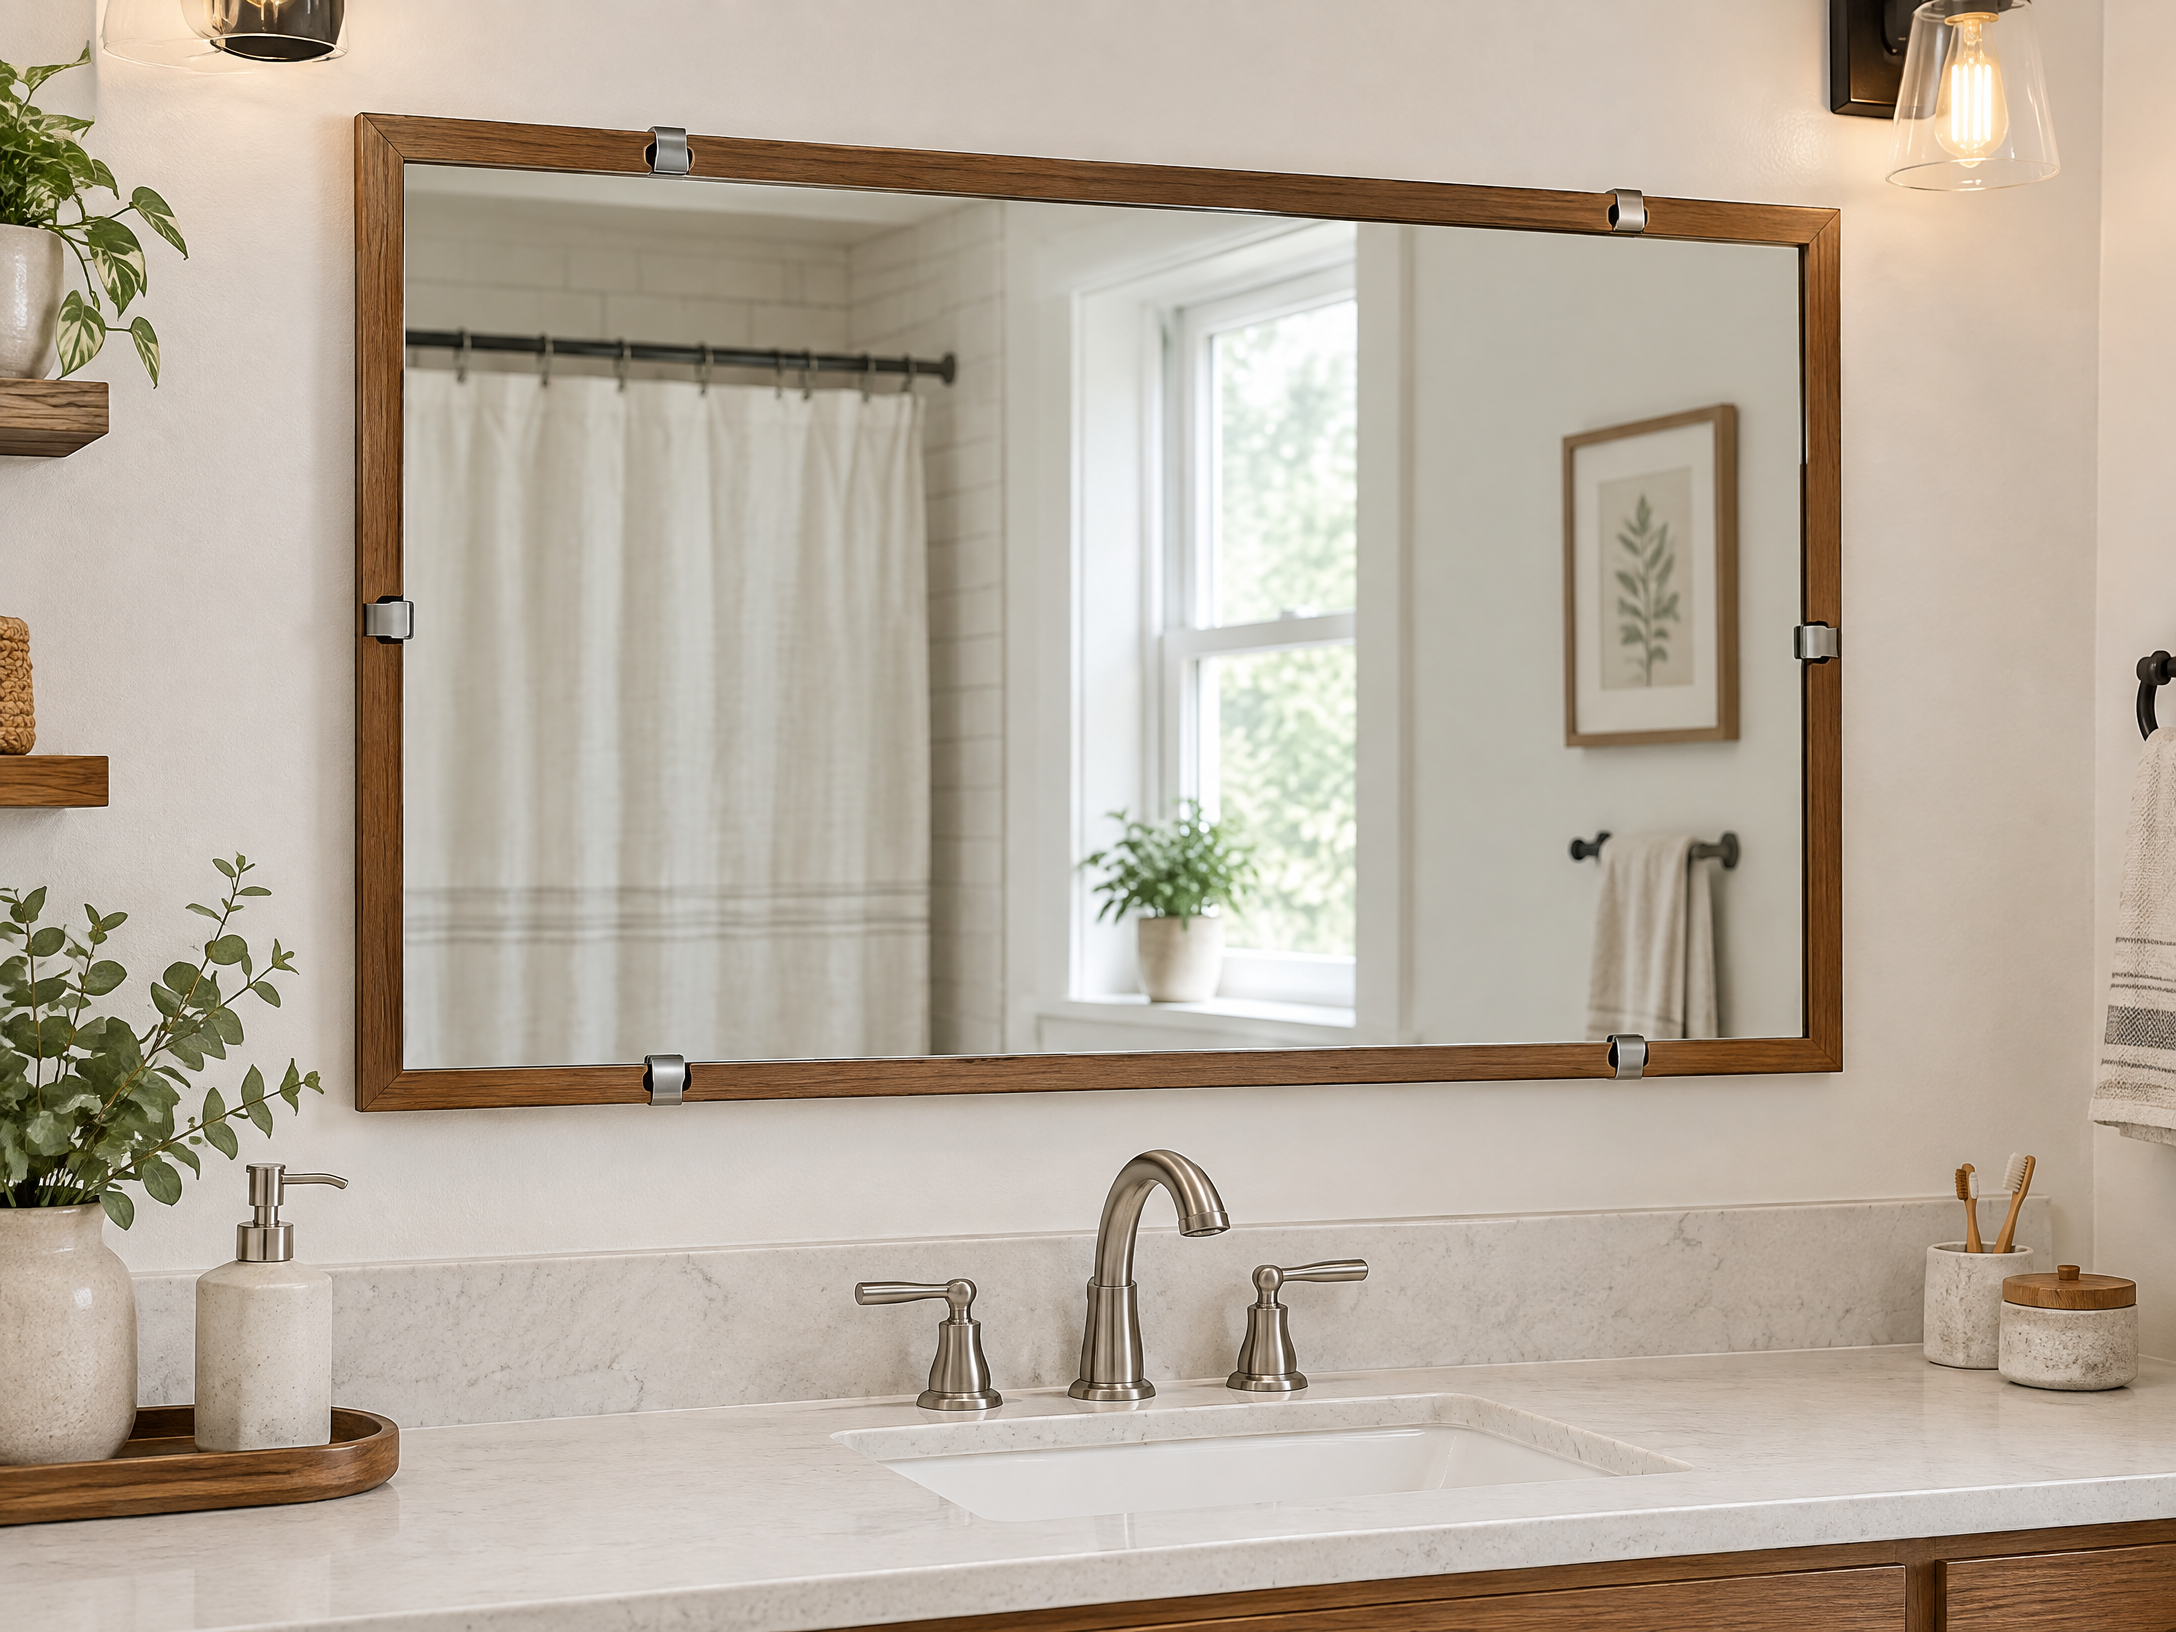
Inspect the mirror and record clip clearance
Inspect every mirror clip, measure the mirror width and height, and record how far each clip projects beyond the glass. Do not loosen clips or put weight on the mirror.
Measure and plan the removable frame
Choose moisture-stable wood or PVC trim and design the frame to sit proud of the clips. Keep the bottom rail clear of the backsplash and any faucet splash zone.
Cut and seal the trim pieces
Calculate actual finished dimensions from the material’s true width. Make a cardboard corner mockup and verify that it clears clips, outlets, lights, and the medicine cabinet door.
Dry-fit around every clip
Cut the rails, dry-fit the corners, and sand the visible faces. Seal all wood faces and especially end grain before final assembly.
Attach the frame without loading the glass
Assemble the frame on a flat surface with corner reinforcement. Add a removable hanging or spacer strategy that does not rely on adhesive against the mirror glass.
Seal edges and verify future access
Position the frame around the mirror, mark safe wall attachment points, and fasten only into appropriate wall material. Never drill into the mirror or trap a loose clip.
Step 7
Caulk the wall-side perimeter only where appropriate, leave drainage/inspection access, and let the finish cure before exposing it to steam.
Do not remove, drill, or load the mirror. Wear eye protection when cutting trim. Use bathroom-rated finishes and allow full cure time. Stop if clips are loose, the mirror is cracked, or the wall shows moisture damage.