Before you begin

This project may involve electrical, gas, plumbing, or structural conditions. Shut off and verify the relevant power, water, or gas supply before starting. If the system, support, code requirement, or safe procedure is unclear, stop and consult an appropriately licensed professional.

Back to DIY projects
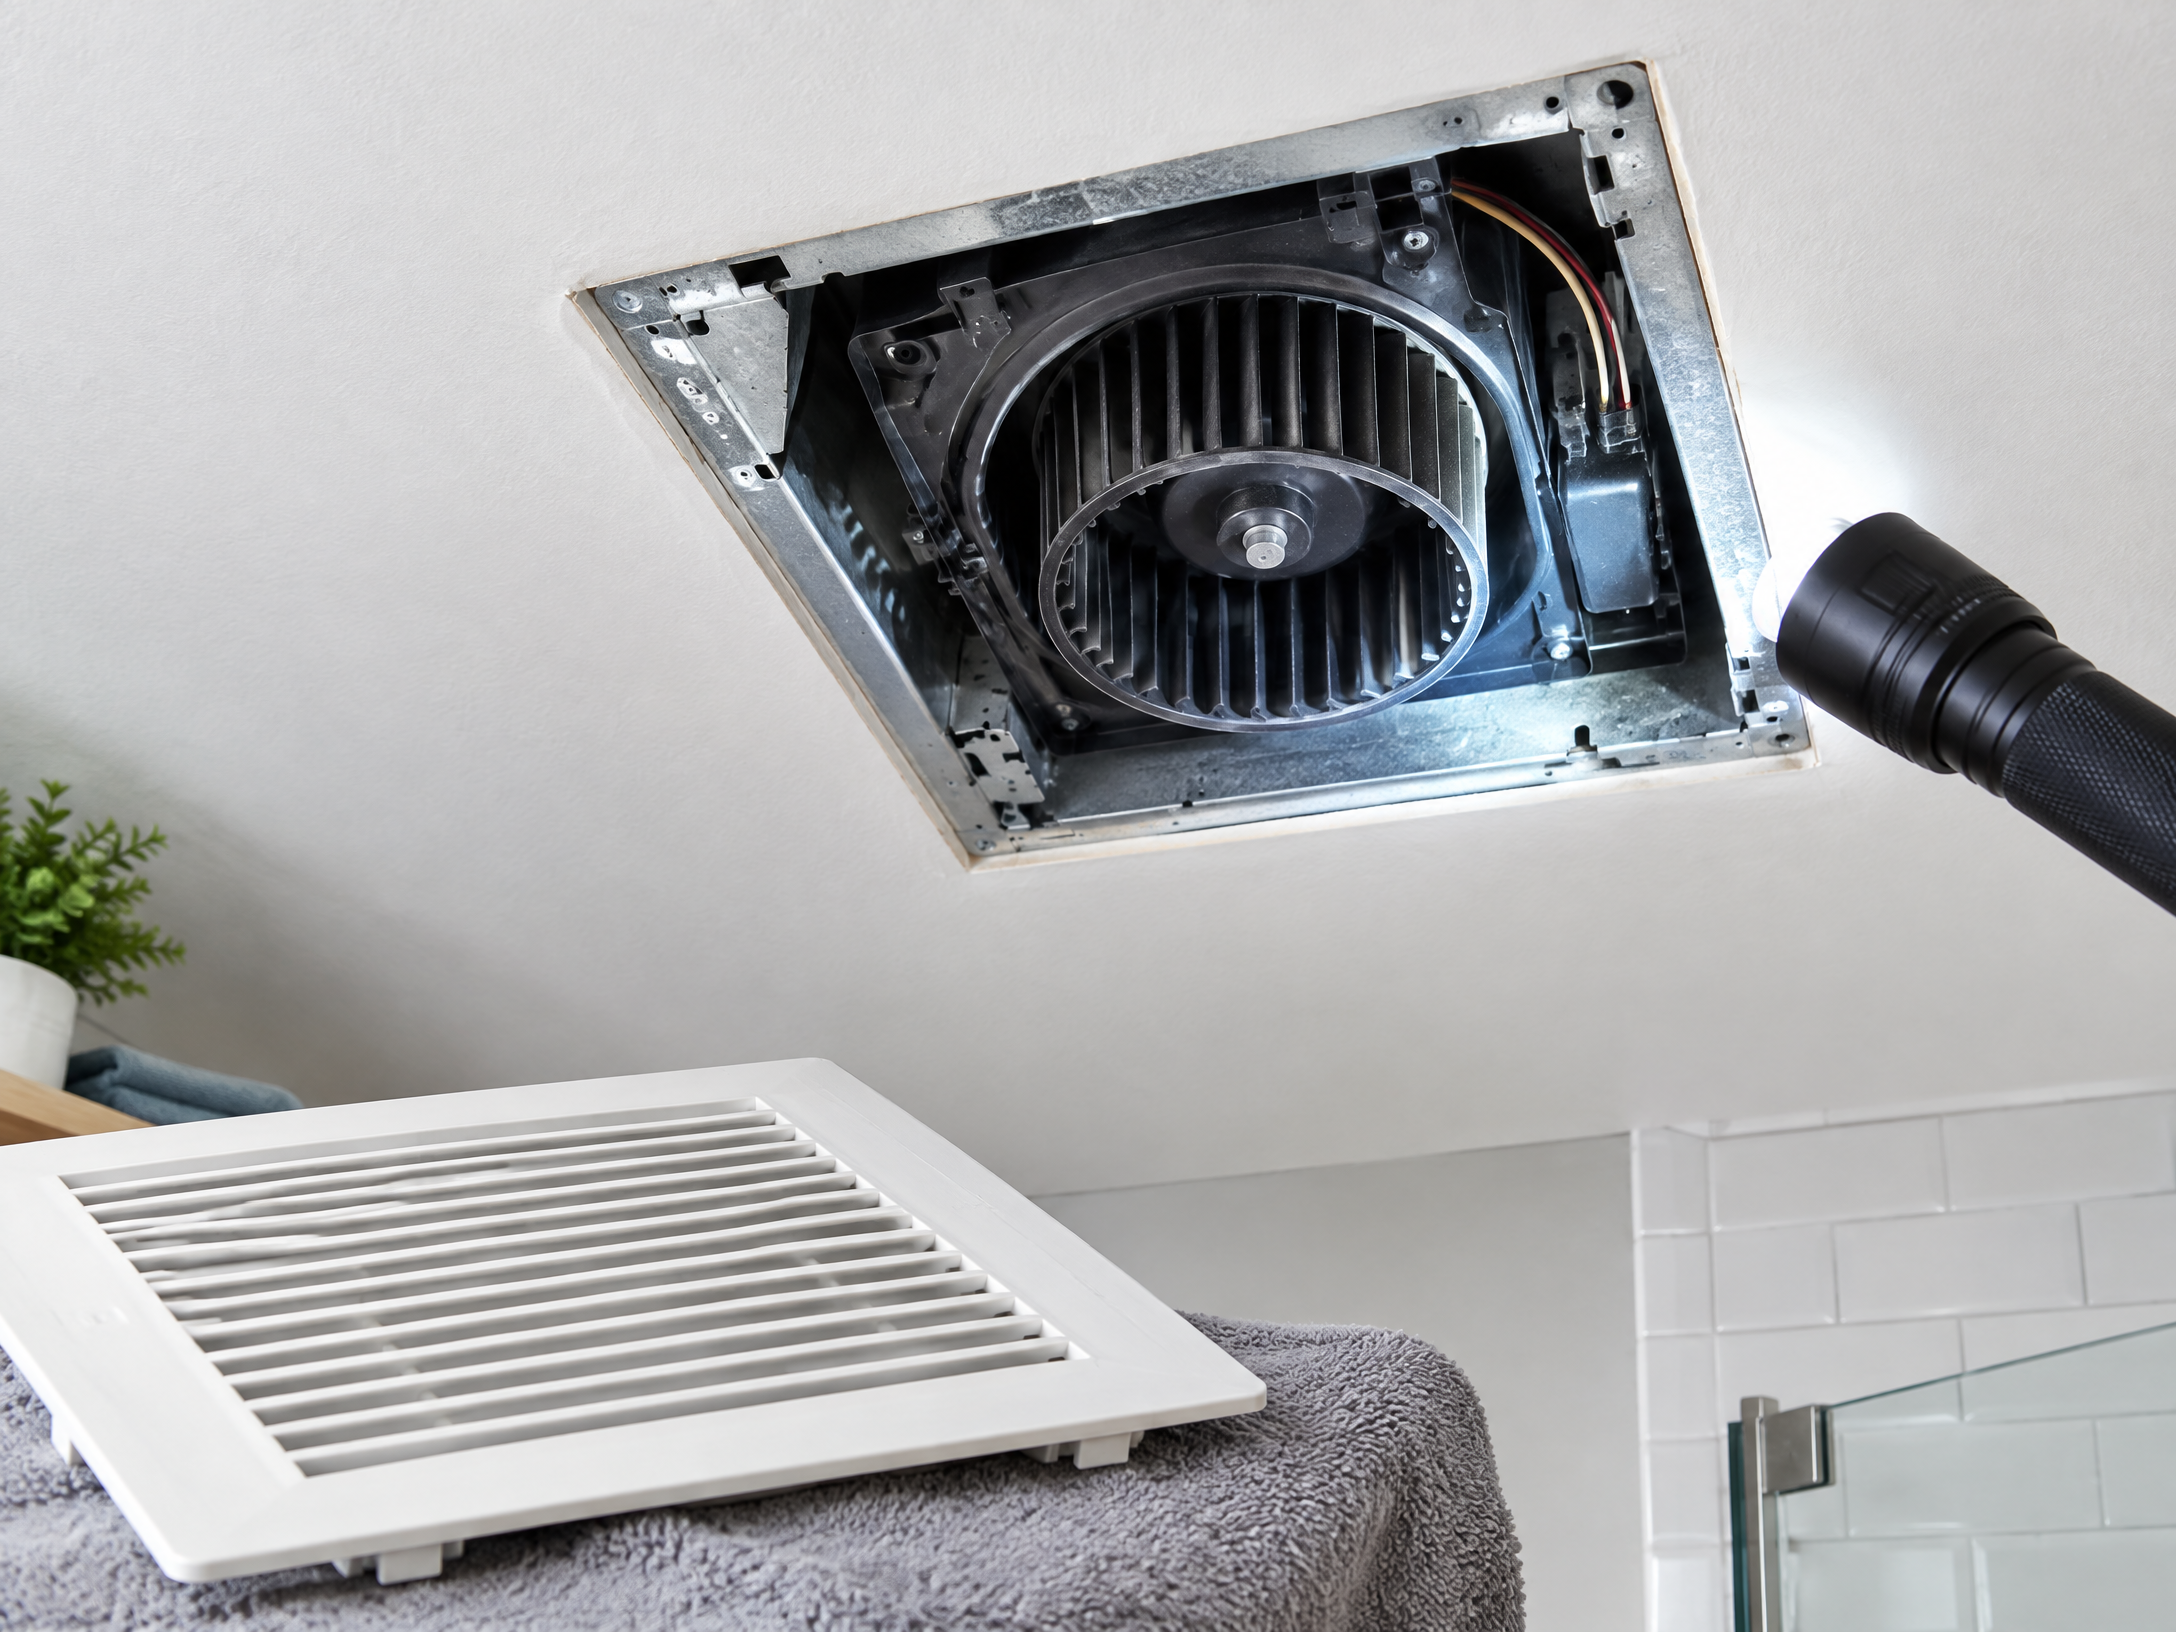
Bathroom exhaust fan grille and blower being inspected for a rattle
Bathroom maintenance guide
Find the sound source before buying a replacement.

Diagnose and Fix a Rattling Bathroom Exhaust Fan Before Replacing It

Short answer: a rattling bath fan often traces to dust, loose grille or housing parts, a damaged blower wheel, a flapping damper, or a failing motor. Turn off and secure the circuit before cleaning or service; compare any replacement part to the manufacturer’s model information rather than assuming it fits.

By The DIY Haven Editorial Team · Last reviewed September 13, 2026 · Reviewed for clarity, safety, and source quality.

$8–$45Diagnostic supplies
45–90 minActive work
Model-specificParts fitment
Identify the sound
Start with the sound

What does the rattle point to?

Listen from the bathroom while the fan is running, then switch it off and wait for all moving parts to stop. Note whether the noise sounds like a buzz, scrape, flap, vibration, or grinding. That observation guides a safe check; it is not a reason to reach into a live fan.

Illustration of bathroom exhaust fan noise locationsA ceiling-mounted bathroom fan diagram labels the grille, blower wheel, housing, and duct damper as different places a rattle may originate.Ceiling fan assemblyGrilleWheelHousingDamper / duct
Illustration: isolate the sound before removing parts. A rattle at the grille, wheel, housing, or damper points to a different safe next check.

Buzz or grille rattle

Check the grille springs, cover fit, and accessible mounting points after power is secured.

Scrape or wobble

Dust, debris, a wheel that rubs, or a damaged hub may be involved. Do not bend a wheel to “true” it.

Flap or thump

A backdraft damper or exterior cap may be obstructed or moving in the airflow.

Grinding, smell, heat, or smoke

Turn the fan off immediately. These are not cleaning symptoms; arrange qualified service or replacement.

Illustration of the bathroom fan diagnostic sequenceA four-step sequence shows listening for the sound, turning off and securing power, cleaning and inspecting accessible parts, then testing or stopping for service.1Listen safely2De-energize3Clean & inspect4Test or stop
Illustration: treat each stage as a checkpoint. Do not move to an internal repair or attic inspection when the safe exterior checks have not explained the noise.
Non-negotiable safety checkpoint

Secure power before touching the fan

Broan-NuTone, Panasonic, and Delta Breez manuals all require power to be disconnected before work on or near the fan, motor, or junction box. Use the service panel, prevent the circuit from being switched back on, and verify de-energization with an appropriate tester before removing the grille or touching the assembly.

Stop and get qualified help
  • • Damaged wiring, a loose junction box, overheating, smoke, a burning smell, repeated breaker trips, or water entering the housing.
  • • Unsafe attic access, missing/failed supports, a disconnected duct, mold, roof work, or a ceiling opening that requires cutting, wiring, or structural work.
  • • A replacement motor or blower that does not exactly match the fan’s model and manufacturer guidance.
Controlled diagnostic

Step-by-step checks before replacement

The active work is typically 45–90 min. Do not treat this as an installation or wiring procedure; it is a practical way to separate accessible cleaning and fit issues from conditions that need model-specific parts or qualified service.

  1. 1

    With the fan running, listen from the bathroom without touching the grille. Identify whether the noise sounds like a light rattle, scrape, flap, vibration, grinding, or a hum, then switch the fan off and wait for moving parts to stop.

  2. 2

    At the service panel, switch off the fan circuit and prevent it from being turned back on. Verify the unit is de-energized with an appropriate tester before removing the grille or touching the fan, motor, or junction-box area.

  3. 3

    Support the grille while releasing its spring clips. Inspect the grille, springs, and visible mounting points for dust, a loose fit, or damage; clean the grille with a non-abrasive method and dry it before reinstallation.

  4. 4

    Vacuum the accessible housing and blower area with a brush attachment. Keep liquid, compressed-air blasts, lubricants, and abrasive cleaners away from the motor, wiring, and control components. Do not oil a permanently lubricated motor.

  5. 5

    With power still secured, inspect the accessible blower wheel for debris, cracking, a loose hub, or rubbing. Do not bend a wheel to correct a wobble; use only a compatible manufacturer wheel or motor/blower assembly if replacement is required.

  6. 6

    Check accessible screws, grille springs, and housing fasteners only where the manufacturer’s instructions identify them. Reinstall the grille, restore power, and test from a safe distance. Stop immediately for grinding, smell, heat, smoke, or a recurring breaker trip.

  7. 7

    If the sound is a flap or thump, inspect an accessible duct connector or exterior cap only when it is safe to do so. A backdraft damper should pivot freely; do not force it, work from an unsafe attic or roof, or alter ductwork/wiring without qualified help.

  8. 8

    For persistent noise, read the model label and manufacturer manual before ordering any part. Replace only a confirmed compatible motor/blower assembly, or arrange qualified service when the housing, wiring, duct, supports, moisture conditions, or ceiling opening need repair.
Airflow matters

Check the damper and duct without making a hidden repair

Manufacturer troubleshooting notes flag a backdraft damper that cannot pivot freely as a potential noise source. Broan-NuTone also notes that duct routing affects airflow and noise; Delta Breez recommends short, straight runs at the model’s specified duct size. From a safe, accessible location, look for a visibly blocked exterior cap or a damper restricted by paint, debris, or an inappropriate fastener. Do not force it, disturb roof components, or make duct or electrical changes beyond your comfort level.

Safe to observe

Visible grille fit, accessible dust, a freely spinning wheel after power is secured, and an obvious exterior-cap obstruction from the ground.

Leave for service

Duct replacement, roof access, wiring, housing supports, motor disassembly outside the manual, and moisture or mold remediation.

Illustration of a bathroom exhaust fan duct damperA fan housing connects to a duct and exterior cap, with a pivoting backdraft damper labeled as an accessible source of flapping or obstruction noise.PIVOT FREELYFanBackdraft damperExterior cap
Illustration: a damper that is painted shut, blocked by debris, or stopped by the wrong duct screw can make a fan sound noisy. Check only accessible, safe locations; never force a damper or reach into powered equipment.
Maintenance reference

Watch a fan-maintenance overview

This Broan-NuTone video is a general visual reference. Your model may use a different grille, motor plate, connector, or service sequence, so follow the current manual for the installed fan.

Open the maintenance video
Sources and method notes

Manufacturer guidance used for this update

The diagnostic path above was reviewed against manufacturer documentation for safe servicing, cleaning, blower and damper checks, and model-specific replacement parts. These sources do not make different fan housings, motors, or controls interchangeable.

Continue your bathroom refresh

Solve moisture and ventilation concerns before cosmetic updates

A quiet fan still needs to vent outdoors and perform safely. Keep these checks separate from electrical, mold, roof, or structural repairs.

Browse bathroom projects
Choose the right approach

Best for

A fan that still runs but rattles, flaps, hums, or vibrates and can be safely isolated at the circuit breaker.

Not for

Fans with smoke, burning odor, heat, exposed wiring, repeated breaker trips, water intrusion, or unsafe attic or roof access.

Troubleshooting before you start

Common mistakes

  • Removing the grille before switching off and verifying the circuit.
  • Spraying lubricant or cleaner into the motor or wiring.
  • Bending the blower wheel instead of replacing a damaged compatible part.
  • Ignoring a loose housing or duct connection because the grille is quiet.
  • Working in an attic or on a roof without safe access and adequate support.
Know the limit

When to stop and call a pro

Stop and call a qualified electrician or HVAC professional for burning smells, heat, exposed conductors, repeated breaker trips, water near the fan, a damaged junction box, unsafe attic access, or ductwork that needs alteration.

Helpful answers

Frequently Asked Questions

Wind can move a backdraft damper or exterior cap. If it is safely accessible, inspect for a freely moving damper and loose cover; do not climb onto an unsafe roof or modify the duct without qualified help.
Community notes

Ratings & Reviews

—

Be the first to review

Share your workshop experience

Real notes from DIY Haven readers.

No reviews yet. Your workshop notes can help the next maker.

Was this guide helpful?

Your anonymous feedback helps us improve future project instructions.

Keep building

Practical next projects selected for a safer, drier bathroom.