Step-by-step instructions
Step 1
Set finished dimensions from room and chair clearances, then select dry, straight stock and acclimate it indoors.
Step 2
Create a cut list for top, aprons, legs, and stretchers, mark reference faces, and cut mating parts in batches.
Step 3
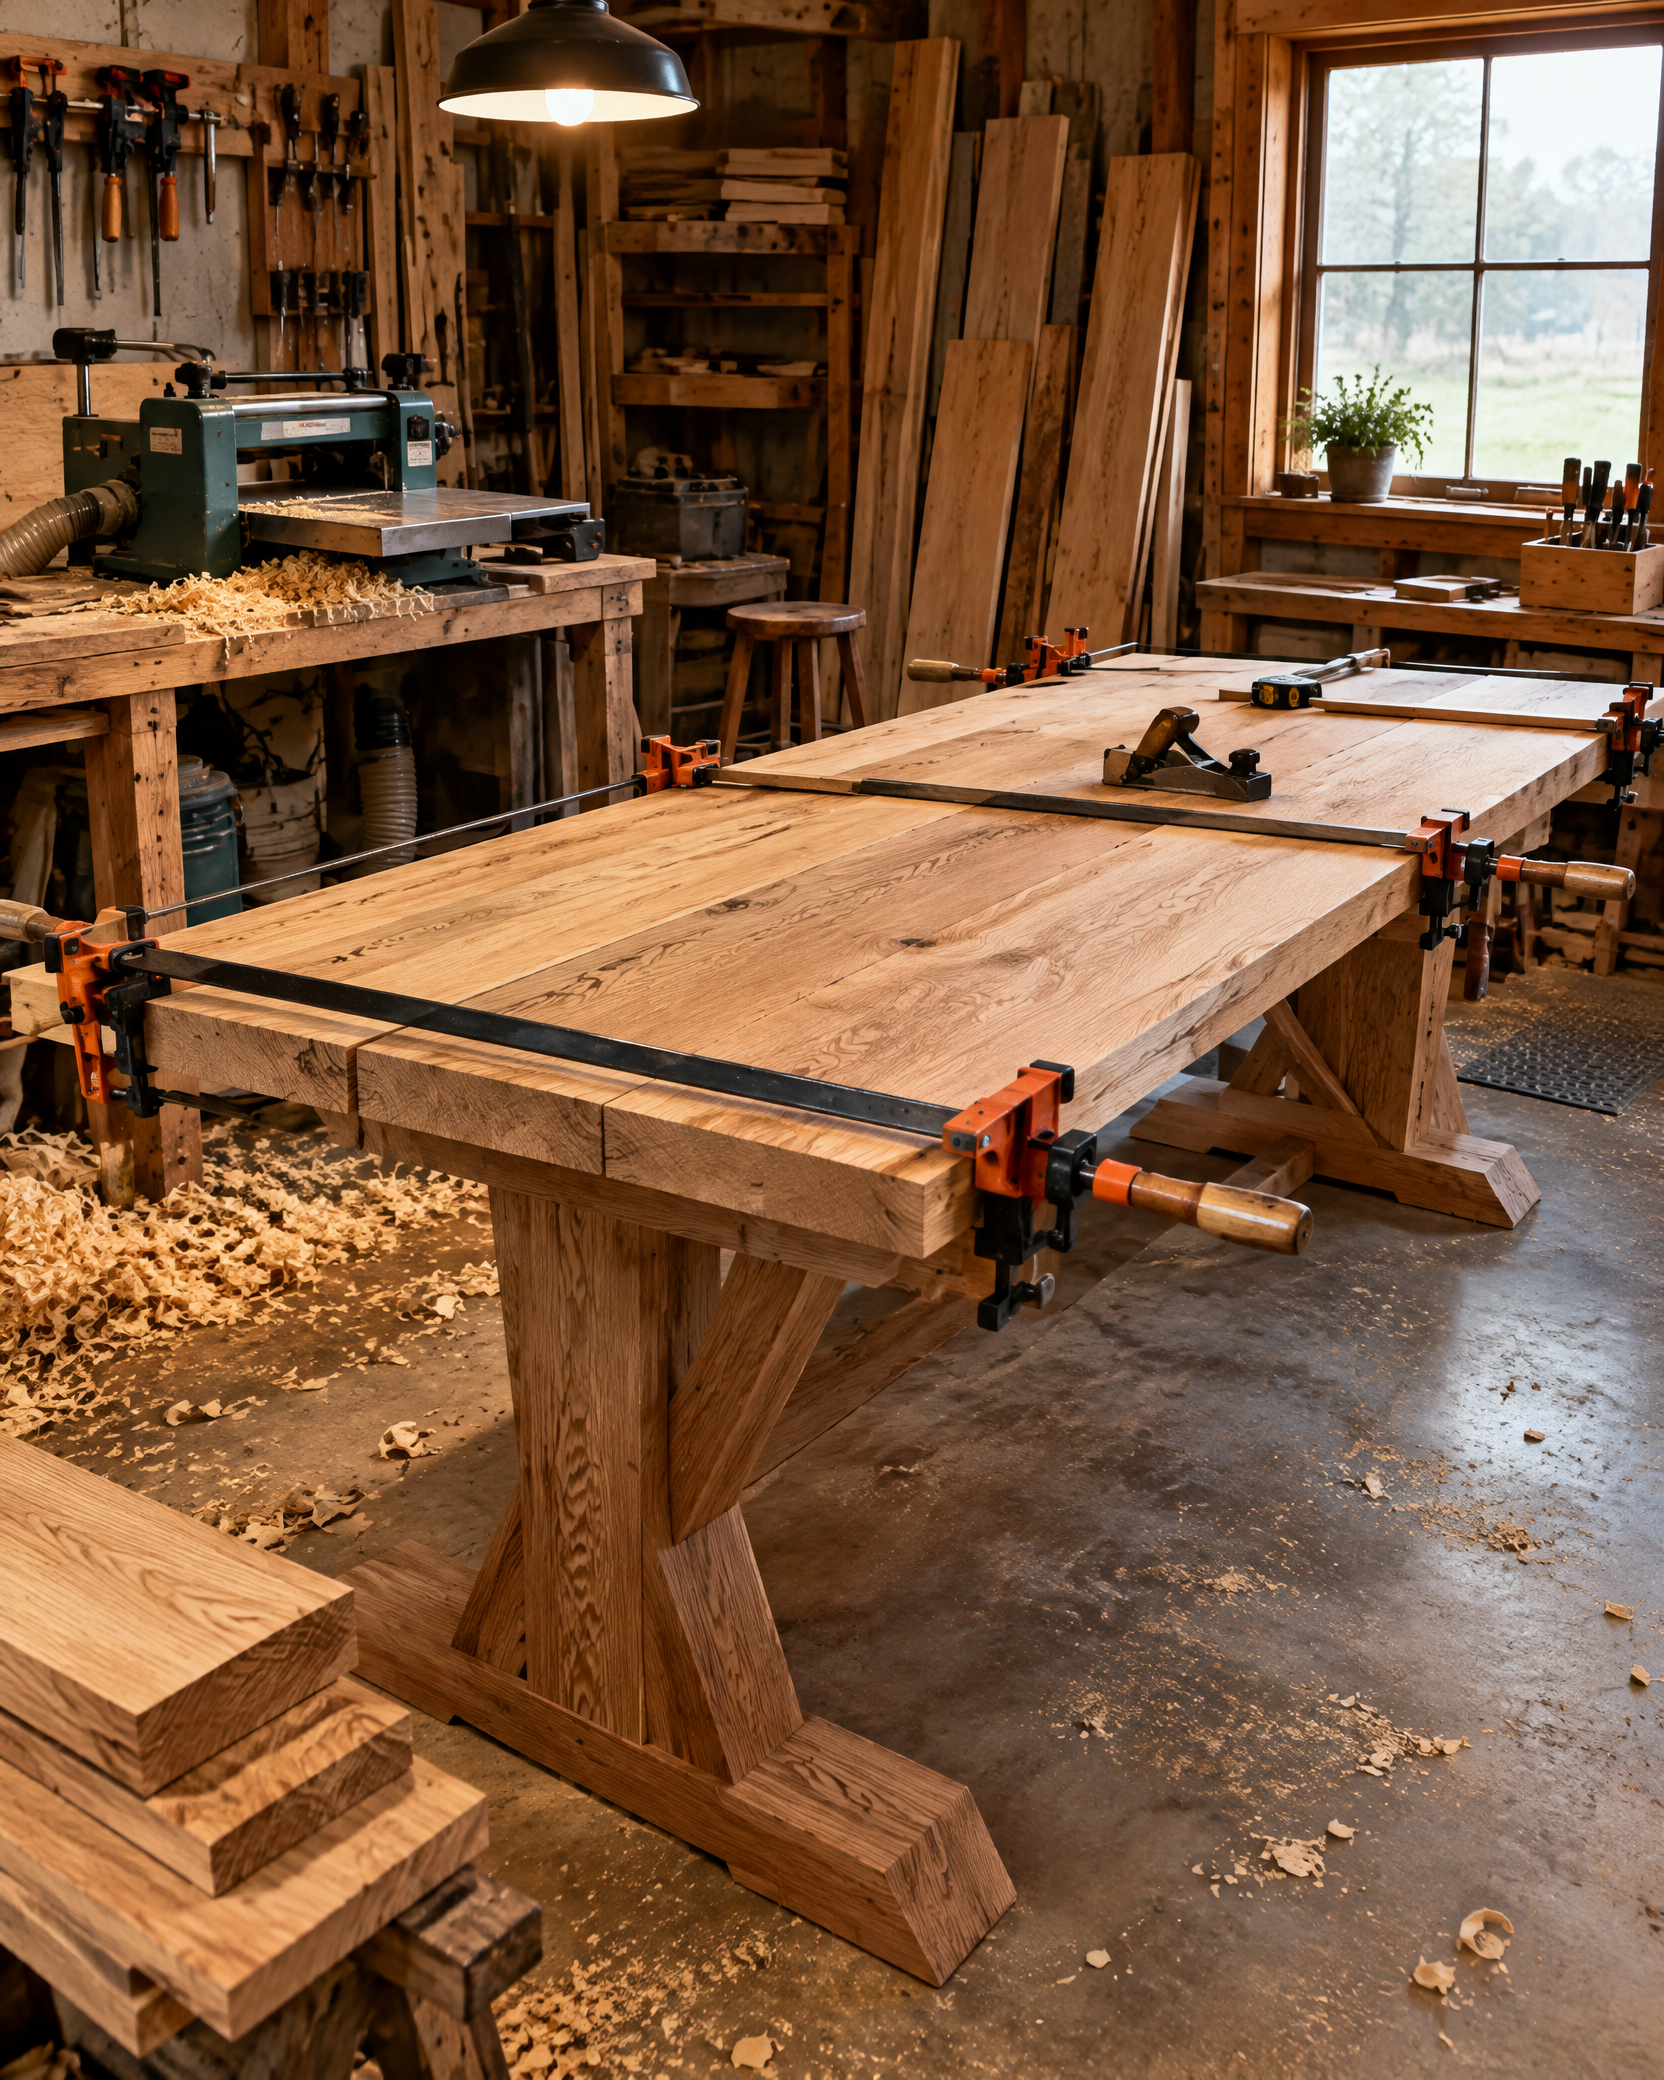
Dry-fit the base on a flat surface, then glue and clamp or fasten the joinery while checking diagonals for square.
Step 4
Prepare the top with aligned grain, flatten and sand it, and ease edges without rounding mating surfaces.
Step 5
Attach the top with hardware that permits seasonal wood movement rather than rigidly screwing across the grain.
Step 6
Apply the finish system to sample wood first, complete all coats and cure time, then level the table and recheck fasteners.
Use eye, hearing, and dust protection and guard cutting tools. A large solid-wood top is heavy and moves seasonally; use safe lifting help and attachment hardware designed for wood movement.