Step-by-step instructions
Step 1
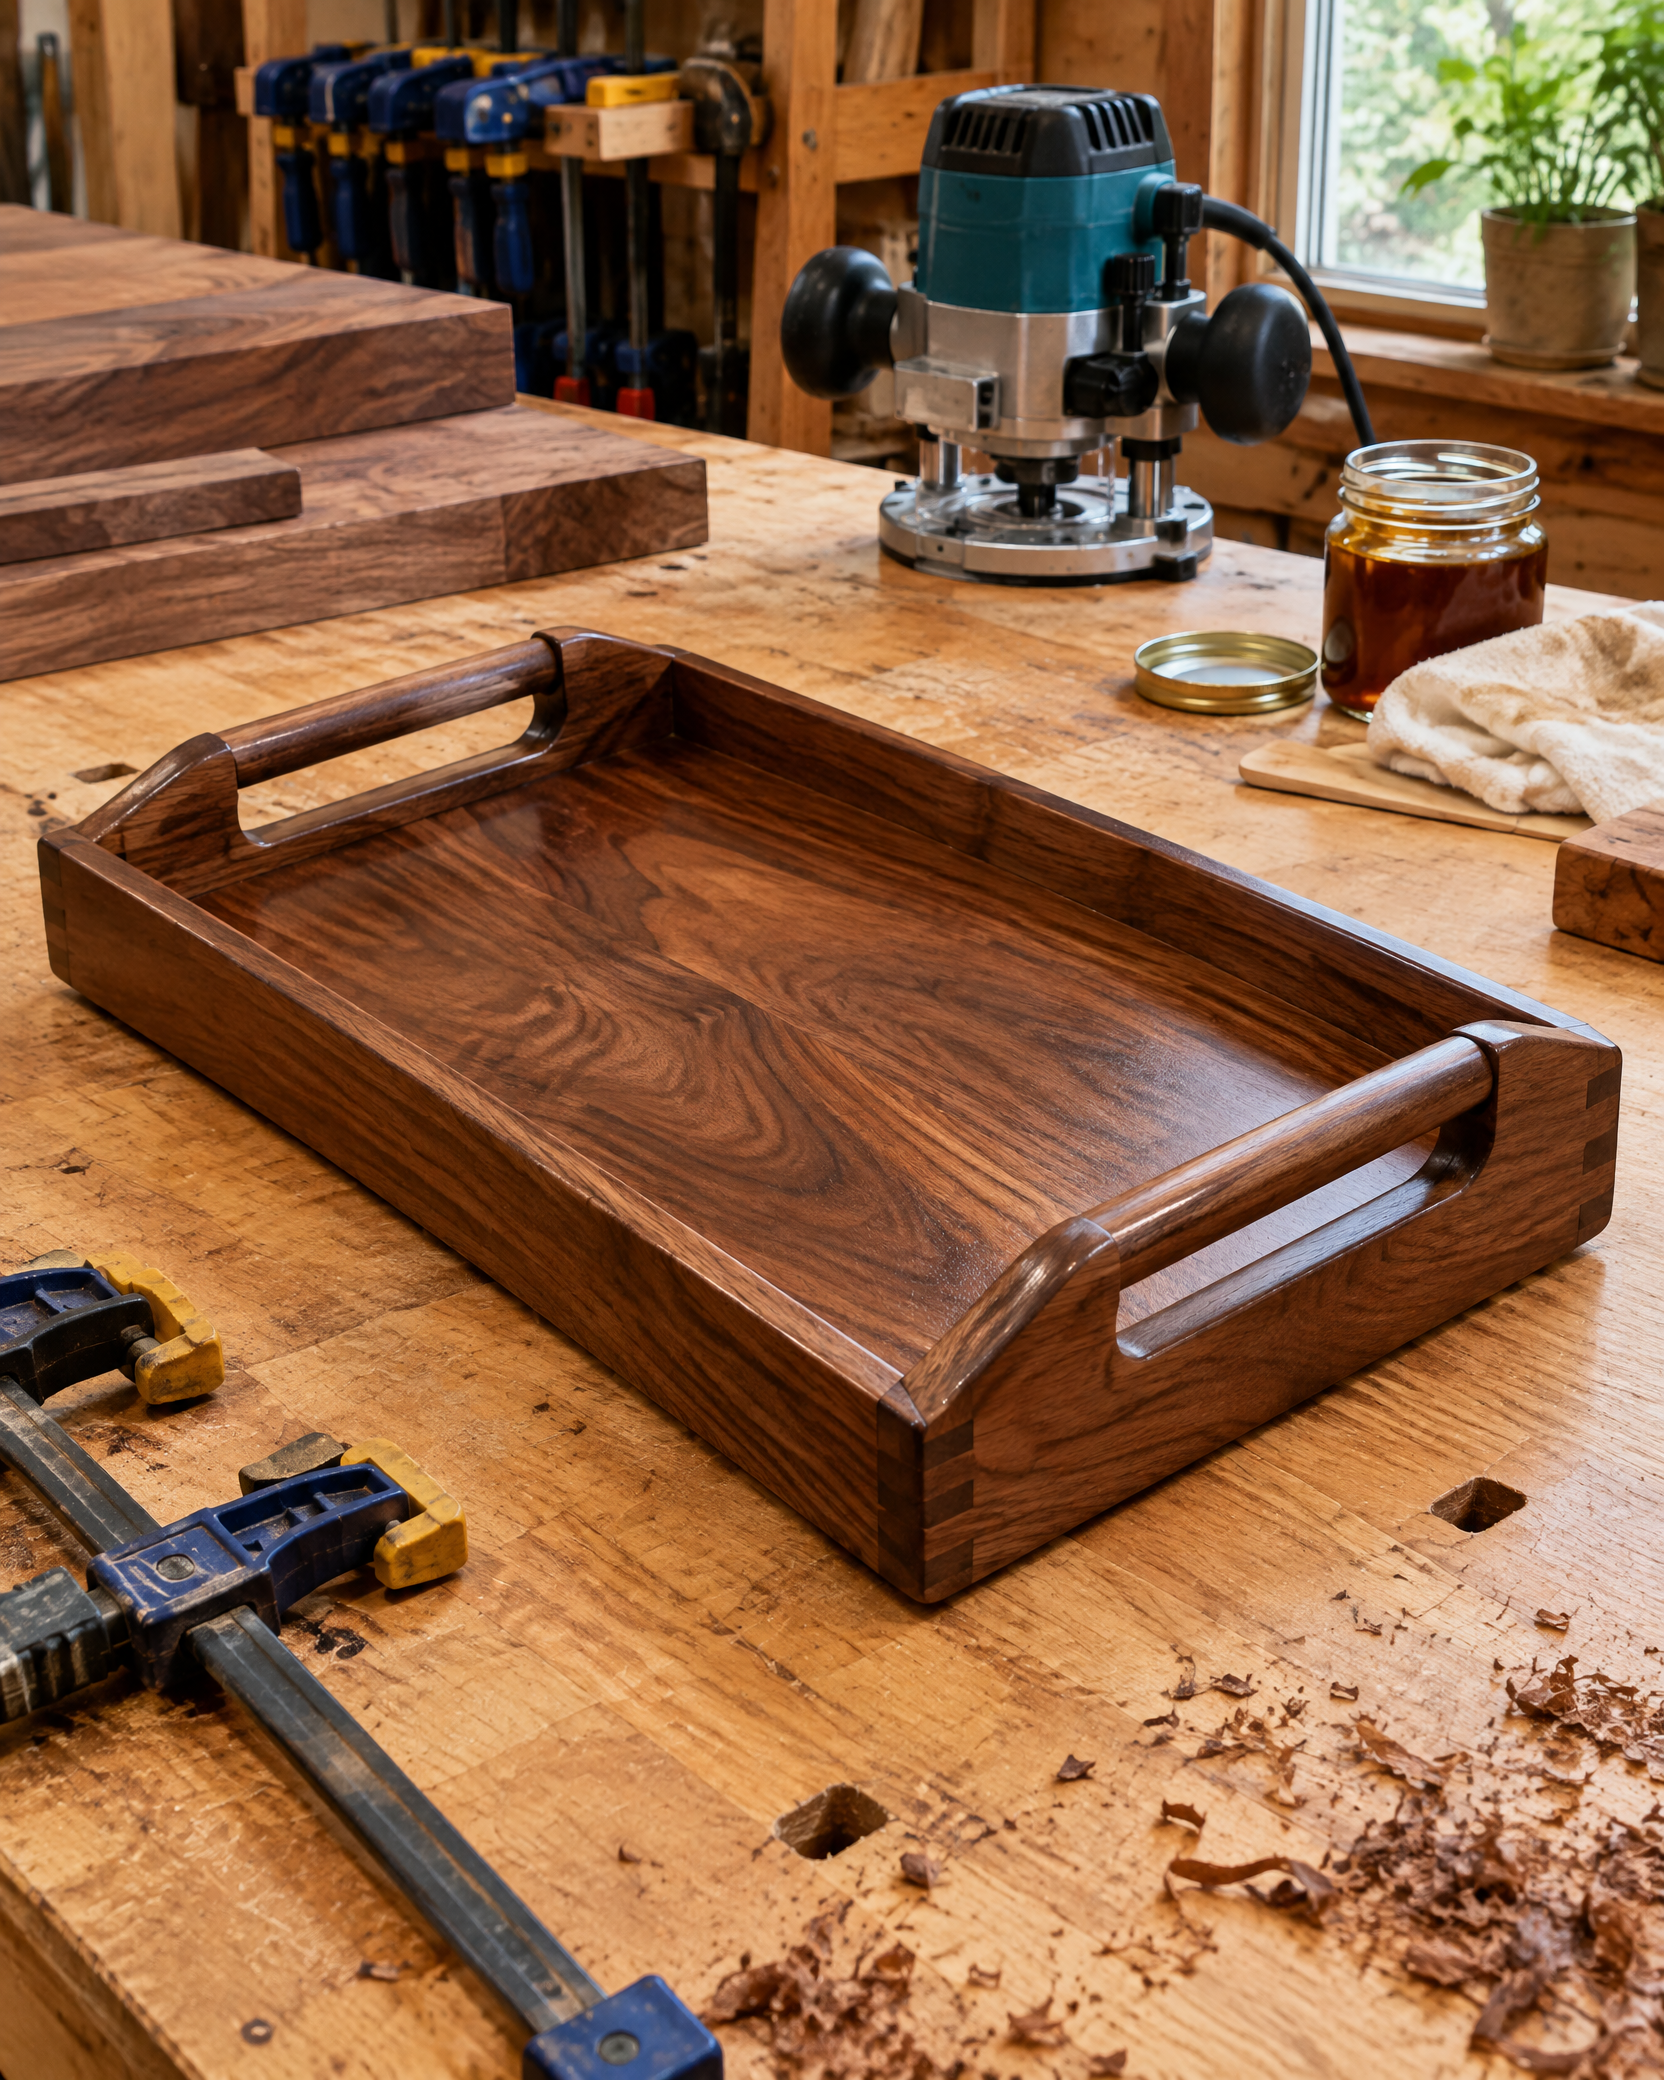
Choose dry, defect-free stock and set tray dimensions for safe carrying without excessive weight.
Step 2
Cut the tray blank and any rim pieces square, then dry-fit handles and verify screw depth against the finished thickness.
Step 3
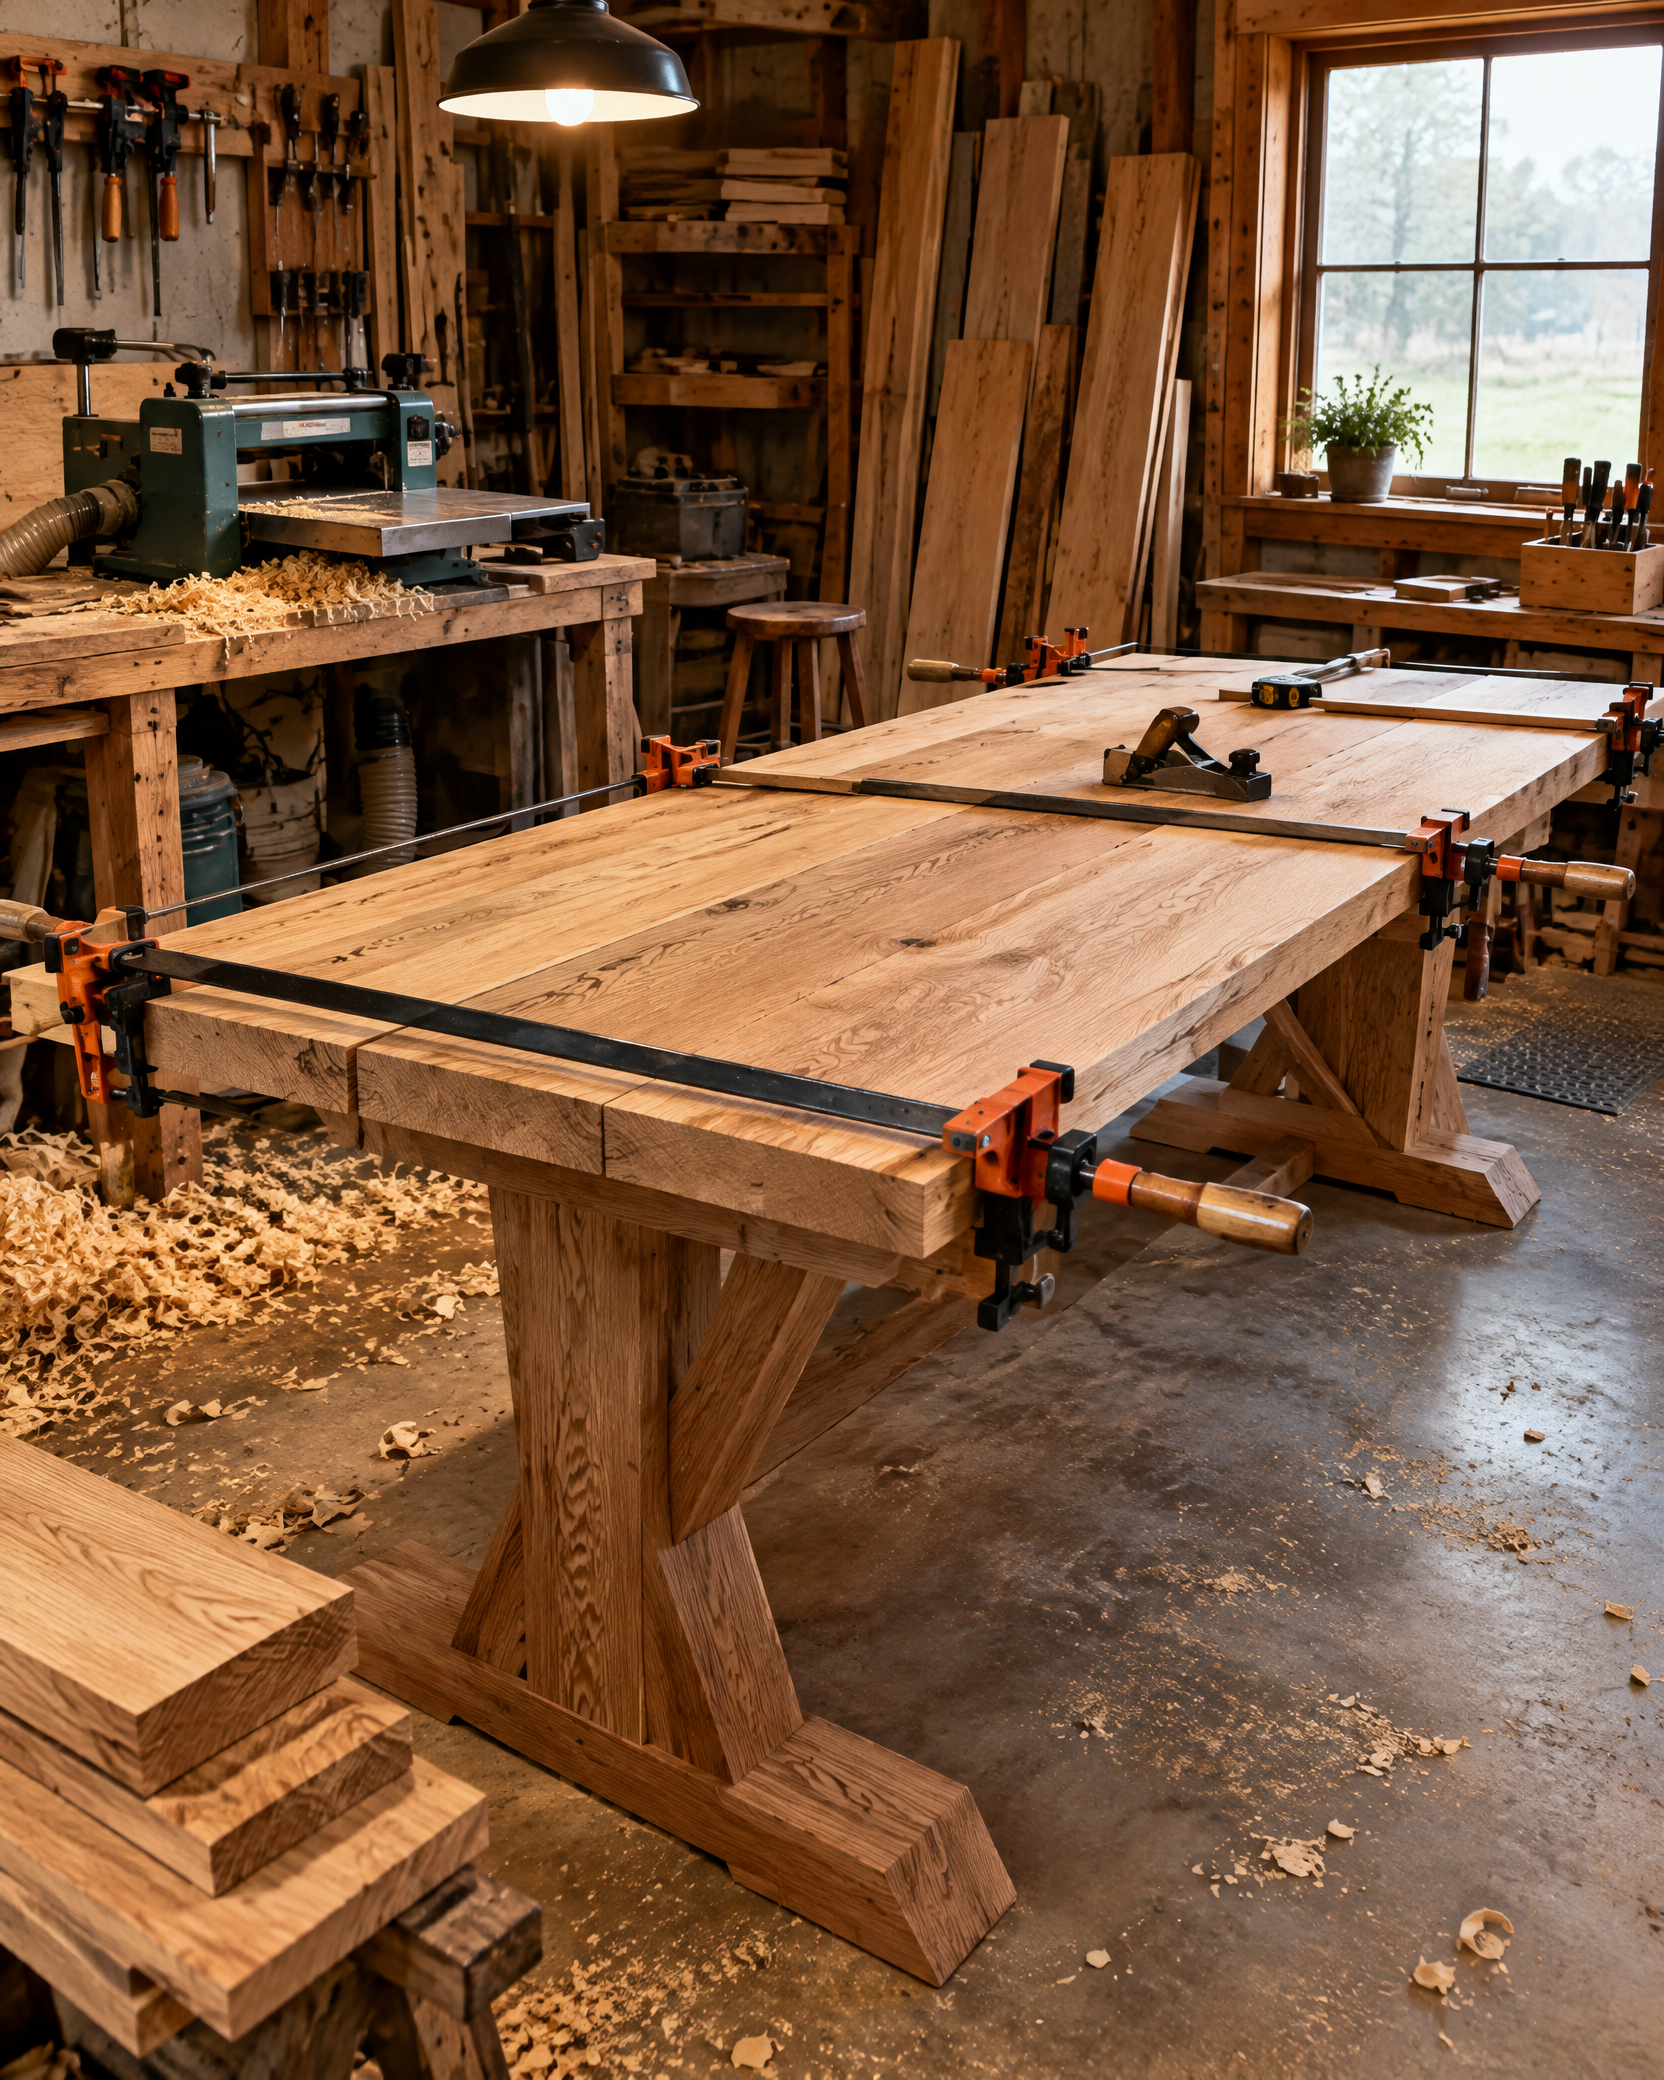
Glue and clamp any rim or lamination on a flat surface, cleaning squeeze-out before it hardens.
Step 4
Shape handles or edge profiles with guarded tools, then sand progressively and soften all hand-contact edges.
Step 5
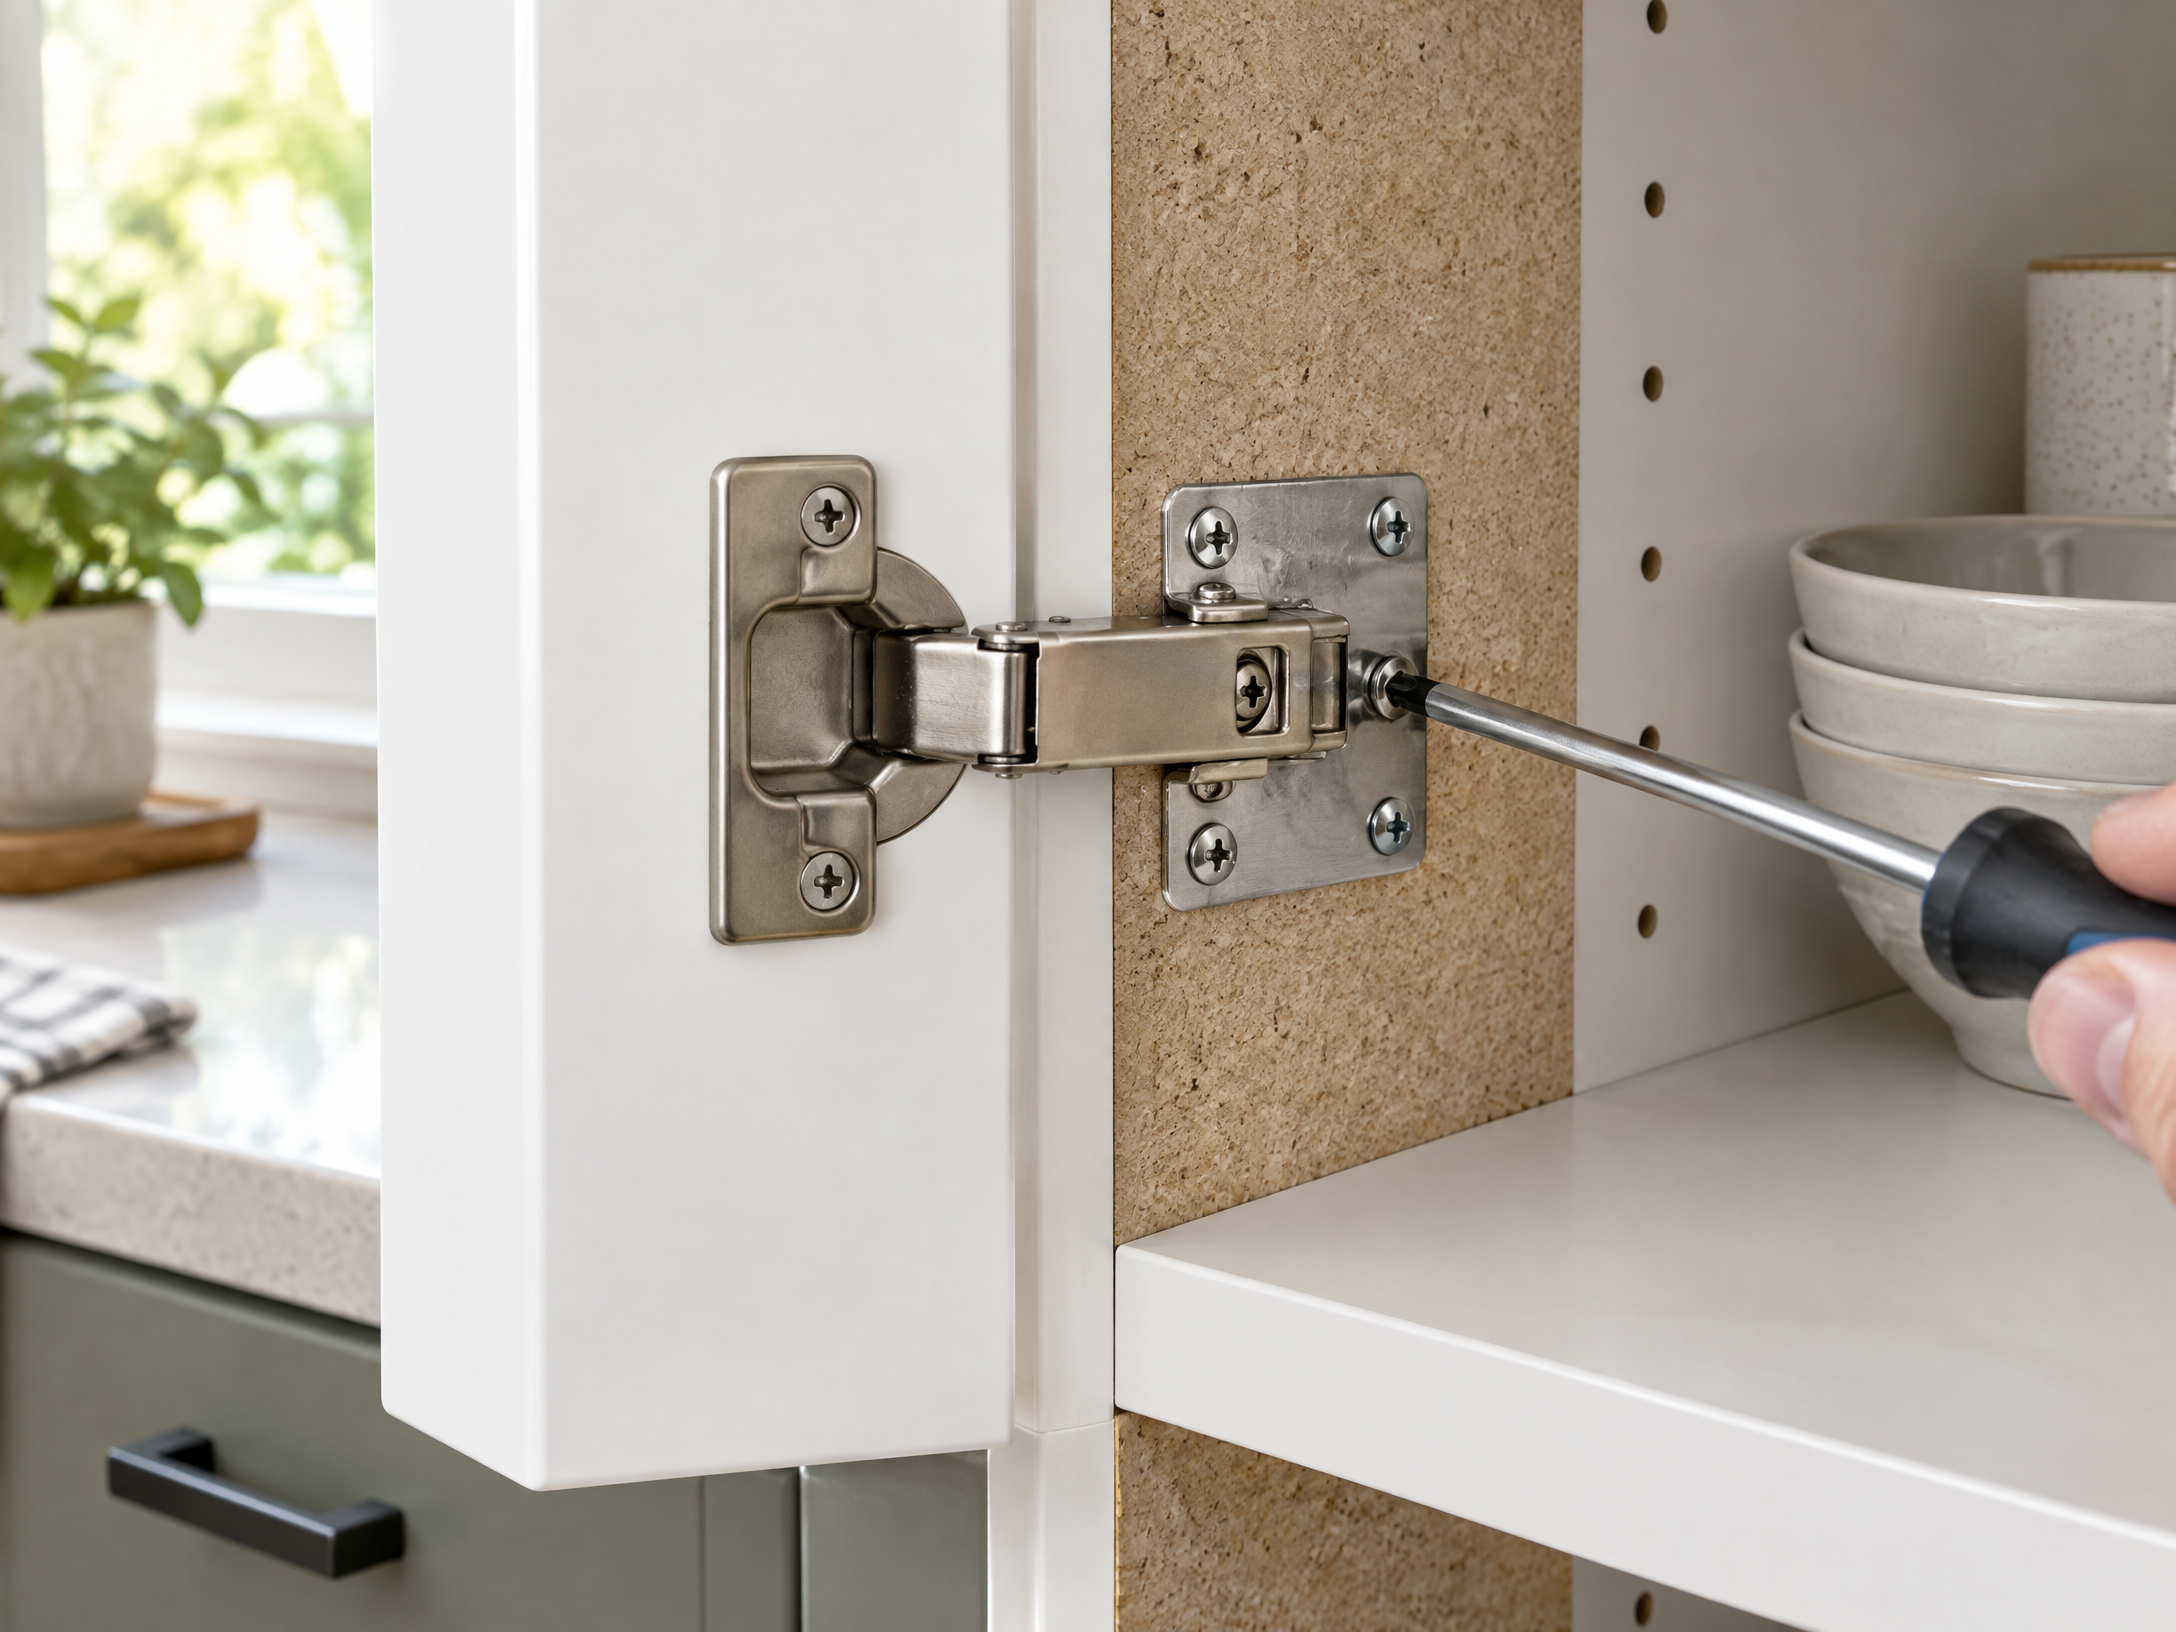
Install handles with pilot holes and screws that cannot penetrate the carrying surface.
Step 6
Apply a finish specifically suitable for the intended food contact after cure, add non-slip feet, and hand-wash only as the finish maker directs.
Use guards, clamps, eye, hearing, and dust protection. Verify handle fasteners and the finished carrying load before use; never use a decorative finish for food contact unless the manufacturer confirms suitability after cure.