Step-by-step instructions
Step 1
Inventory the frames, record each overall size and hanging-point offset, and weigh heavier pieces before selecting hardware.
Step 2
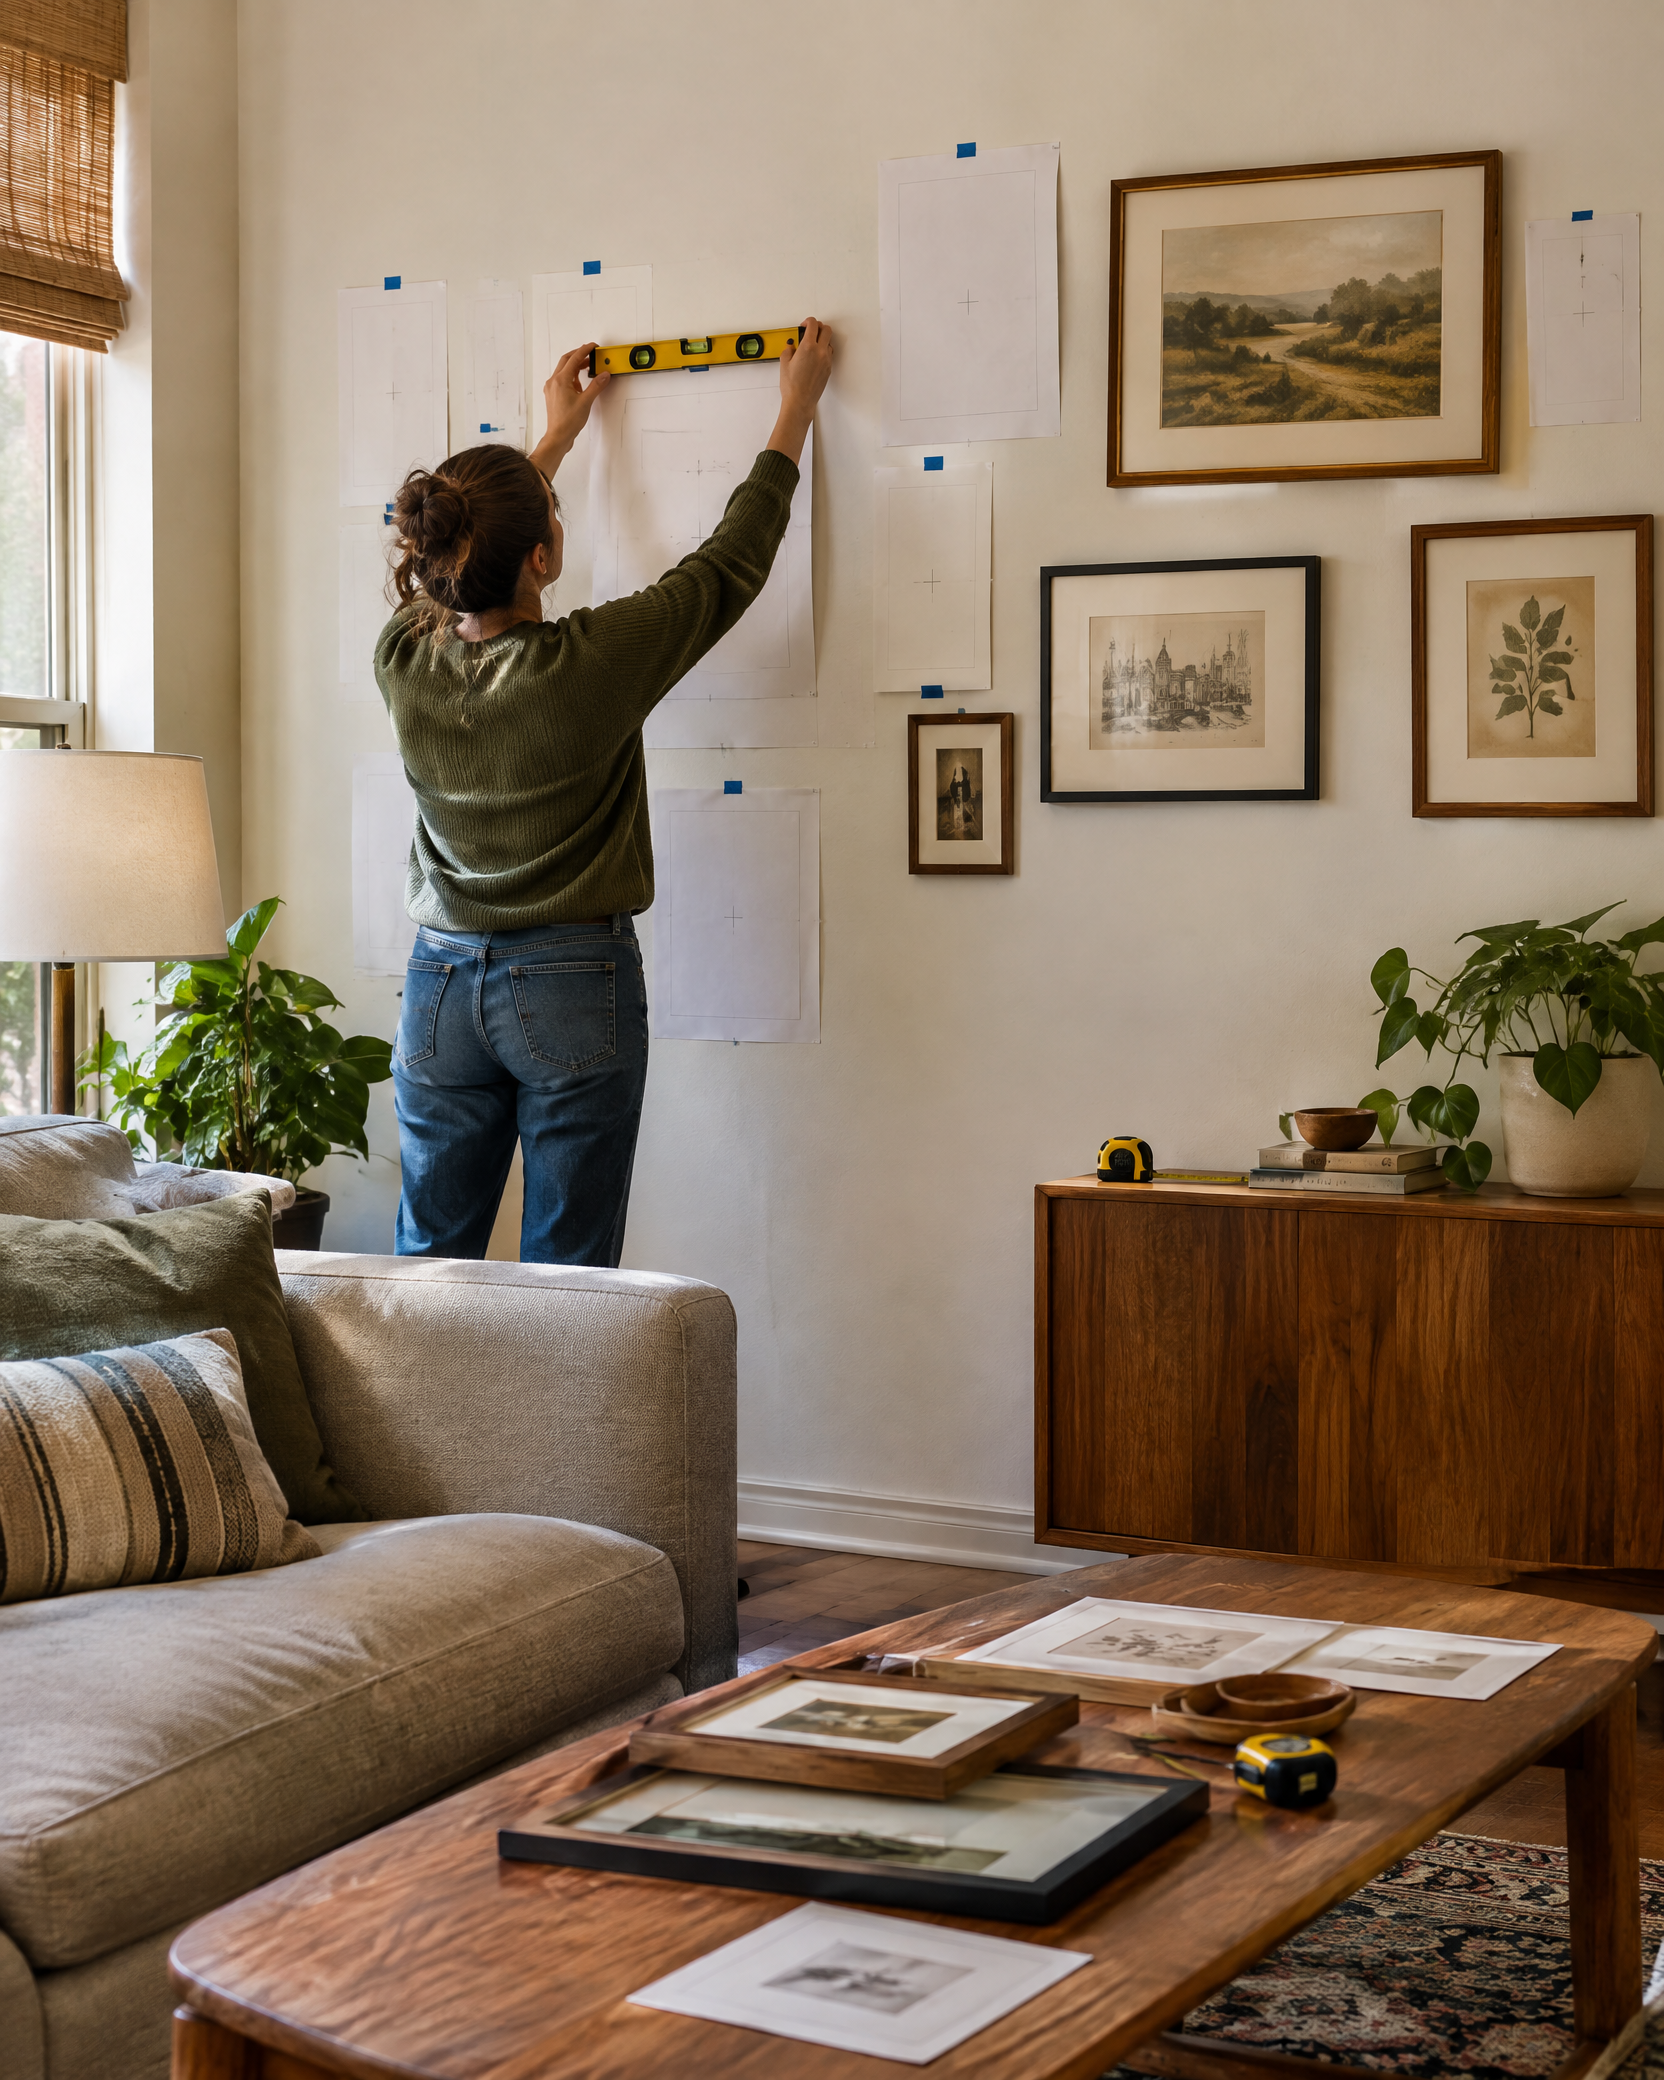
Arrange the frames on the floor with a consistent visual gap, then trace paper templates and mark each hanger position on its template.
Step 3
Tape the templates to the wall around a defined centerline and view the arrangement from normal sightlines before making holes.
Step 4
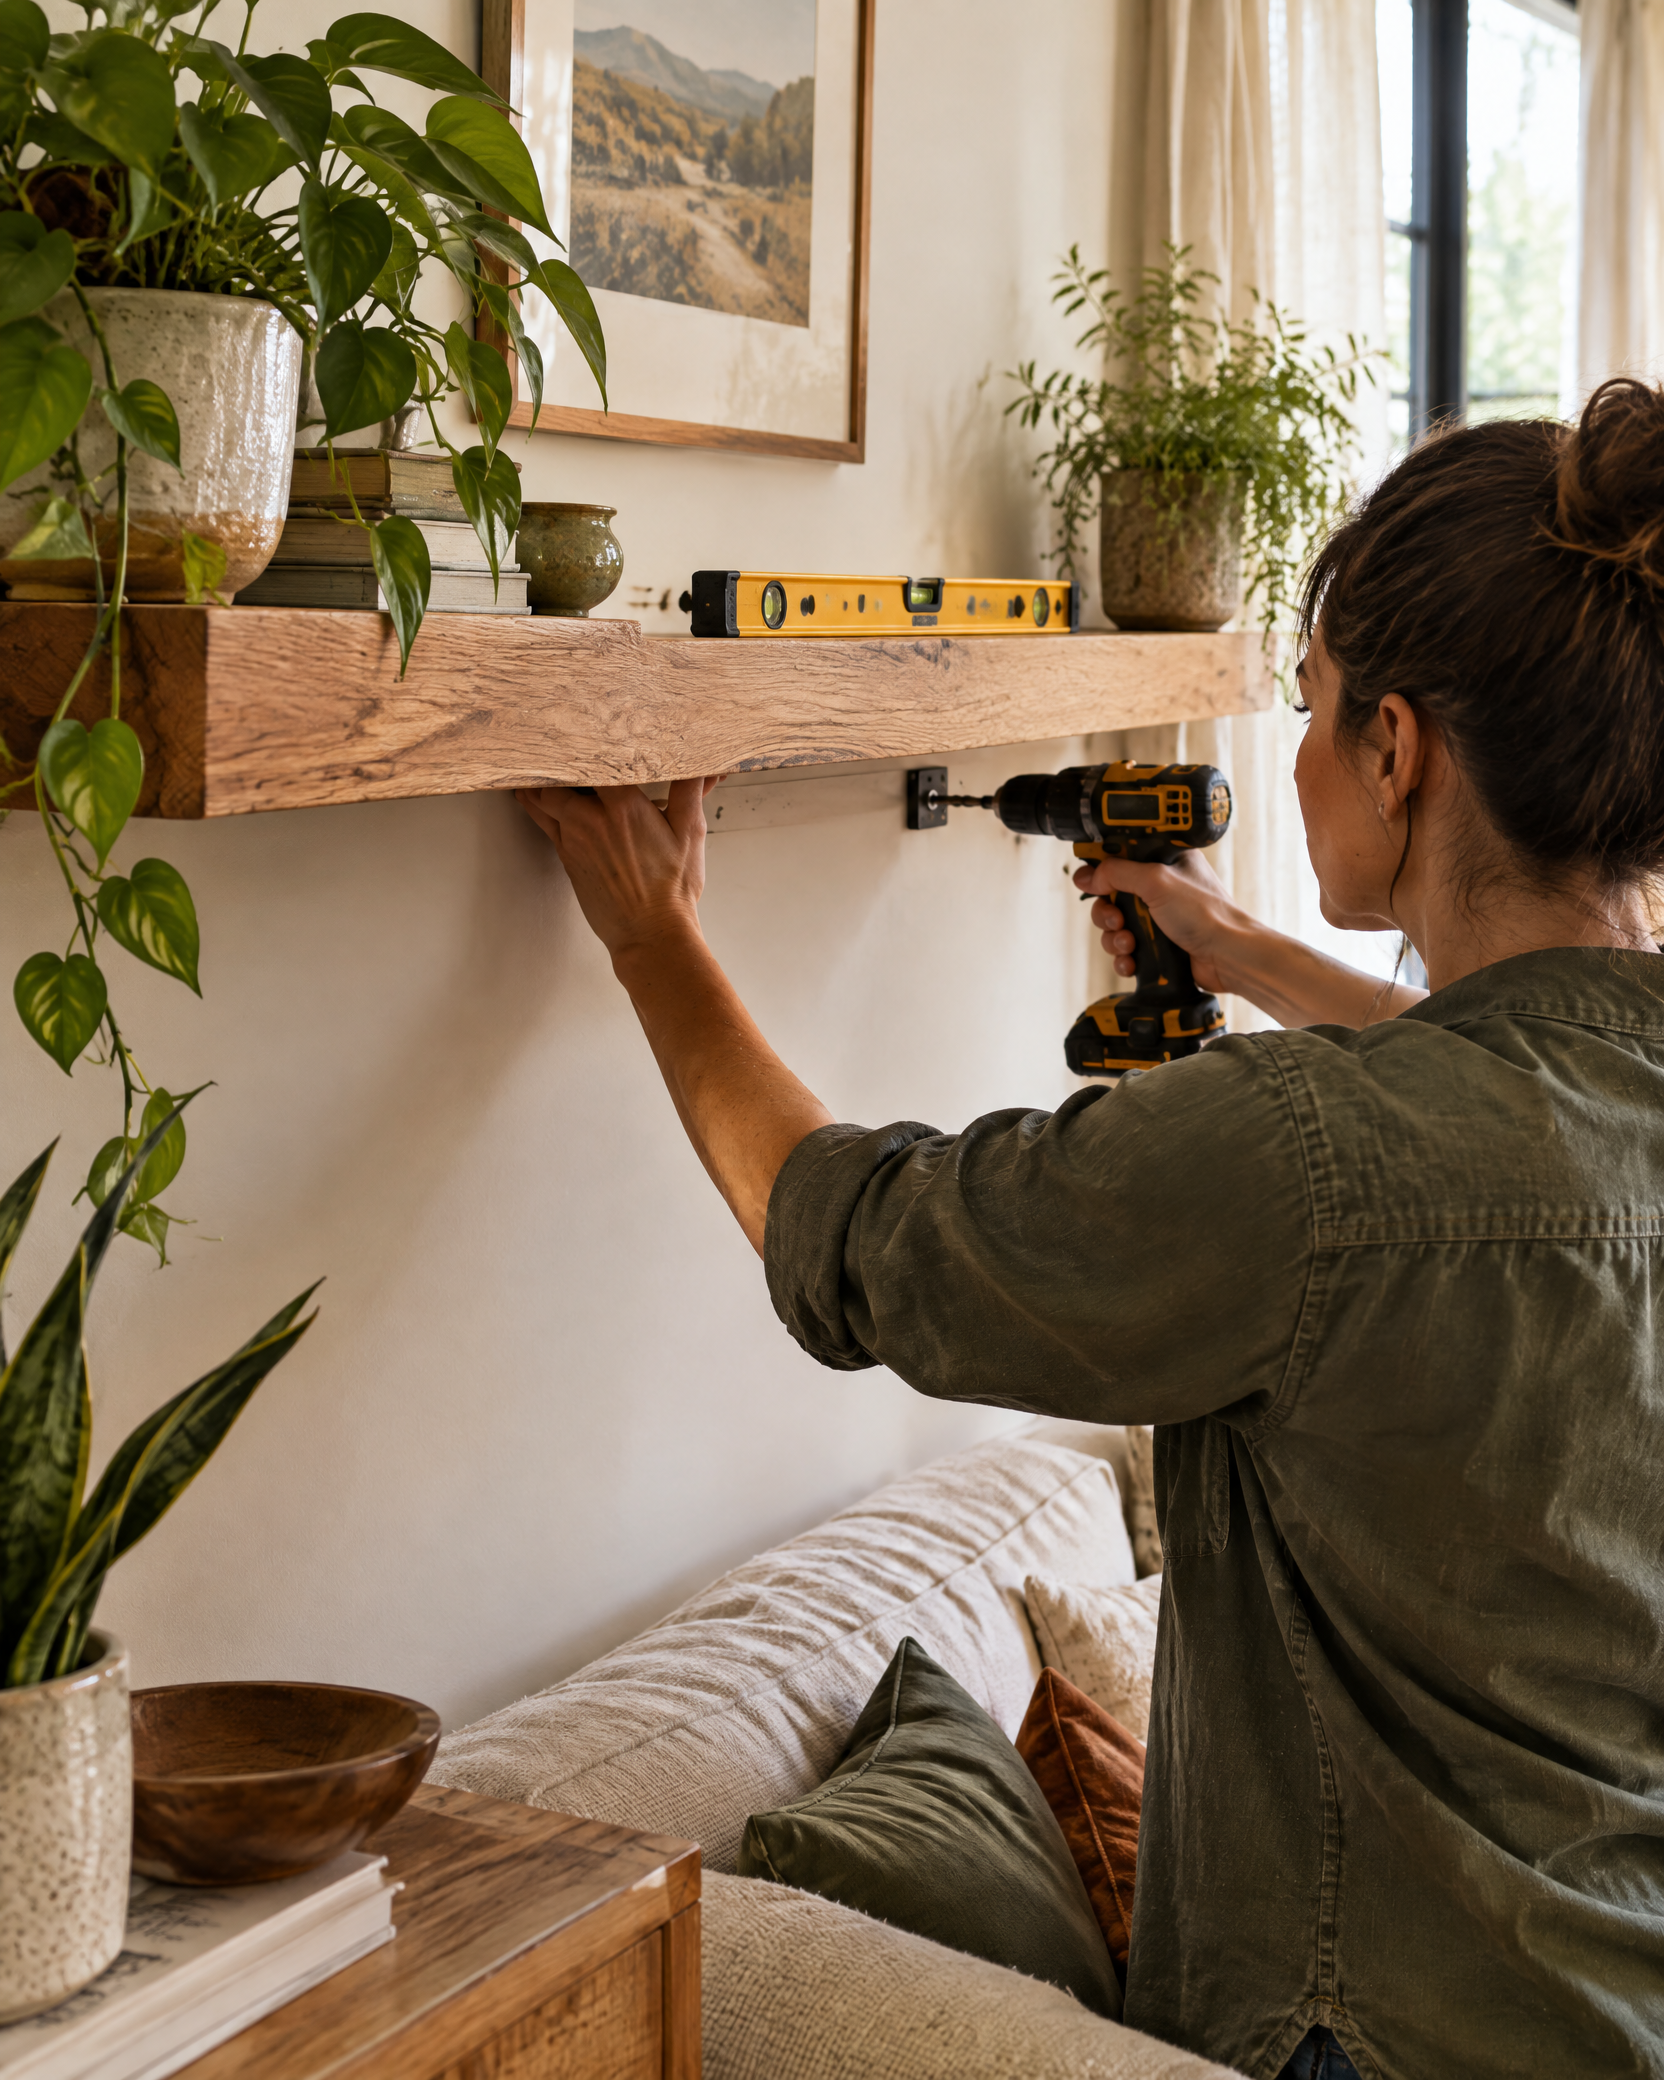
Scan each proposed fastener location for studs and utilities, then install picture hooks or anchors rated for the wall type and actual frame weight.
Step 5
Hang the center or largest piece first, work outward, and check both level and spacing after each row.
Step 6
Add bumpers to protect the wall, secure vulnerable frames where appropriate, and retain the layout measurements for future changes.
Check for electrical wiring and plumbing before drilling. Use hardware rated for the wall type and frame weight, and keep heavy or glass-fronted pieces away from beds, cribs, and high-traffic impact zones.