Step-by-step instructions
Step 1
Choose the shelf location and intended load, then verify the bracket and fasteners are rated for both the wall construction and shelf dimensions.
Step 2
Scan for utilities, locate studs with a secondary check, and mark a level bracket line without assuming standard stud spacing.
Step 3
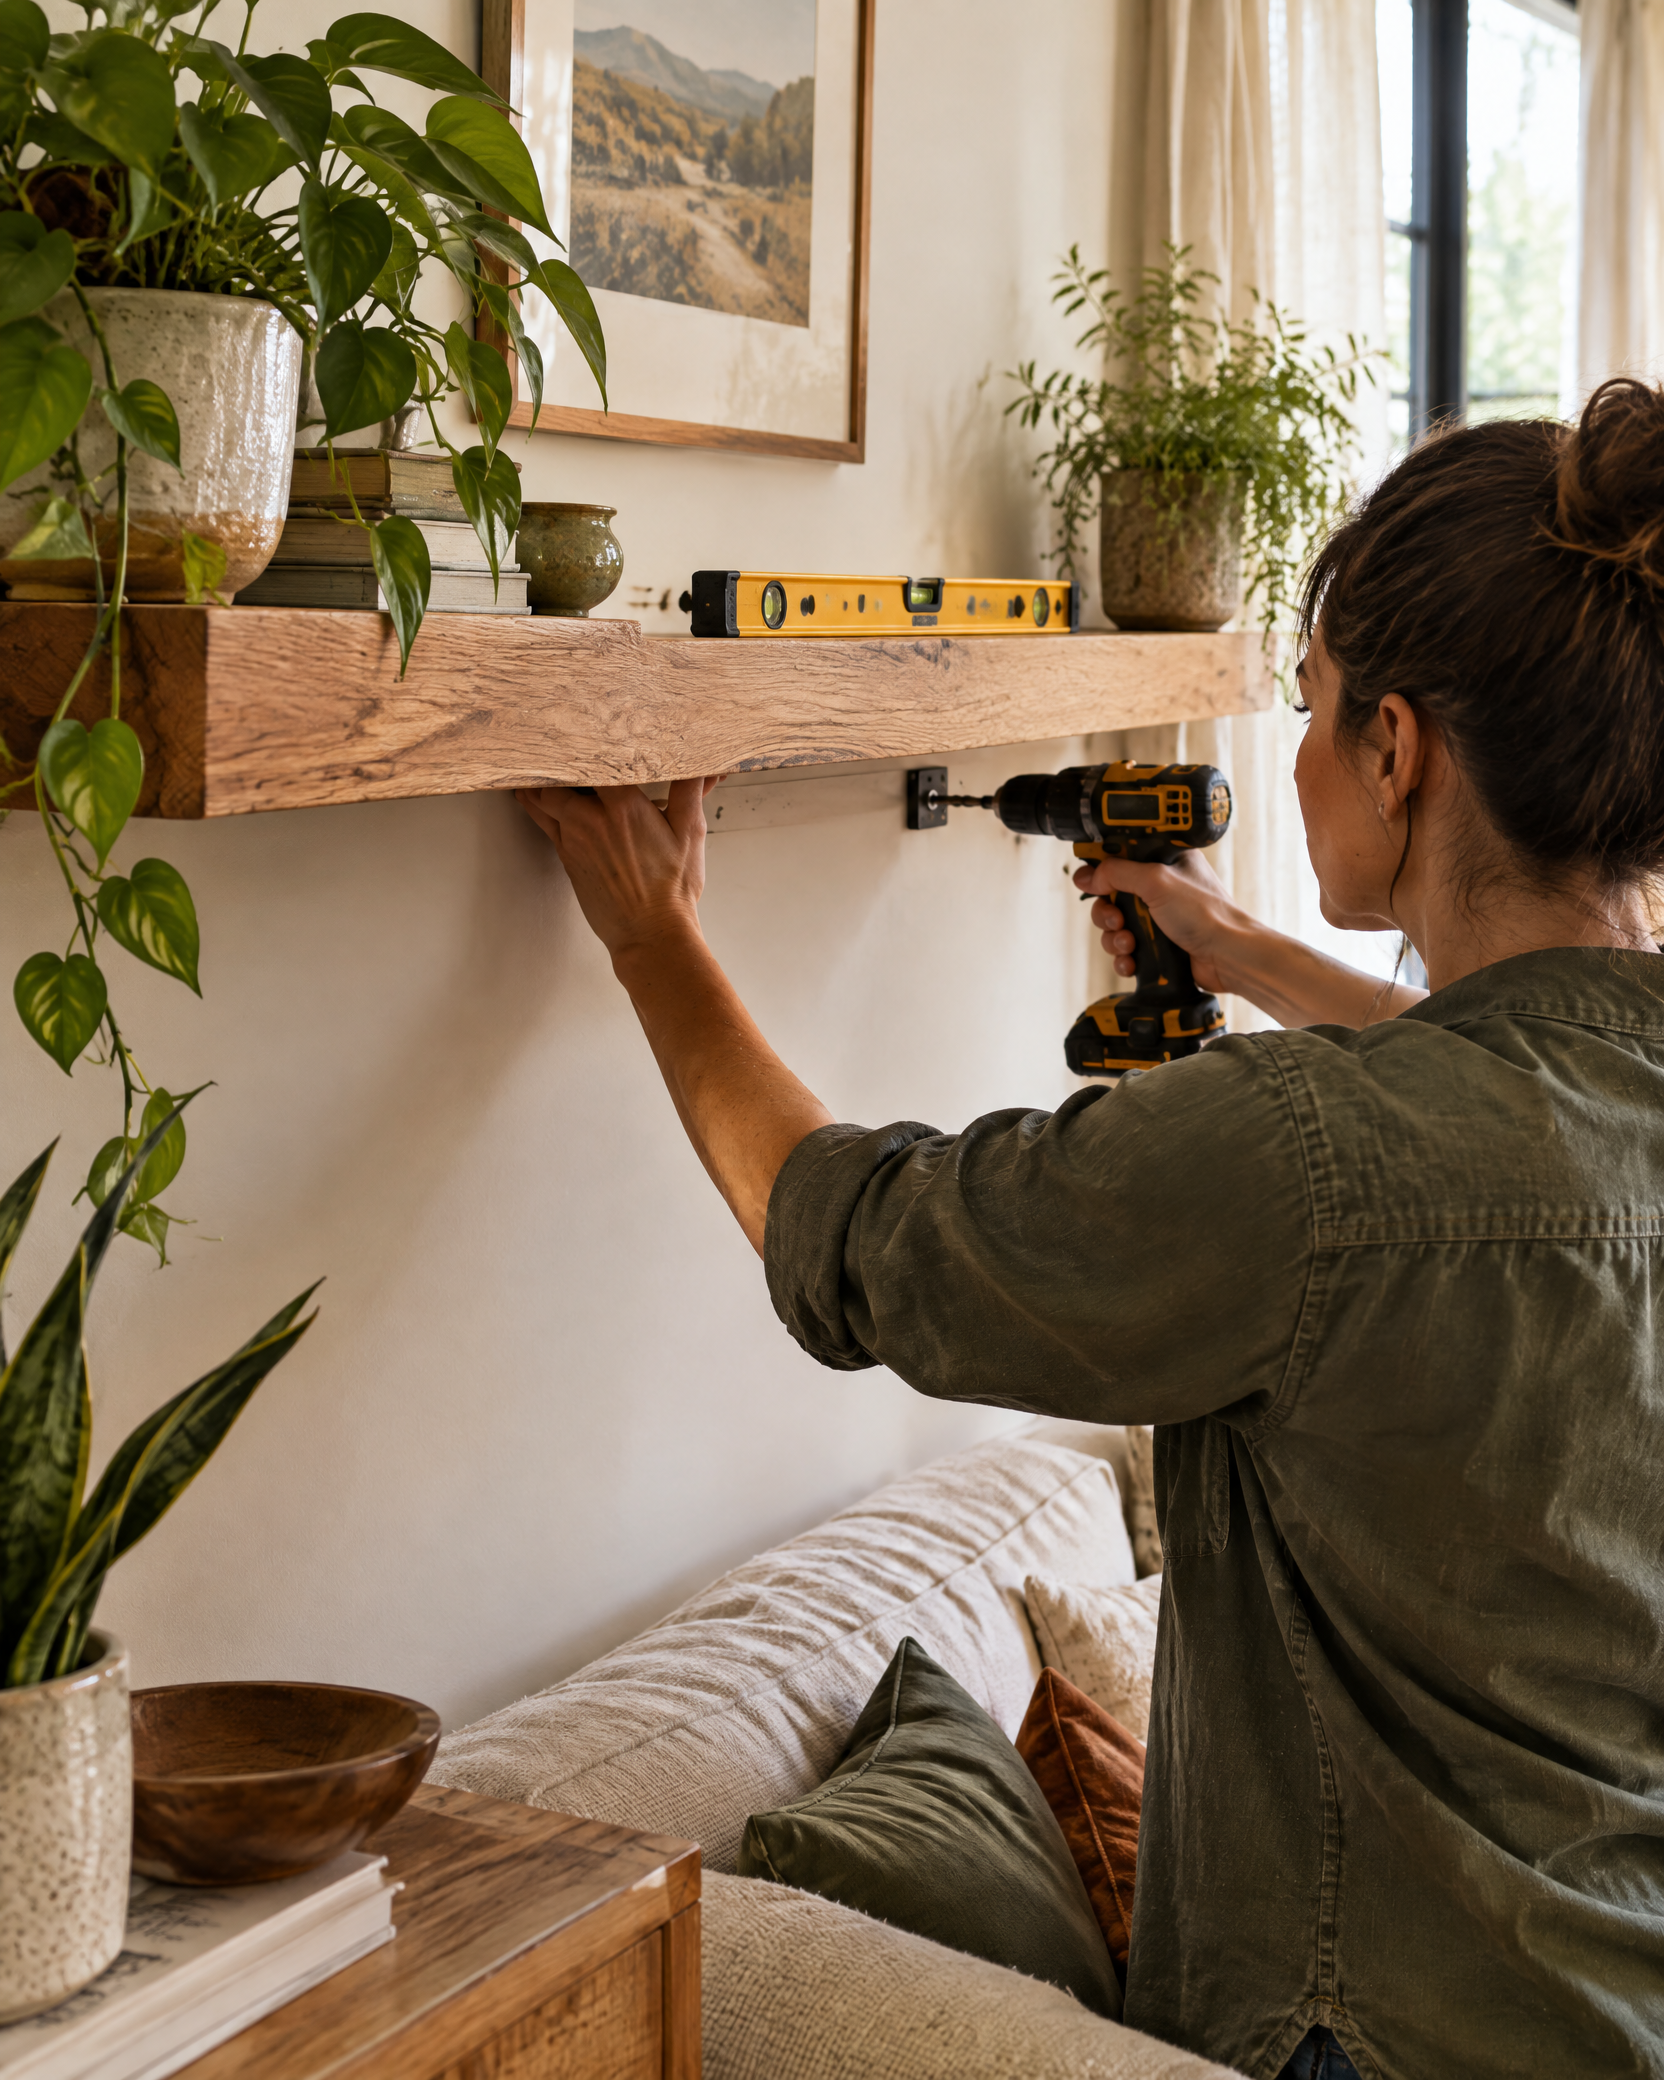
Hold the bracket in place, mark confirmed fastening points, and drill the manufacturer-specified pilot holes without entering unknown cavities.
Step 4
Fasten the bracket to sound framing or an approved masonry/anchor system, then recheck level and tighten without crushing drywall.
Step 5
Fit the shelf to the bracket, install any anti-lift or locking screws, and correct wobble before adding objects.
Step 6
Load the shelf gradually, keep heavy items close to the wall, and stop below the lowest rated component in the assembly.
Hidden electrical, plumbing, or structural elements may be present. Do not drill into an uncertain wall; use a qualified professional if utilities, masonry, framing, or the required load capacity cannot be confirmed.