Step-by-step instructions
Step 1
Use the thermostat manufacturer’s compatibility checker with the HVAC equipment type, voltage, stages, and existing wire labels; do not assume wire color identifies function.
Step 2
Shut off HVAC power at the service switch and breaker, then verify the system and thermostat are de-energized before removing the cover.
Step 3
Photograph the original terminals, label each conductor by its terminal designation, and stop if you find line voltage, unlabeled splices, damaged insulation, or unsupported equipment.
Step 4
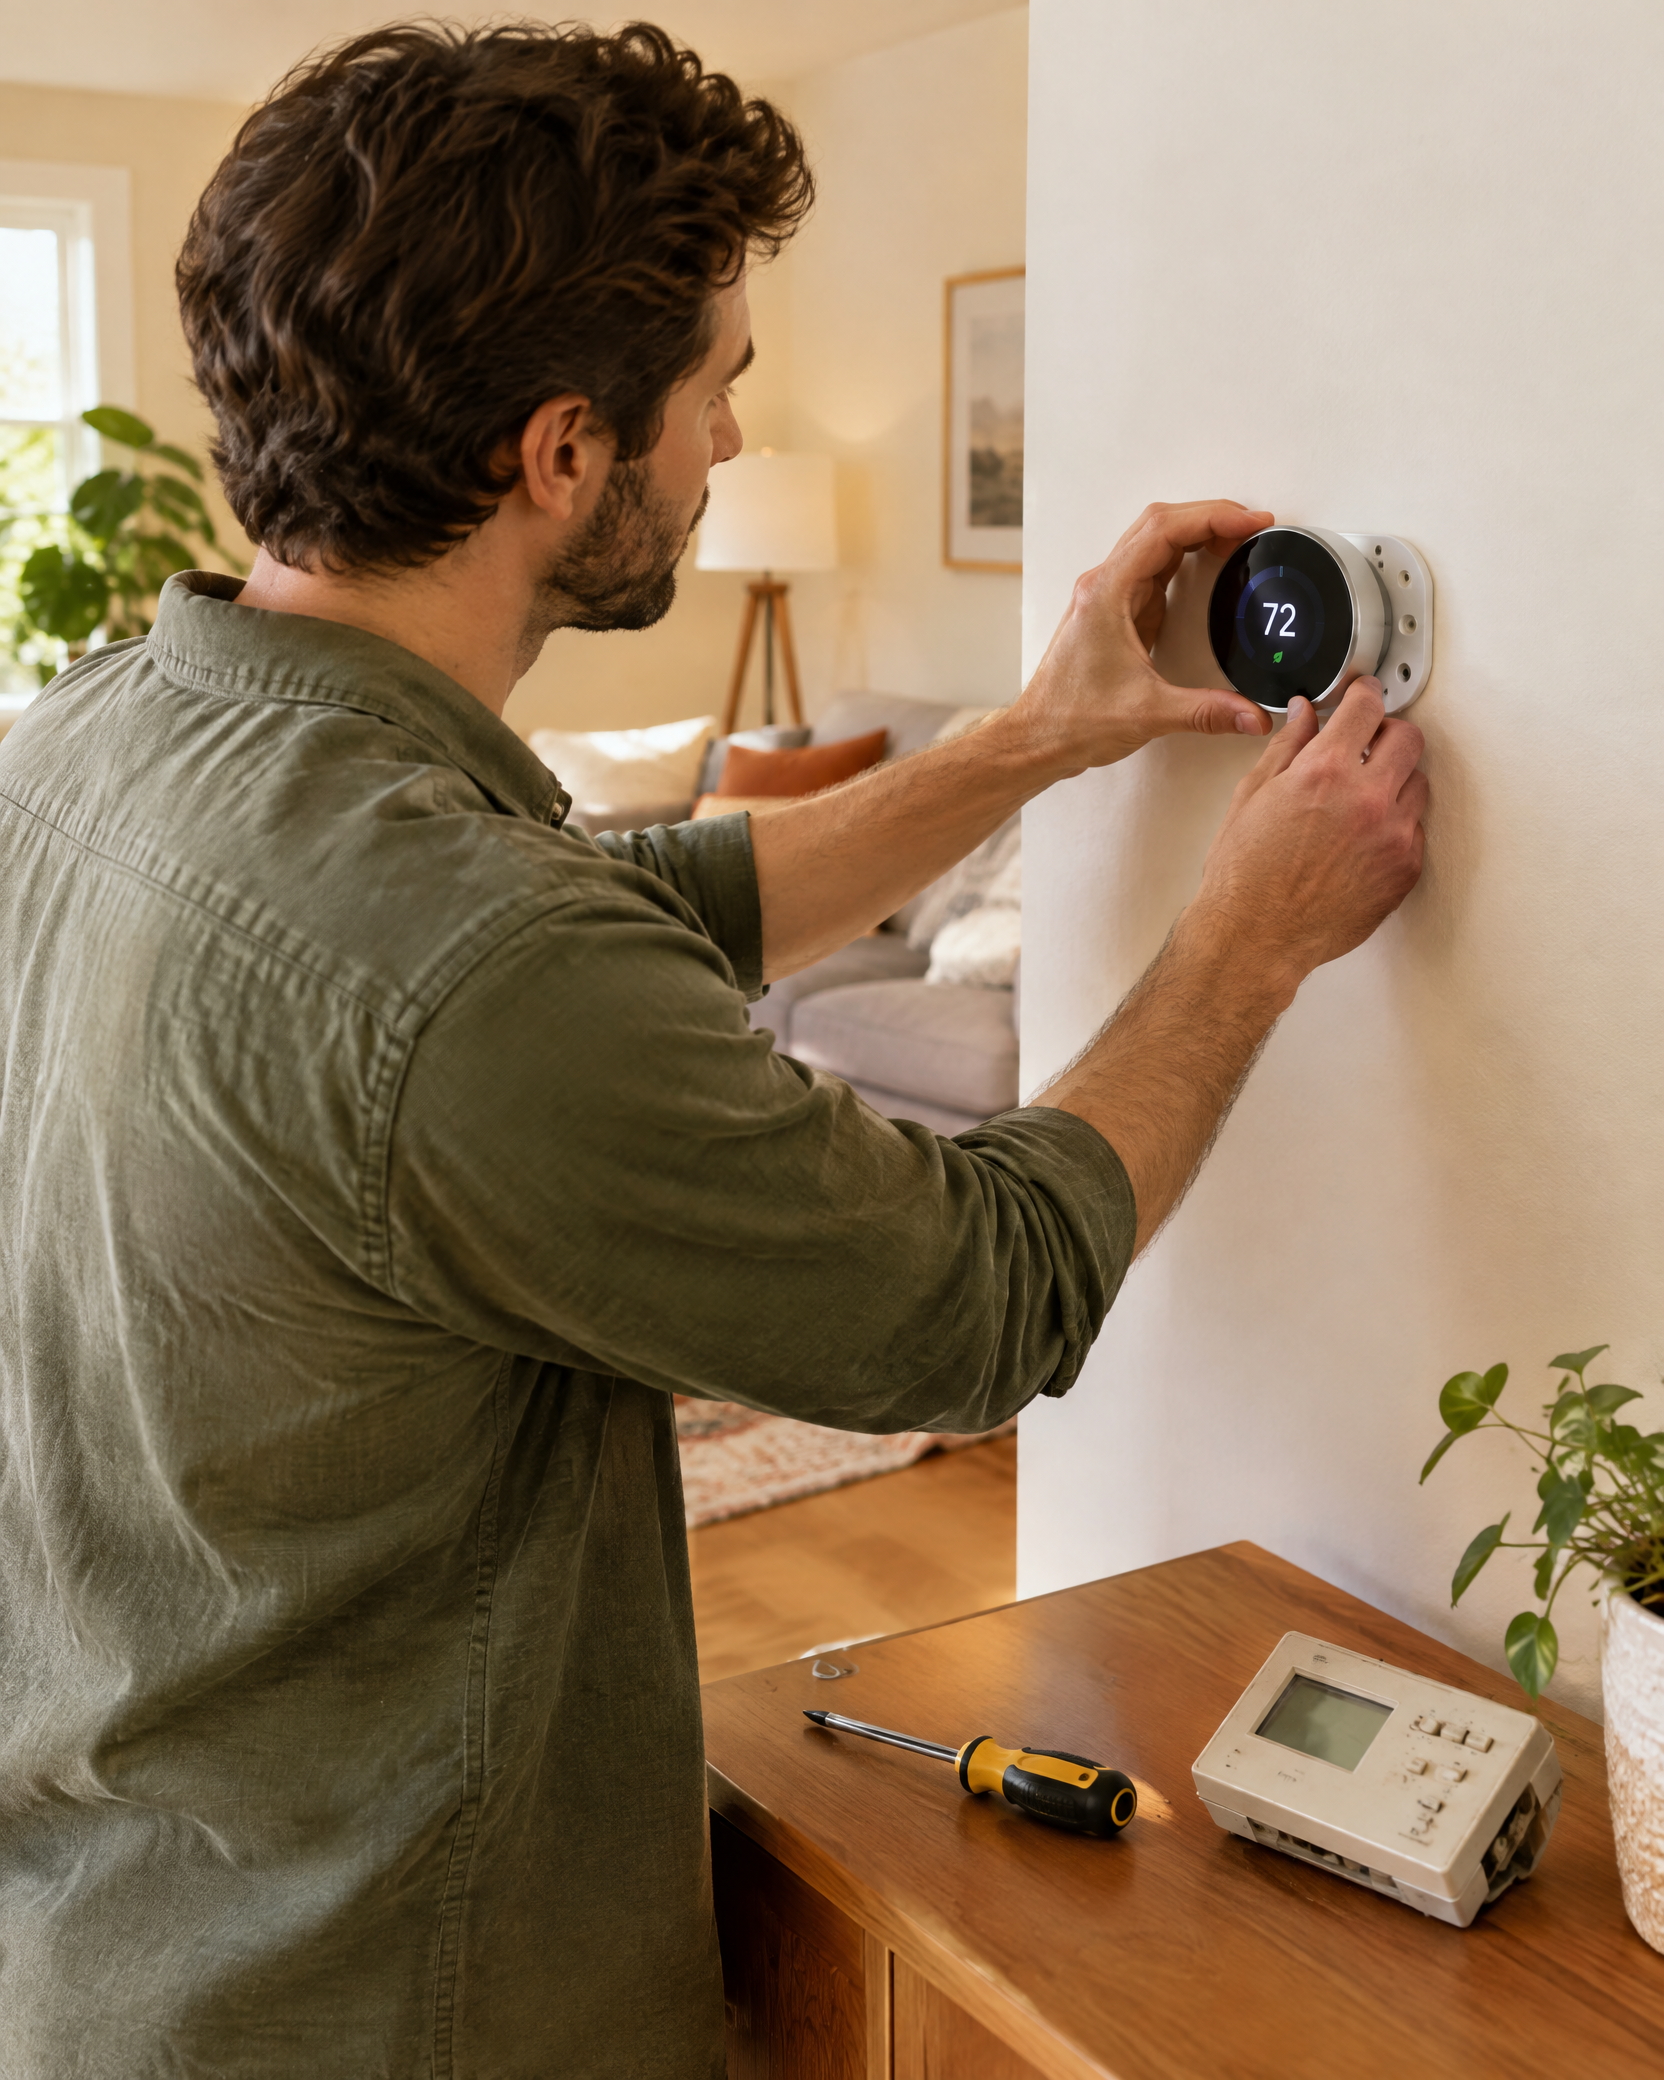
Remove the old base without allowing wires to fall into the wall, route conductors through the new base, and fasten it level using wall-appropriate anchors.
Step 5
Connect only the terminals specified for the confirmed system, install any approved adapter exactly as directed, and mount the display.
Step 6
Restore power, complete equipment configuration, test each heating/cooling/fan mode, and stop if the system short-cycles, shows an error, or behaves differently from the manufacturer’s test sequence.
Electrical and HVAC controls can damage equipment or cause shock. Shut off power and verify de-energization before starting. Consult a licensed HVAC technician or electrician if the system uses line voltage, has unclear wiring, lacks confirmed compatibility, or you are unsure.