Step-by-step instructions
Step 1
Confirm the tile is approved for the wall surface and required clearances from heat-producing appliances; order extra from one dye lot.
Step 2
Turn off power before removing outlet covers, verify the surface is dry, and degrease the backsplash without soaking drywall.
Step 3
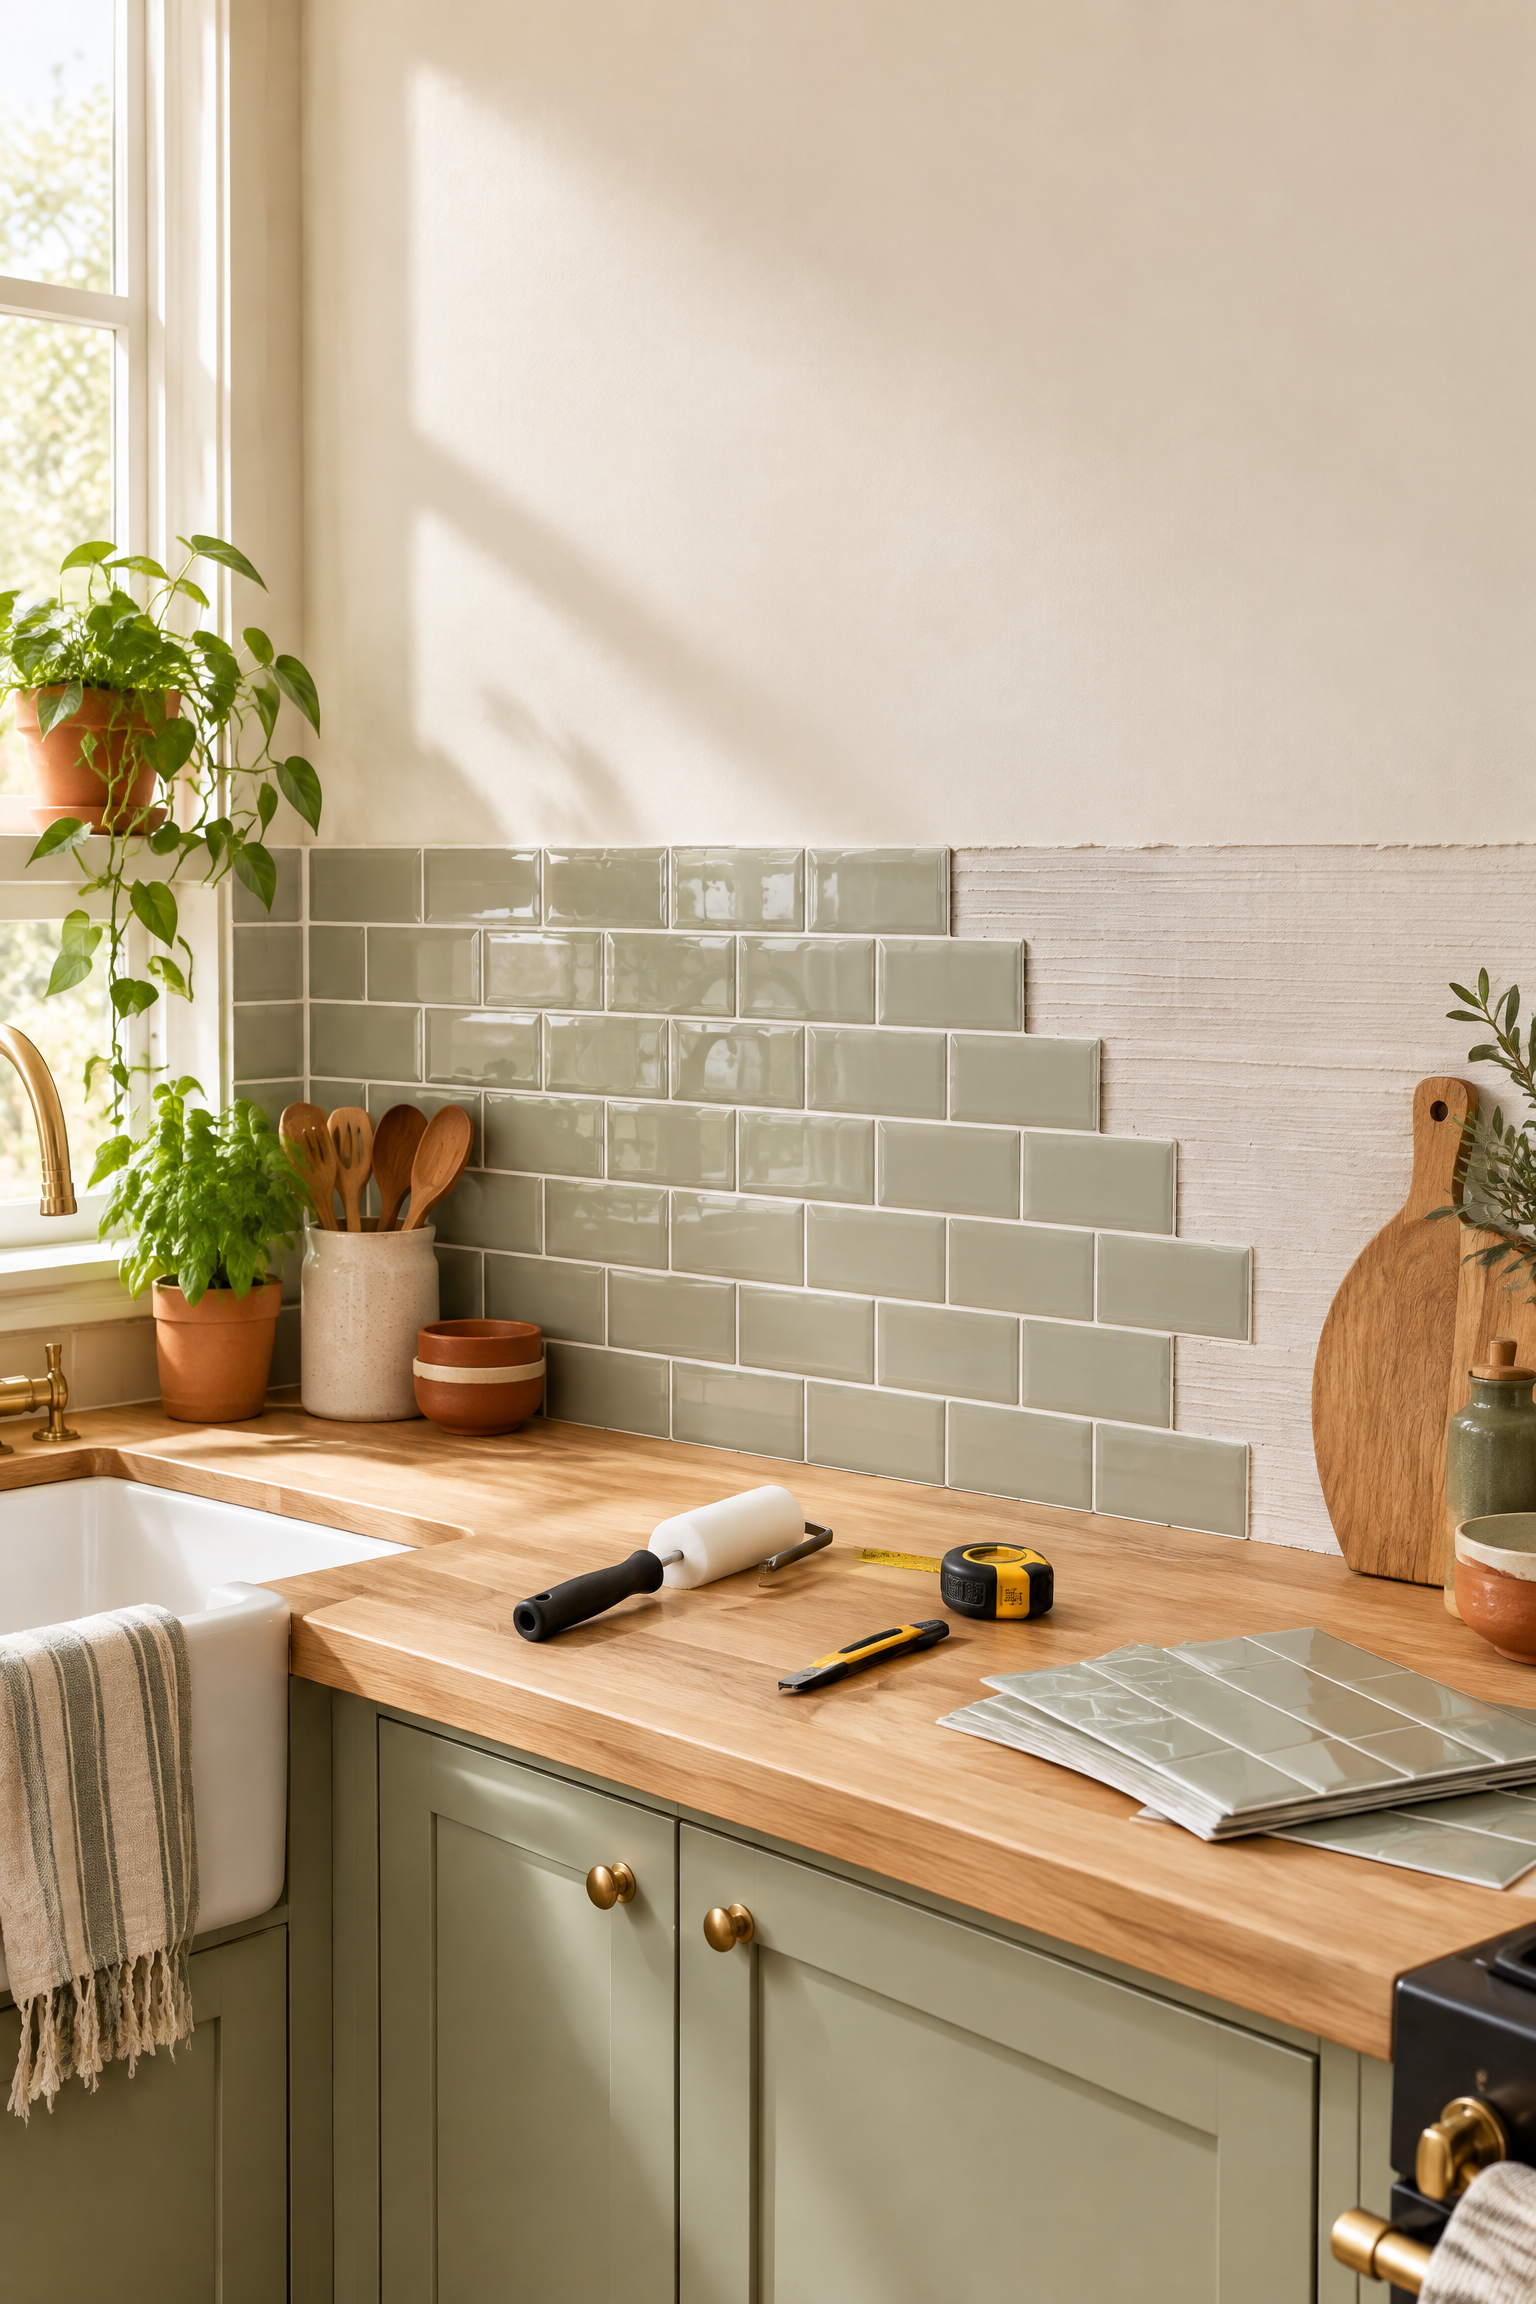
Establish a level reference line and dry-layout tiles from the most visible focal point so narrow cuts land at less-visible edges.
Step 4
Make paper templates around outlets and corners, transfer the shapes, and cut on a protected surface away from installed wiring.
Step 5
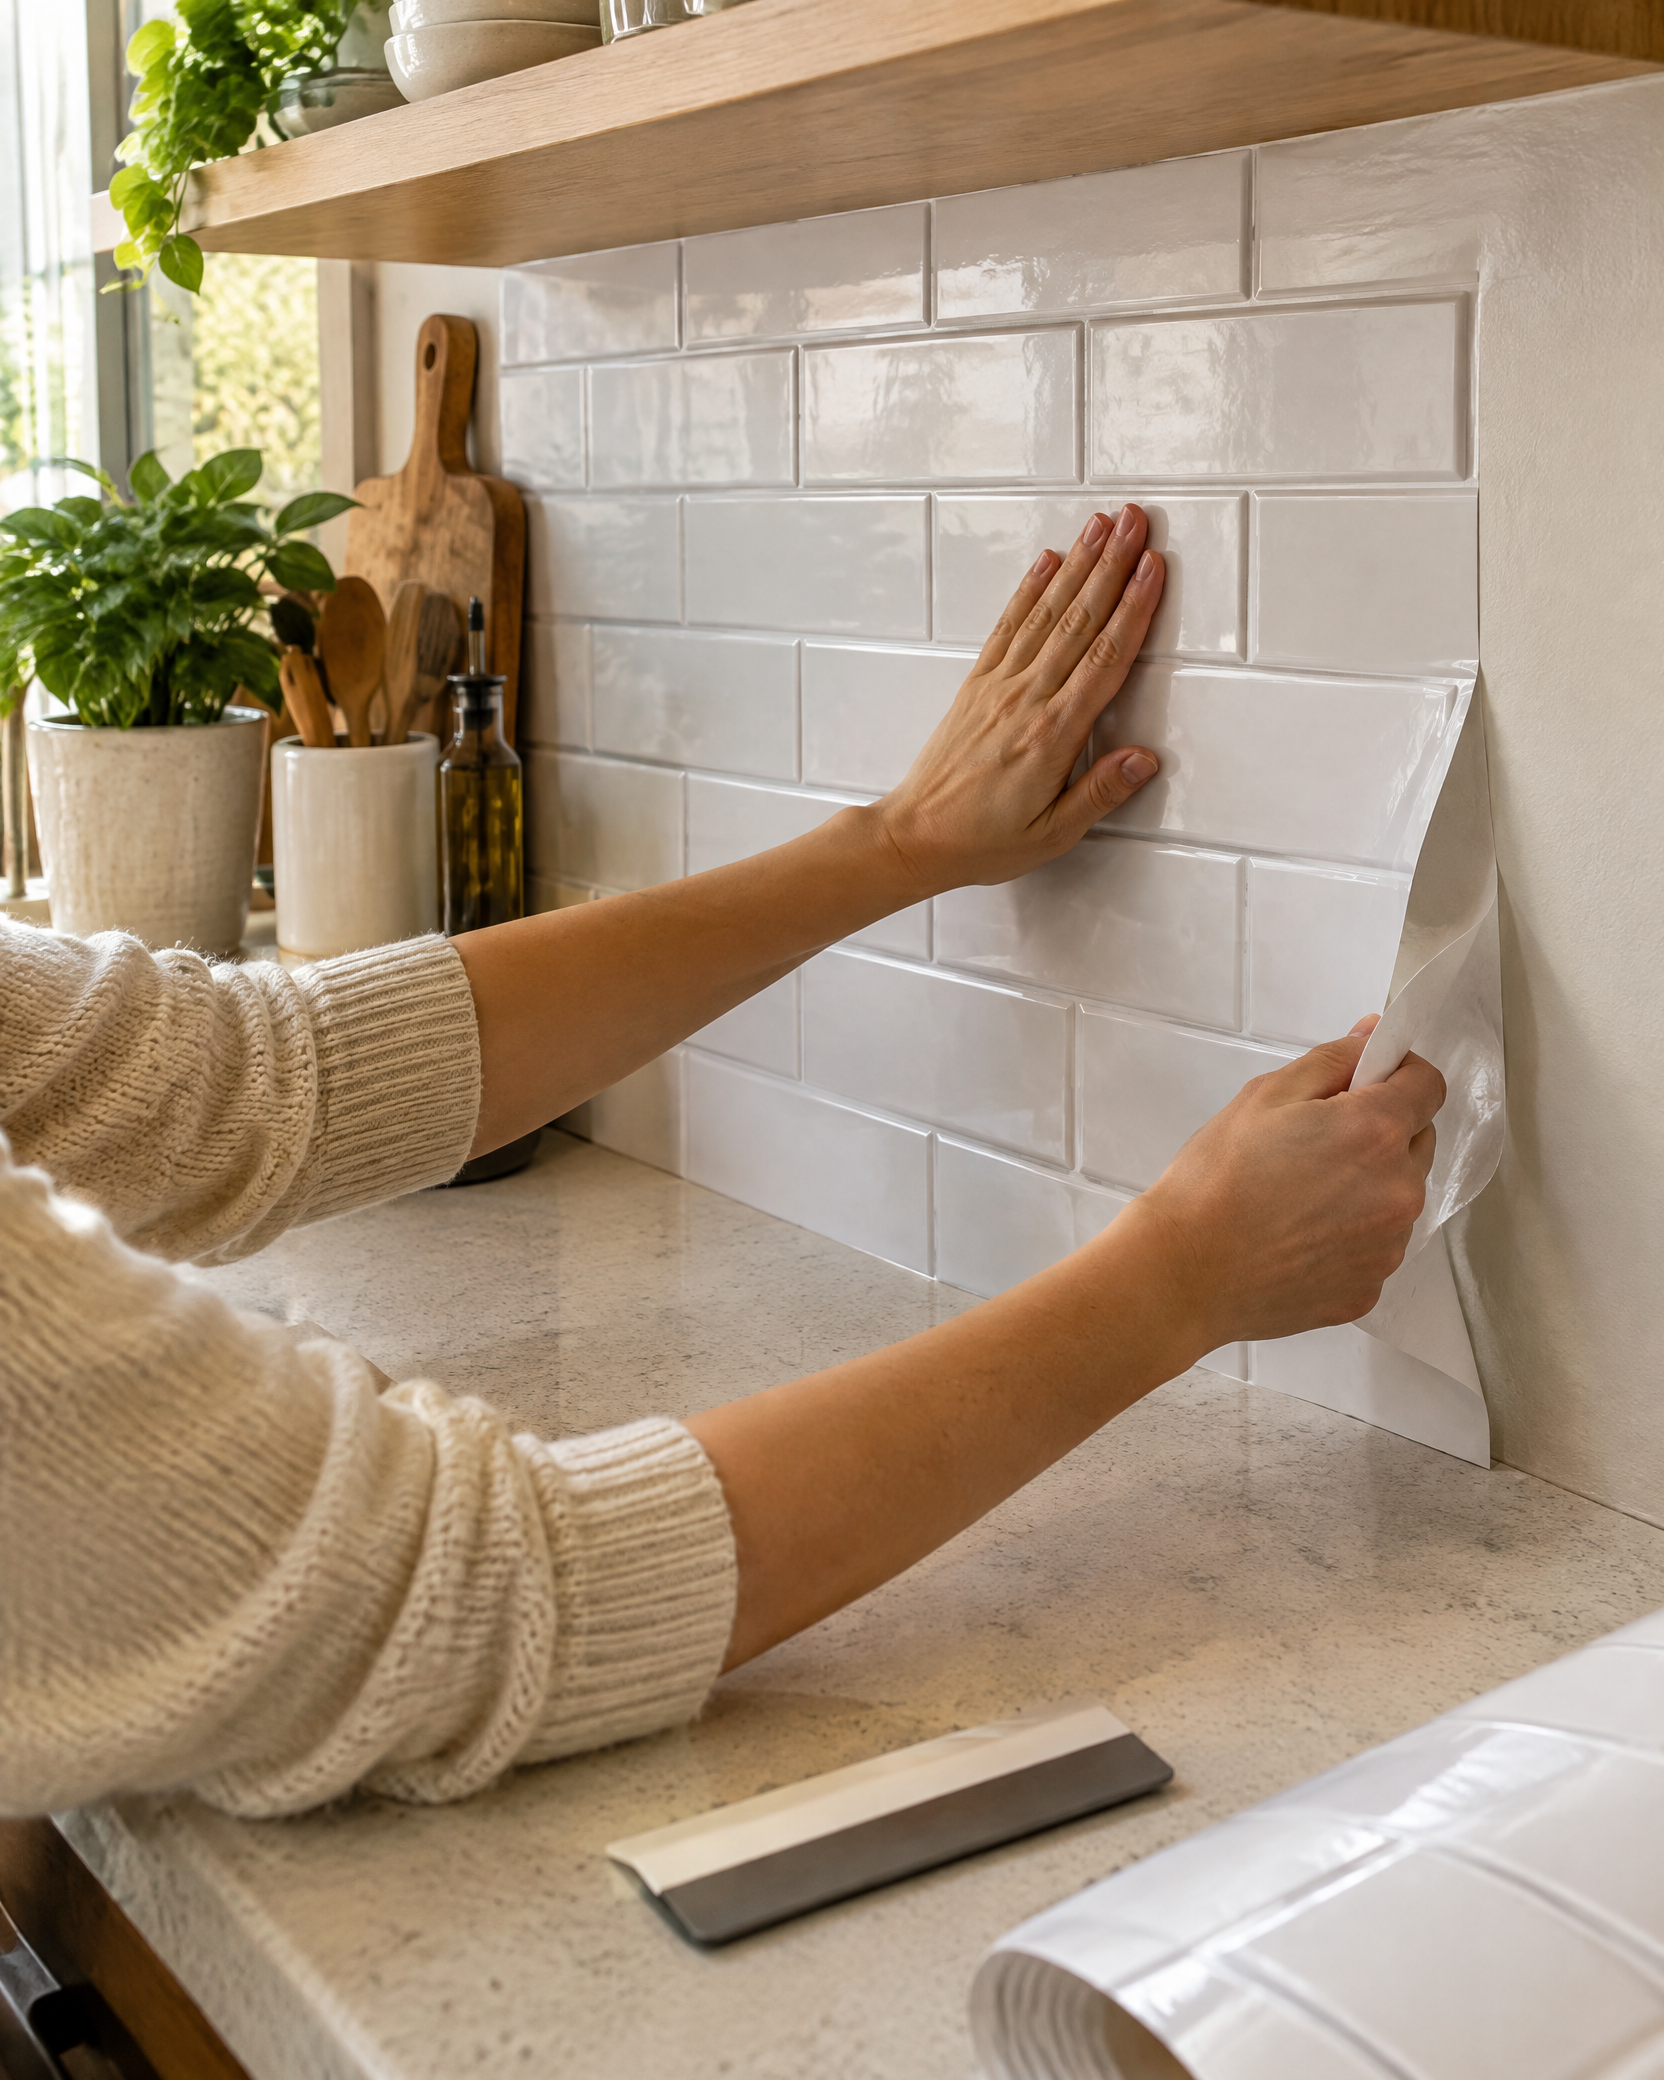
Peel a small section of backing at a time, align to the reference line, and press from the center outward without stretching the tile.
Step 6
Roll or burnish the finished field as directed, install approved edge treatment, restore outlet covers safely, and observe the adhesive cure period.
Switch off and verify power before working around receptacles. Maintain appliance and cooktop clearances specified by the tile and appliance manufacturers; use a qualified electrician if box depth, wiring, or cover fit is uncertain.