Step-by-step instructions
Step 1
Review the lease and obtain written approval before drilling, painting, replacing fixtures, or covering permanent surfaces.
Step 2
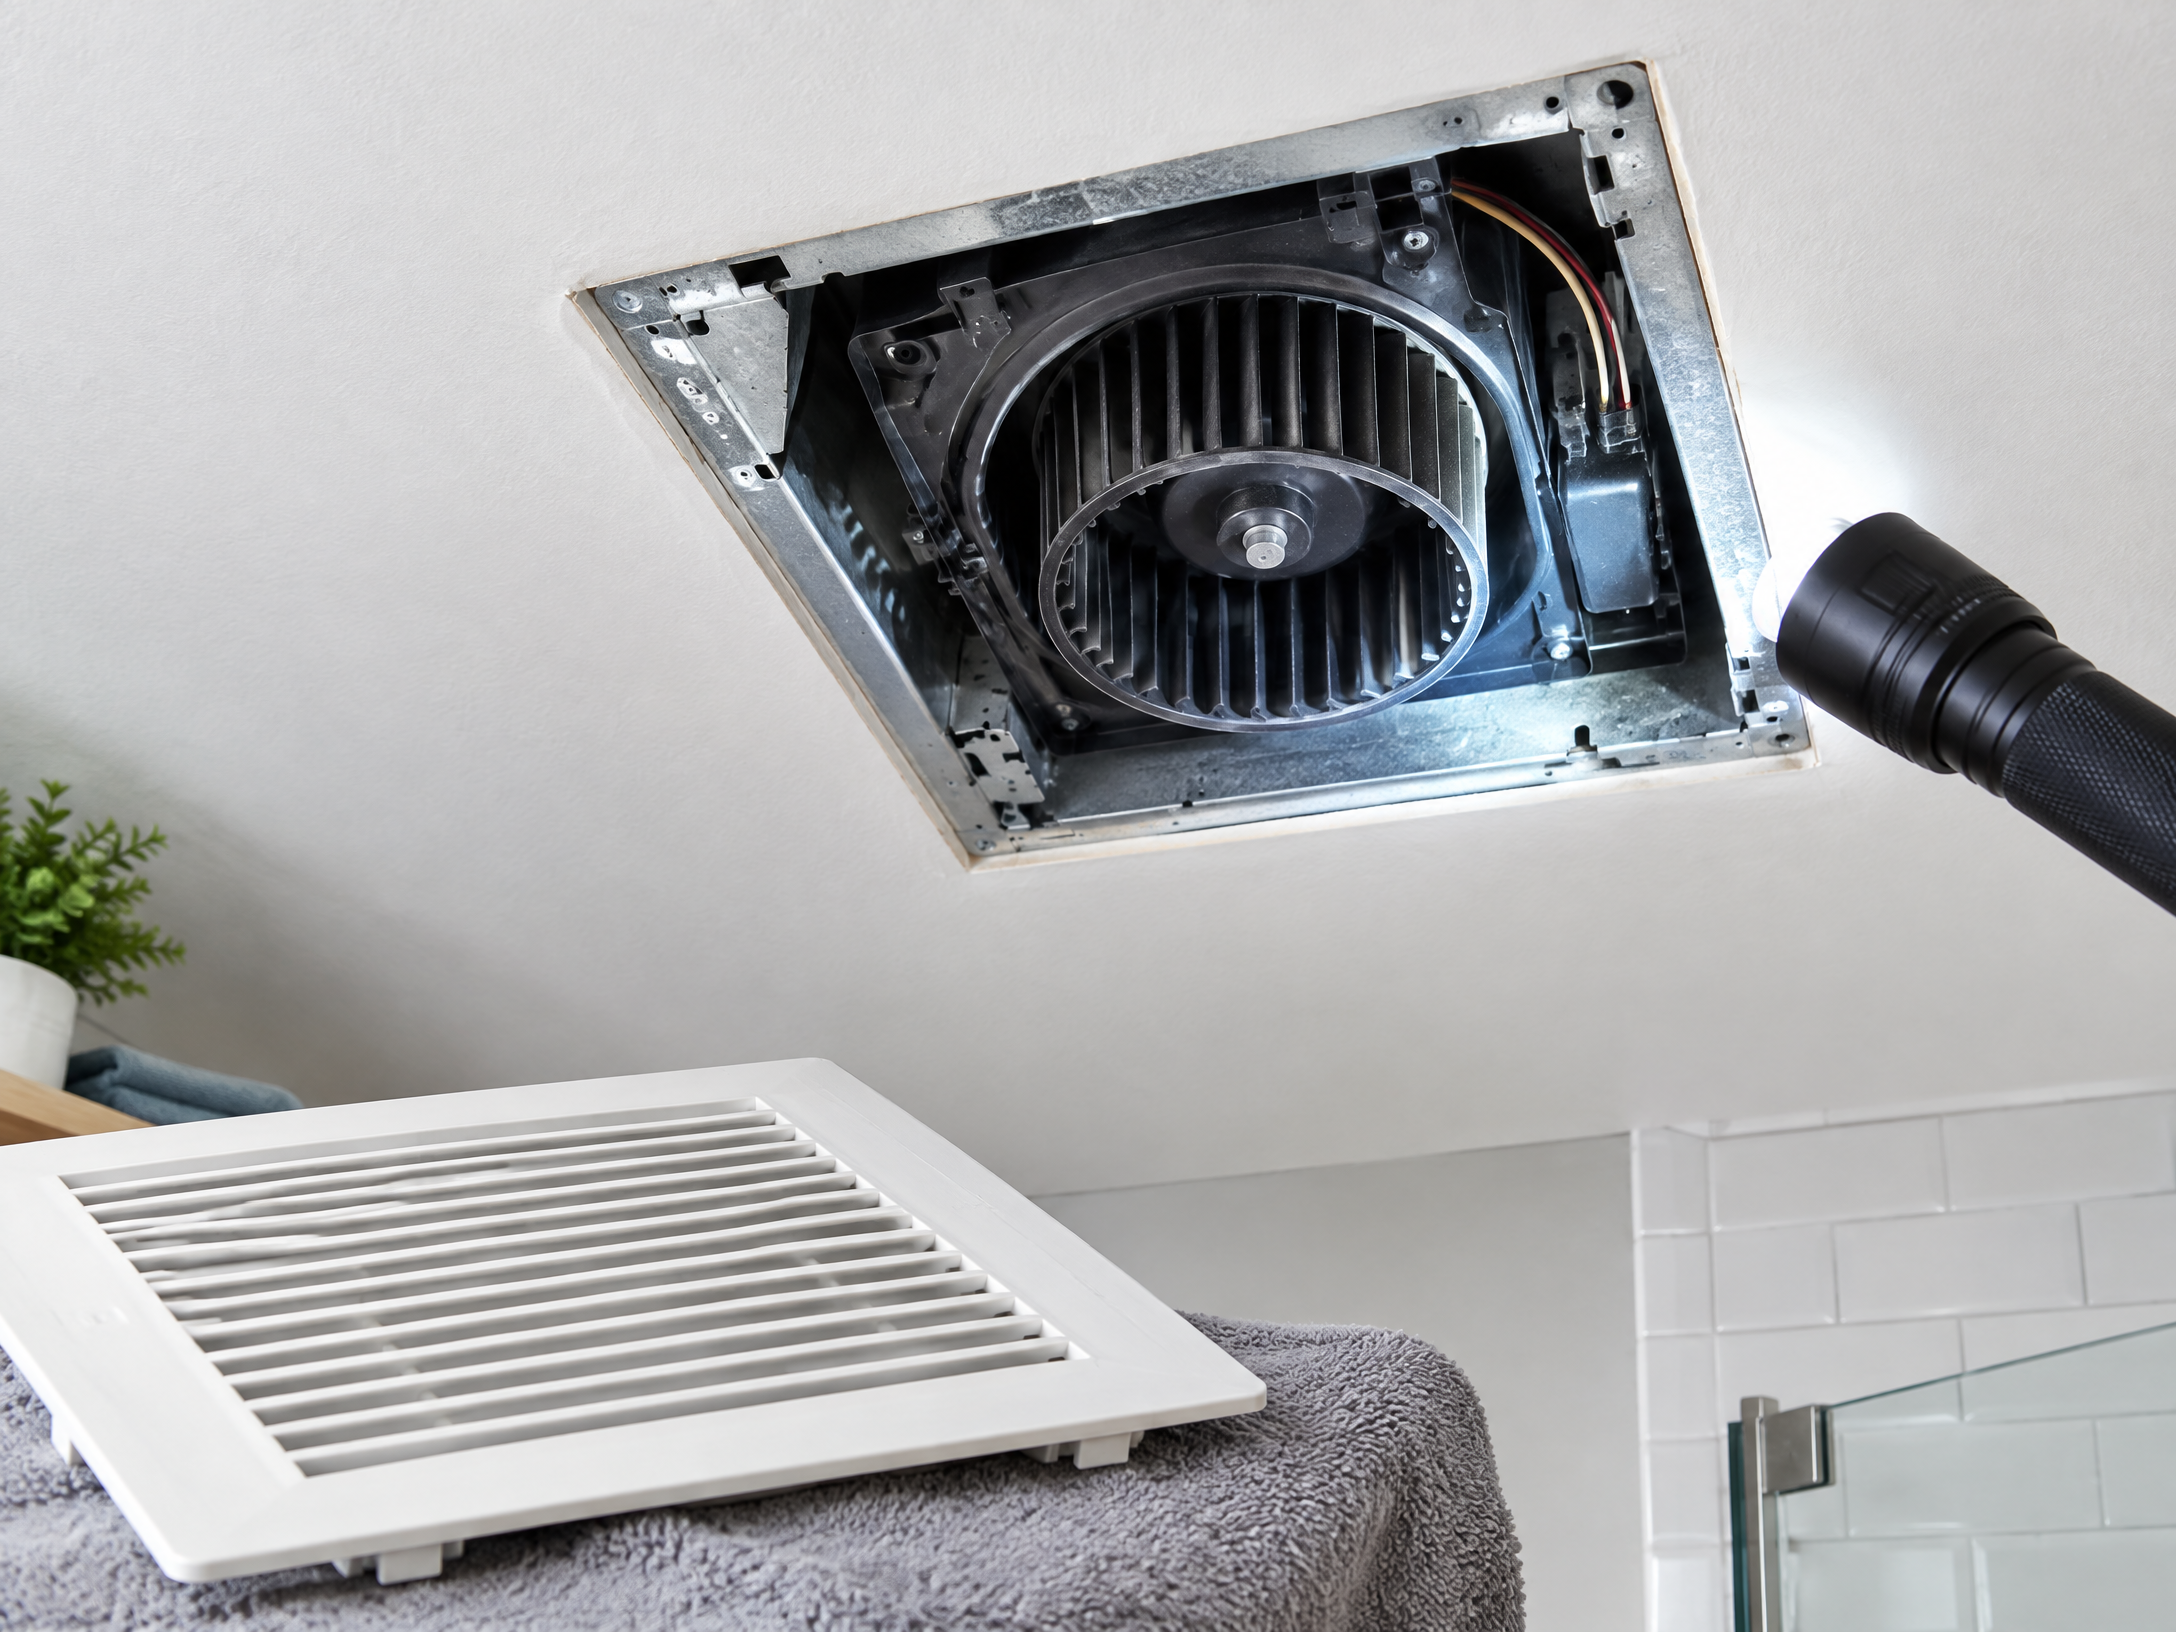
Document the bathroom’s original condition and measure doors, clearances, wet zones, and ventilation paths.
Step 3
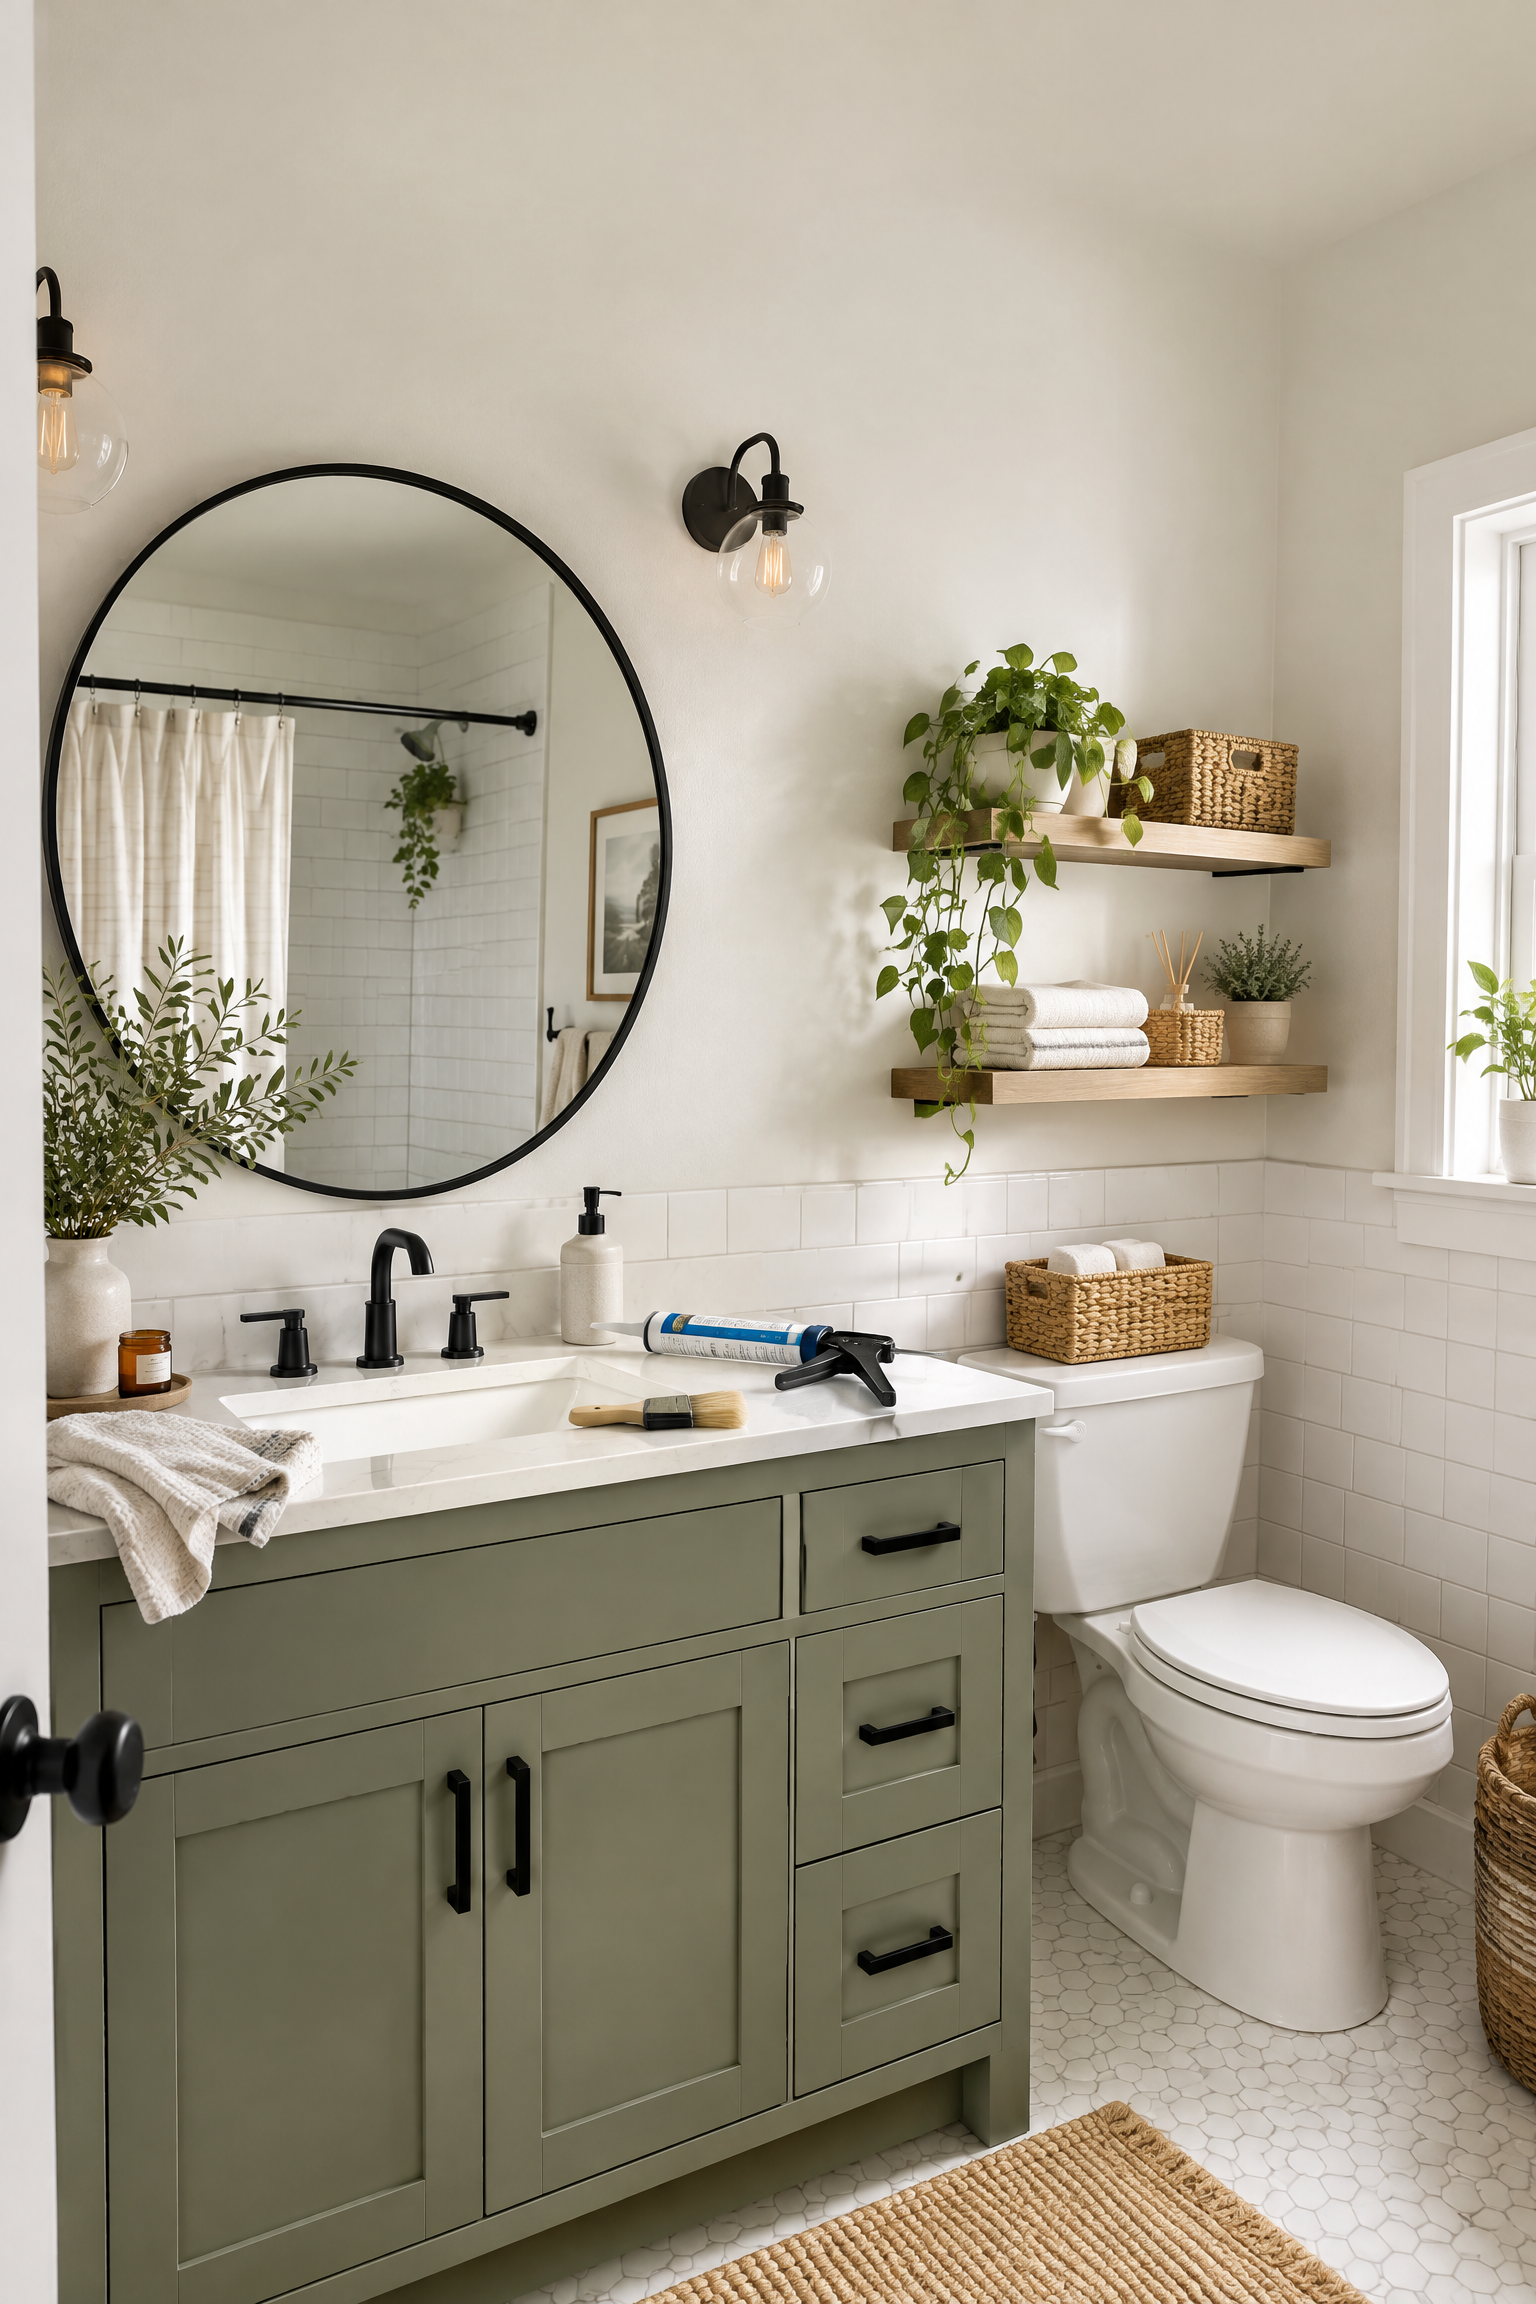
Deep-clean surfaces with finish-safe products and resolve active leaks, failed caulk, or ventilation problems through the property manager.
Step 4
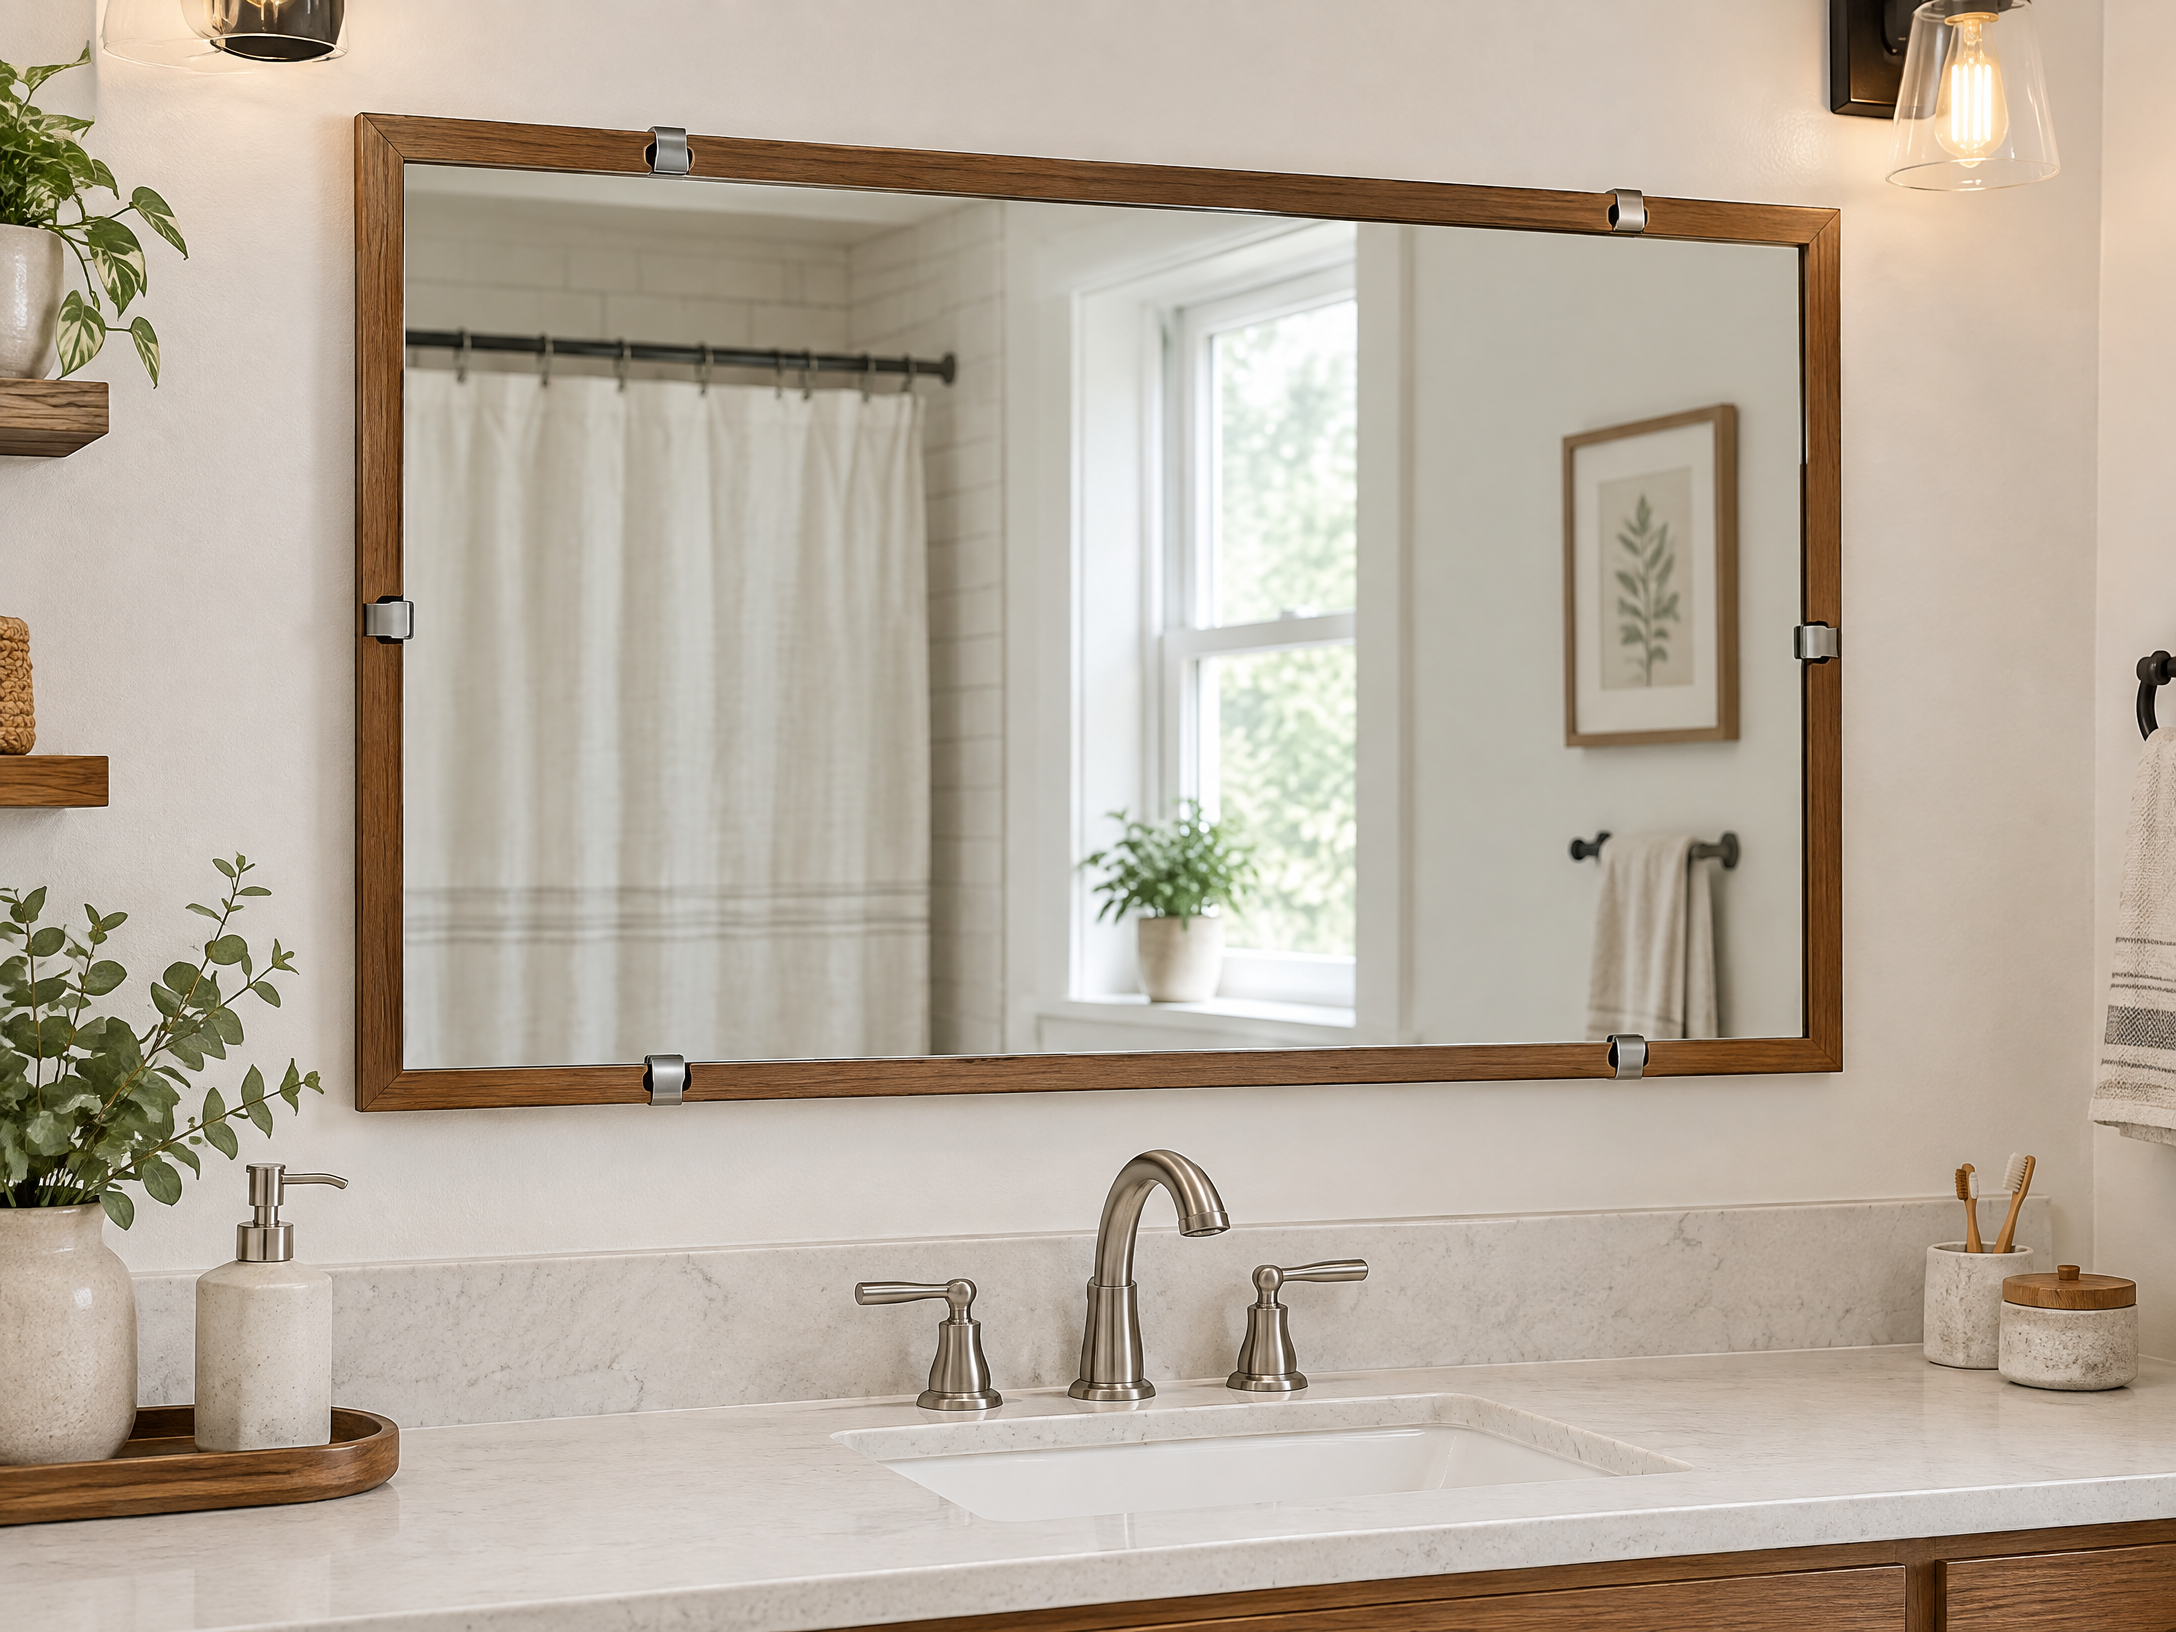
Install freestanding or truly removable storage without blocking receptacles, vents, access panels, or door swing.
Step 5
Apply removable film or adhesive products only to manufacturer-approved, fully cured surfaces after a small hidden test.
Step 6
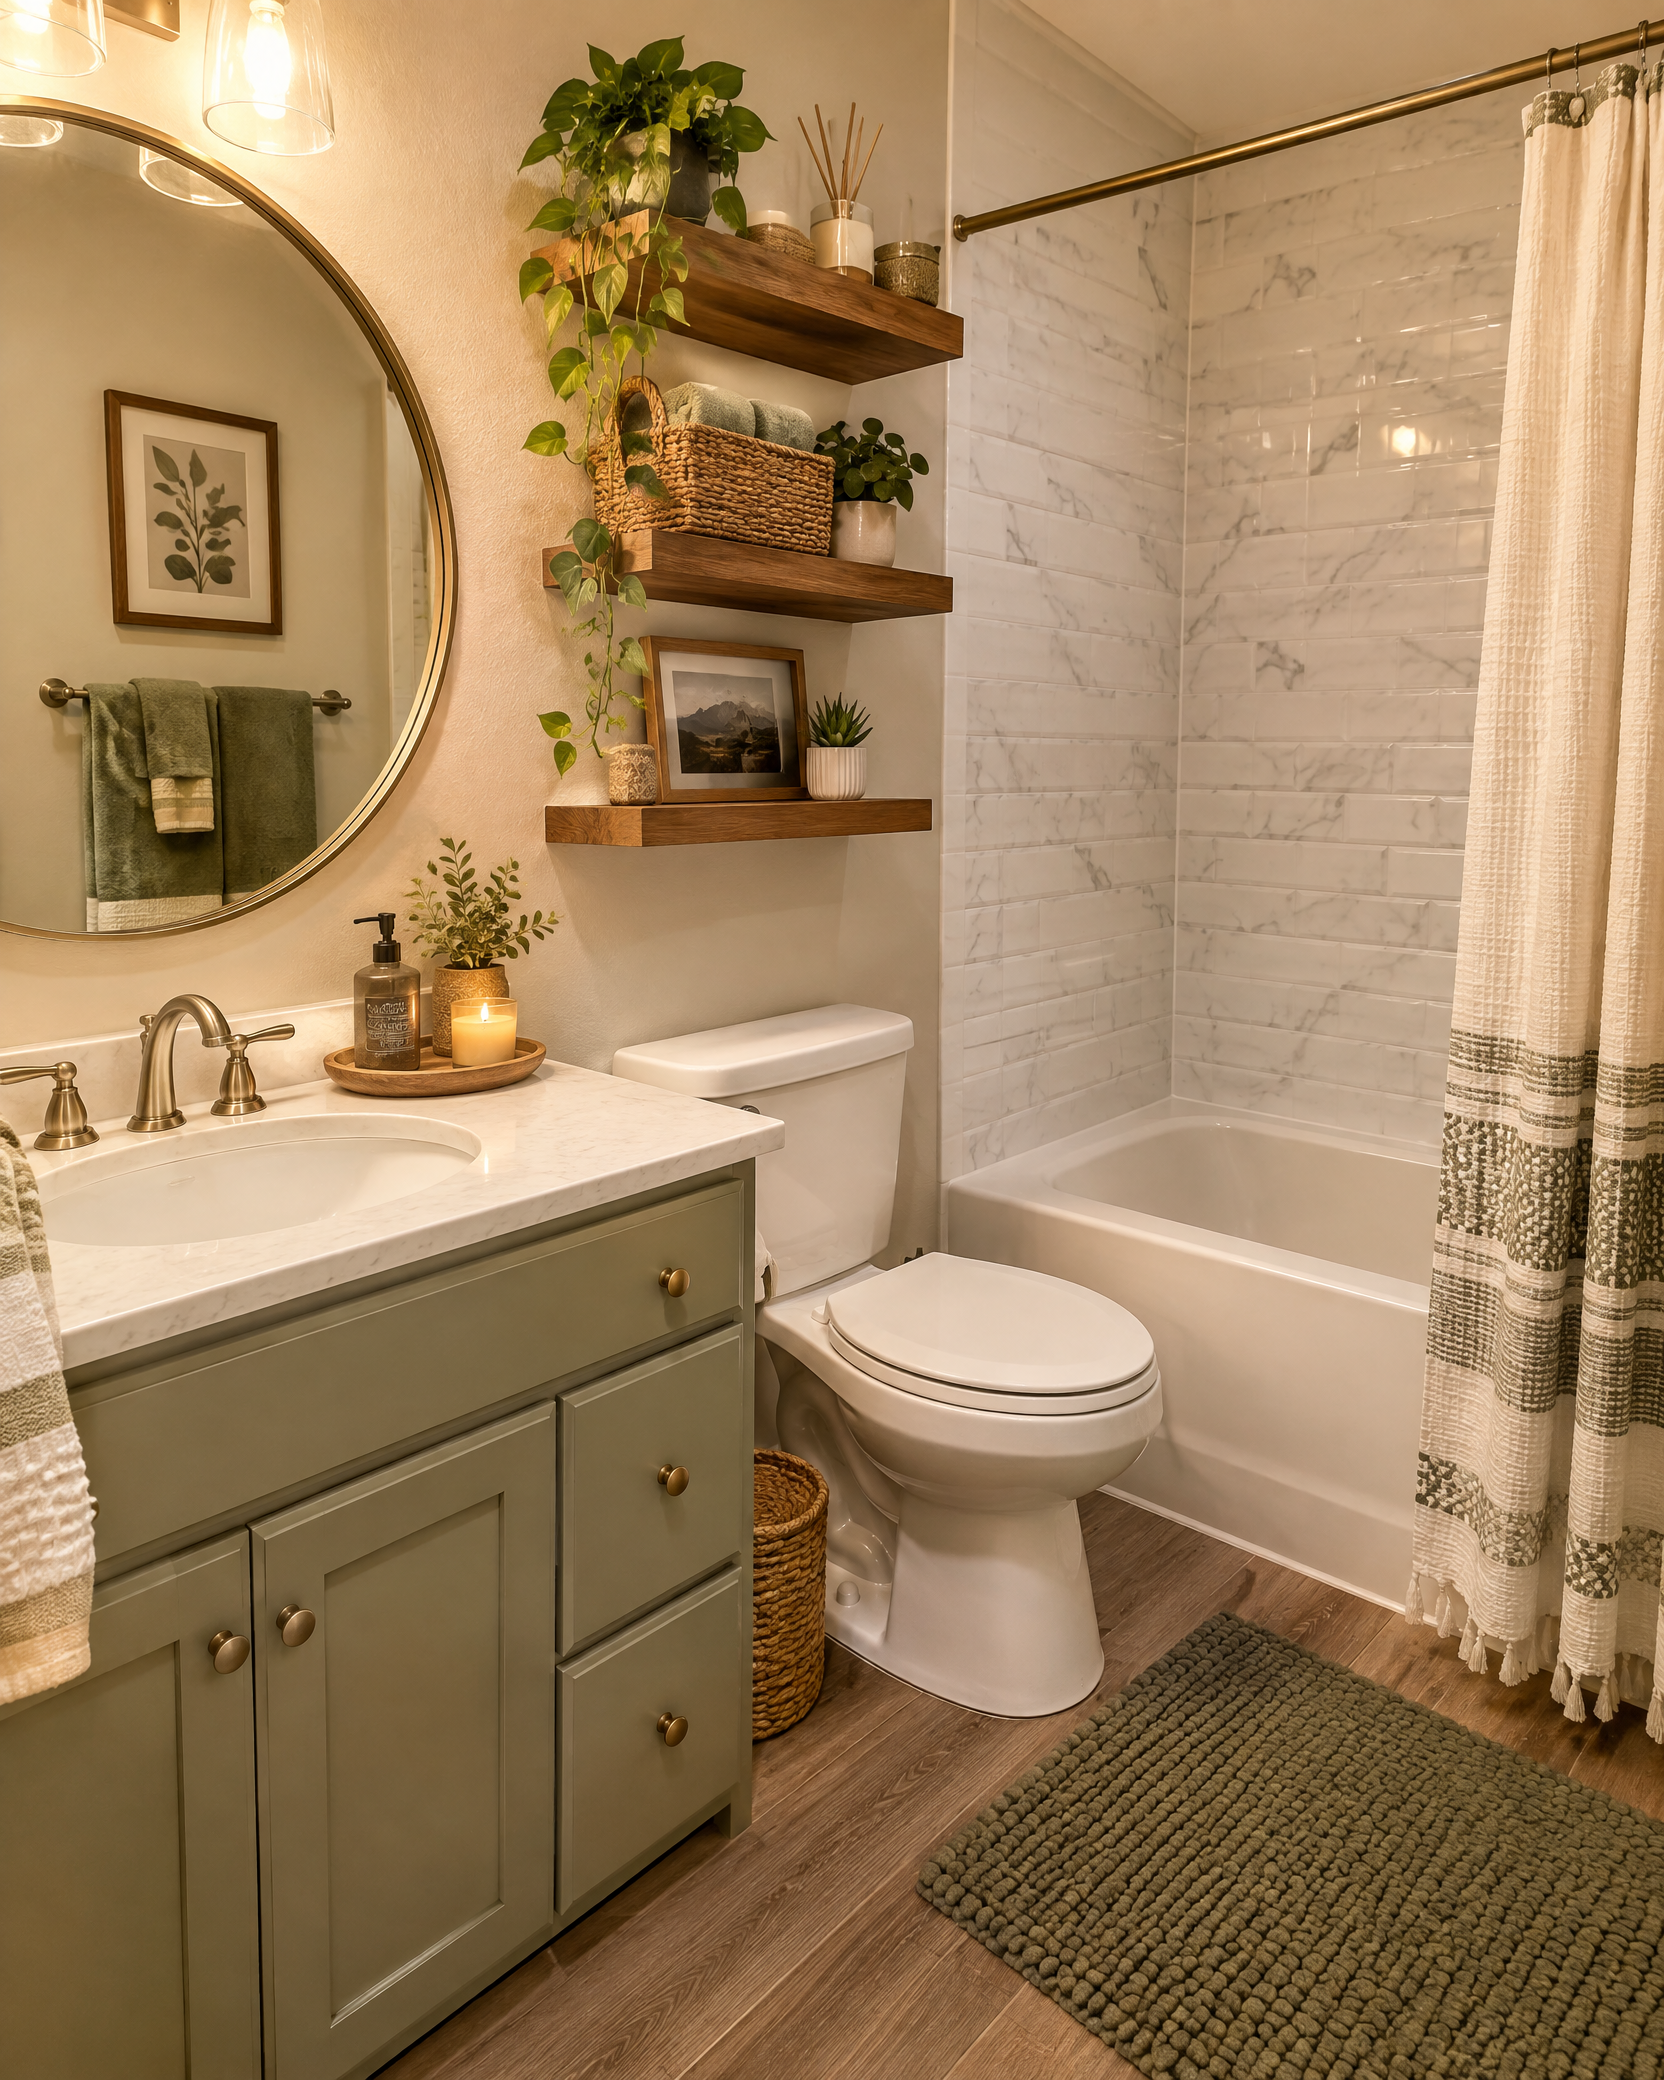
Photograph the finished room and retain packaging and removal instructions so every approved temporary element can be reversed at move-out.
Do not modify plumbing, electrical fixtures, waterproofing, ventilation, or structural surfaces without written approval and qualified help. Shut off water or power before any approved fixture work, and report leaks, mold, damaged wiring, or loose fixtures to the property manager.