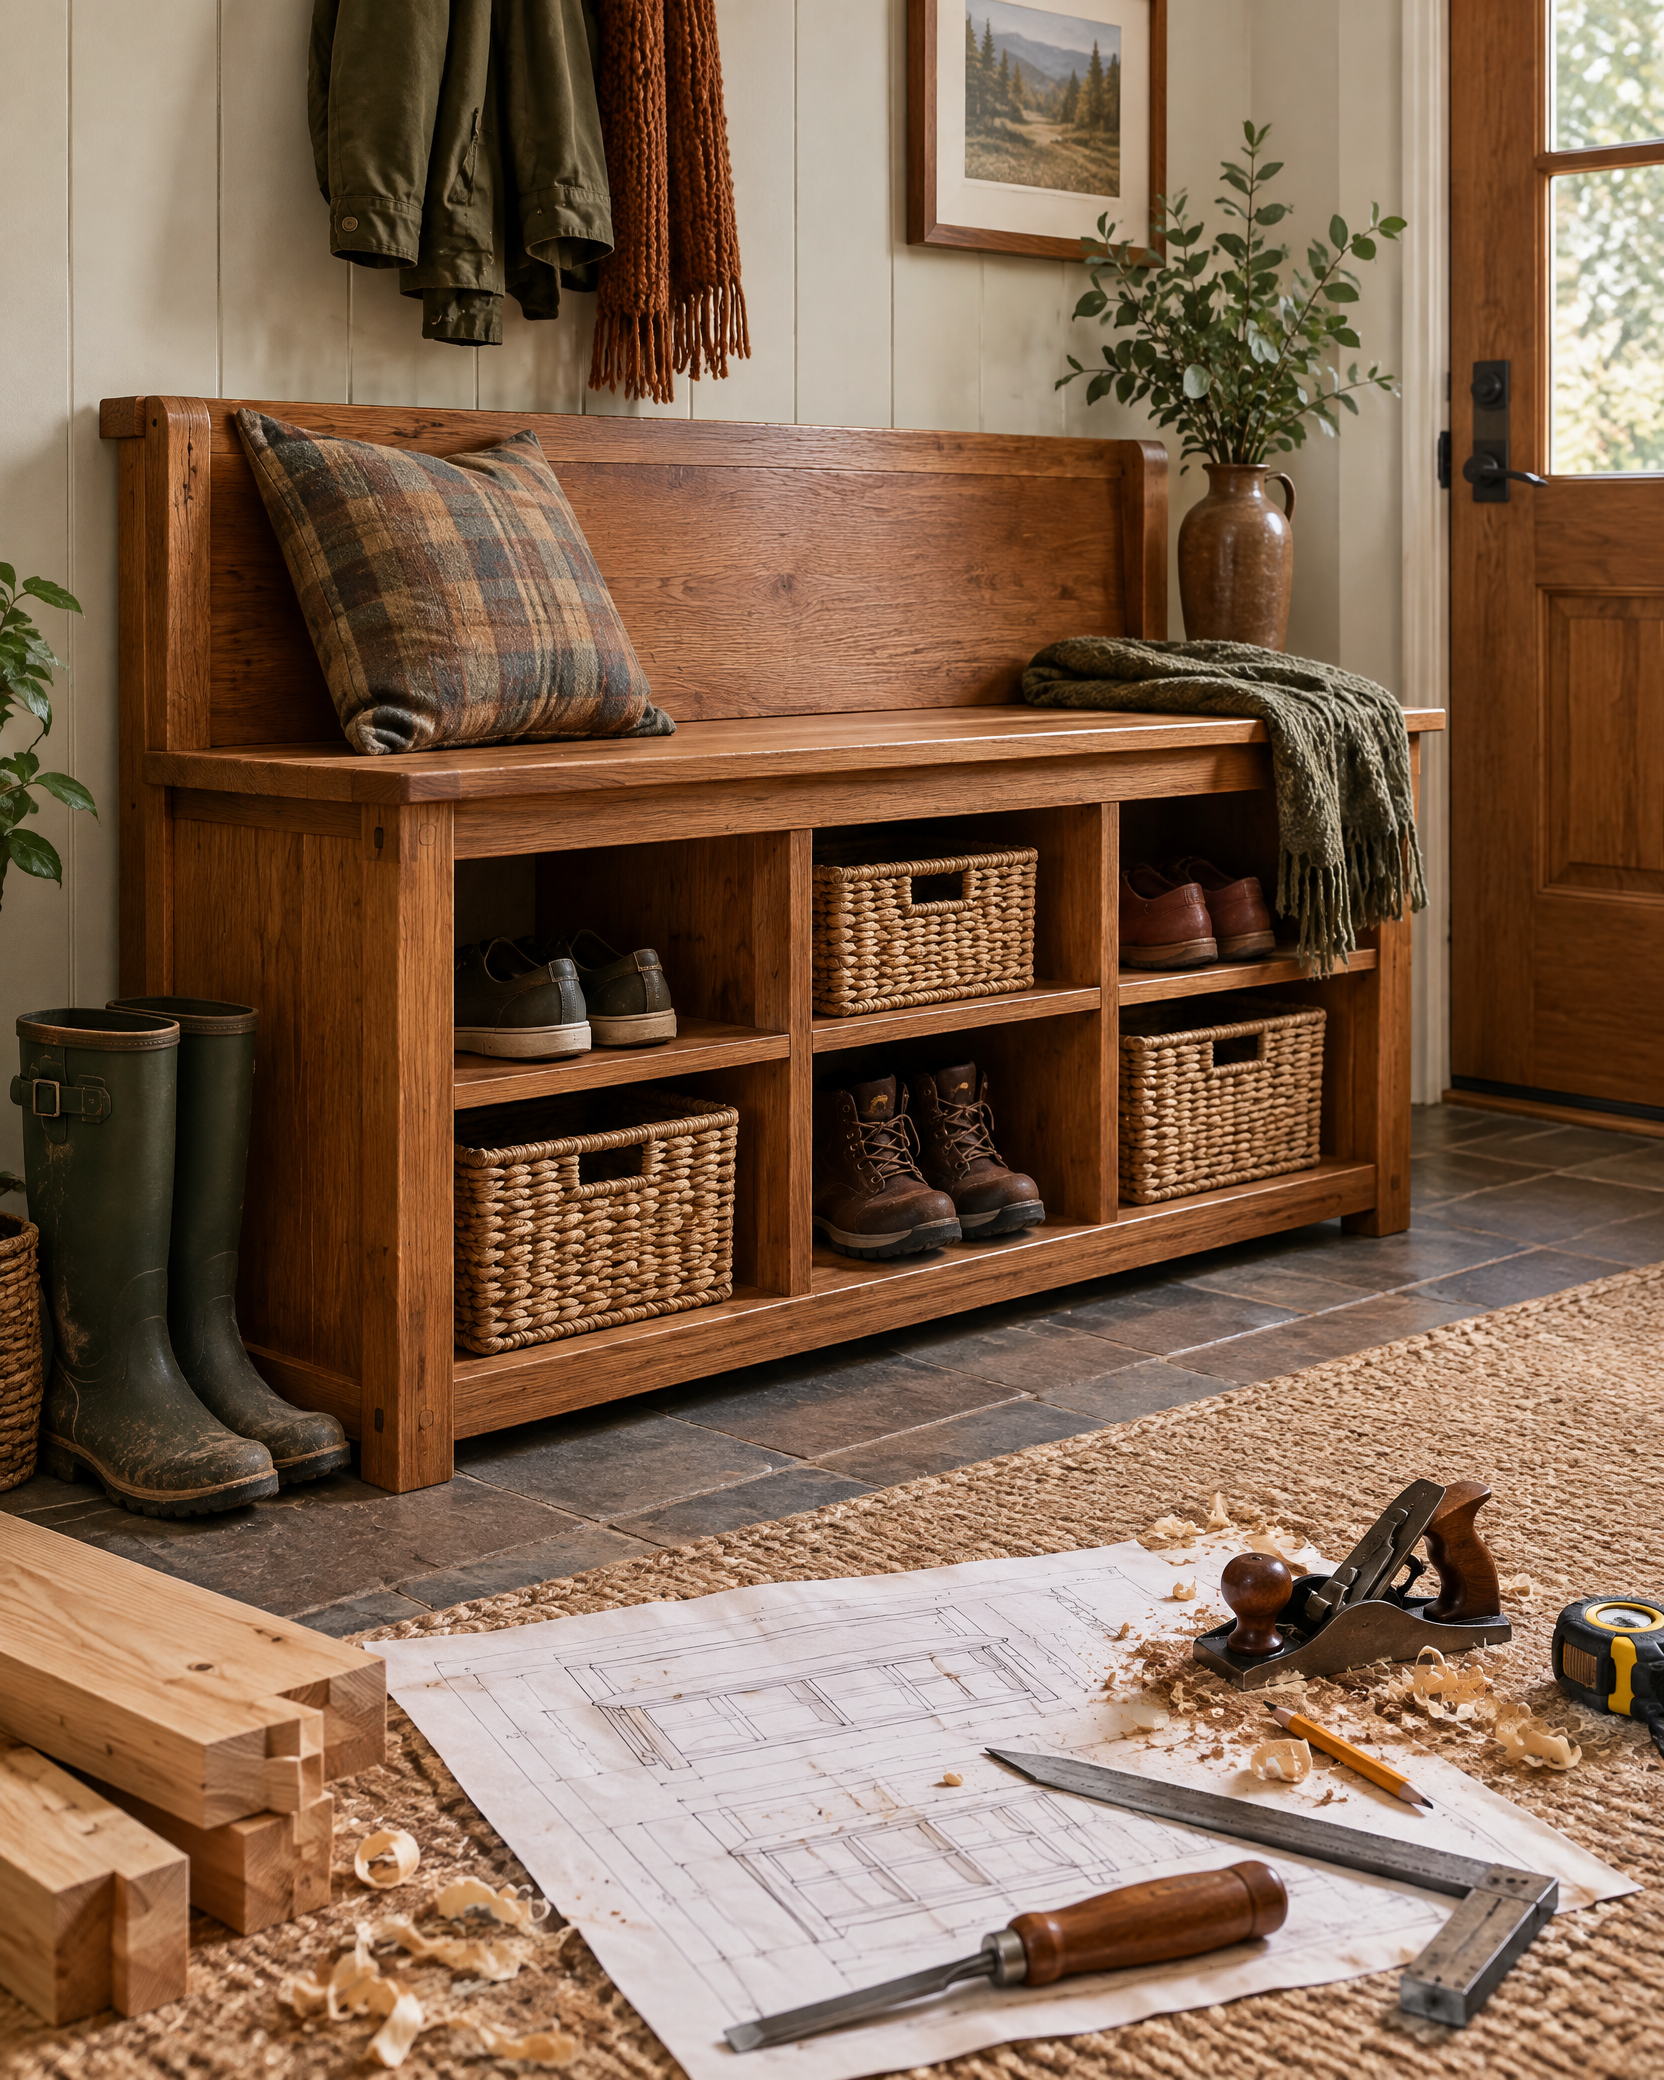
Step-by-step instructions
Step 1
Measure the entry path and finished bench location, then size the seat for comfortable depth without blocking doors, vents, or walking clearance.
Step 2
Create a cut list from actual material thickness, mark every panel, and cut the seat, sides, dividers, and stretchers with square edges.
Step 3
Dry-assemble the base, confirm cubby openings and floor fit, then glue and fasten joints while checking square.
Step 4
Add the seat and any back or trim, ease sharp edges, fill fastener holes, and sand through the finish maker’s recommended grit sequence.
Step 5
Apply a washable finish to all exposed surfaces and allow the full cure period before use.
Step 6
Place the bench in its final position, shim for a stable base, and attach anti-tip hardware into verified framing before allowing climbing or heavy loading.
Wear eye and hearing protection during cutting and drilling. Anchor tall or back-equipped benches to verified framing; do not fasten into unknown utilities or alter structural framing. Consult a qualified professional if secure anchorage cannot be confirmed.