Step-by-step instructions
Step 1
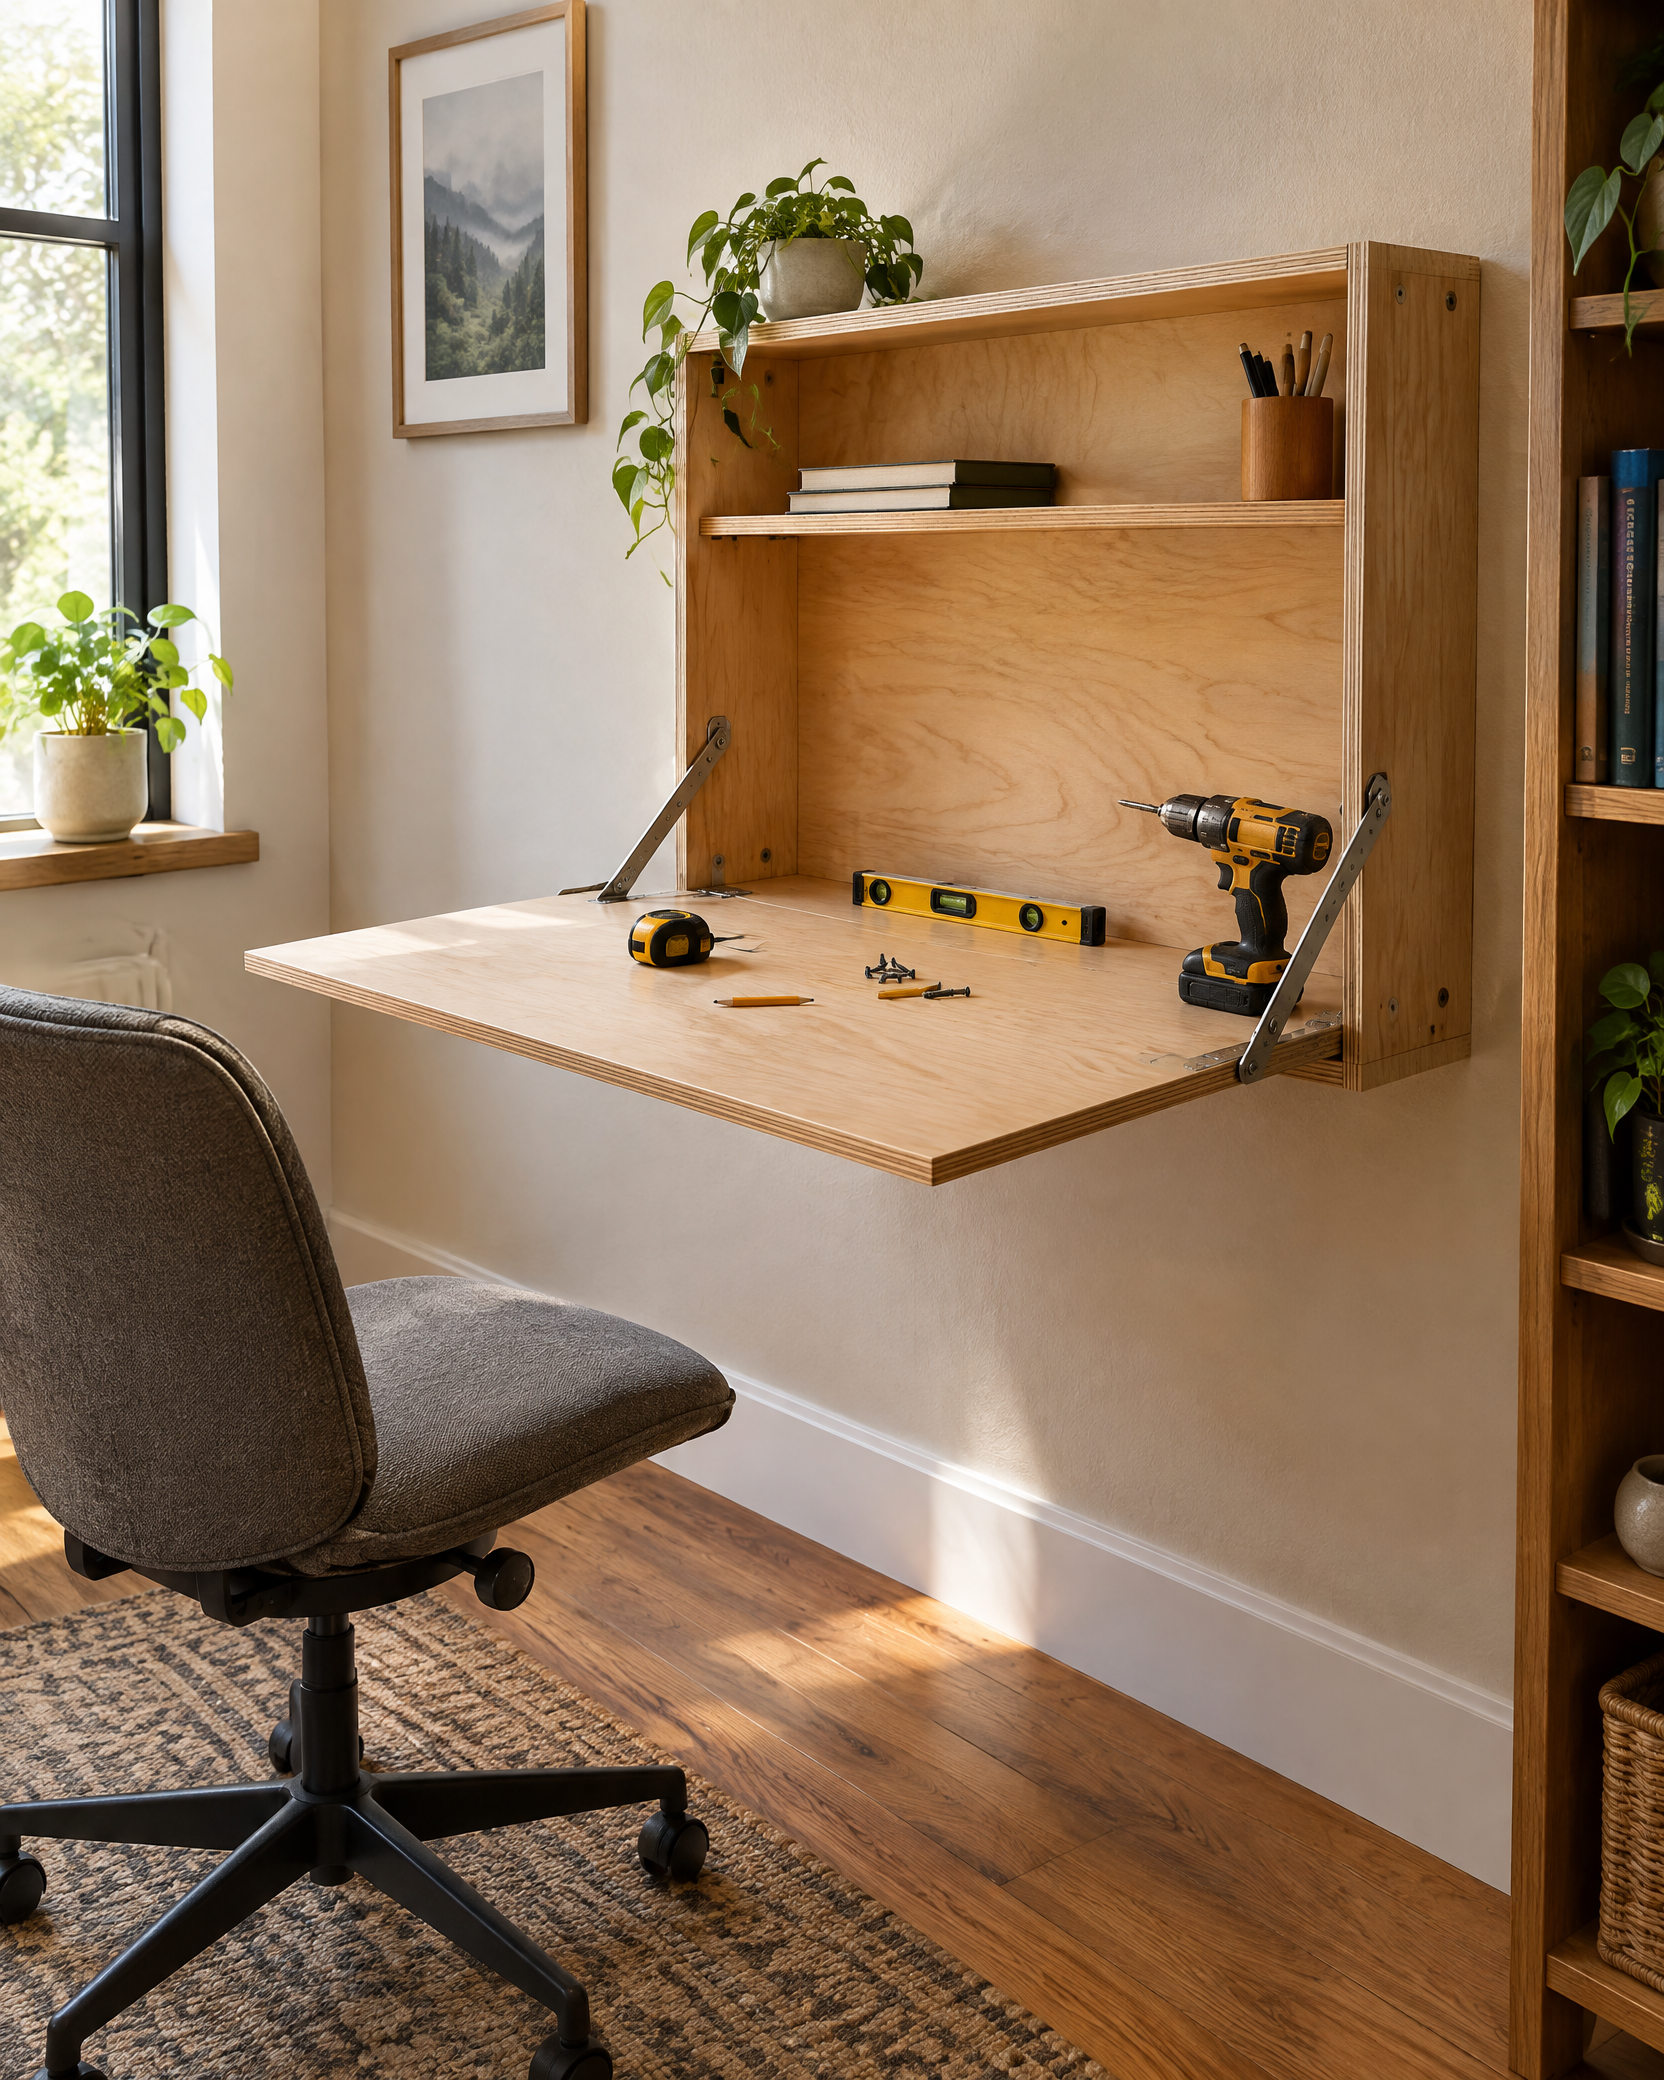
Set desk height and size from ergonomic reach, chair clearance, wall space, and the bracket’s published load and depth limits.
Step 2
Locate and verify multiple framing points and hidden utilities; do not rely on drywall anchors for a working desk load unless the complete system is expressly rated.
Step 3
Cut and finish the desktop and ledger, mark bracket positions level, and predrill the structural connections.
Step 4
Fasten the ledger and brackets to verified framing with the specified screws, then attach the desktop while supporting its full weight.
Step 5
Install the open support and closed-position latch, checking for pinch points and unintended release.
Step 6
Load the desk gradually below the lowest component rating and recheck level, fasteners, and operation after repeated cycles.
A wall desk carries a dynamic structural load and creates pinch points. Verify framing and utilities, use rated hardware, and consult a qualified professional if the wall or required attachment cannot be confirmed.