Step-by-step instructions
Step 1
Choose finished dimensions from seating clearance and confirm the base or legs can support the planned top and load.
Step 2
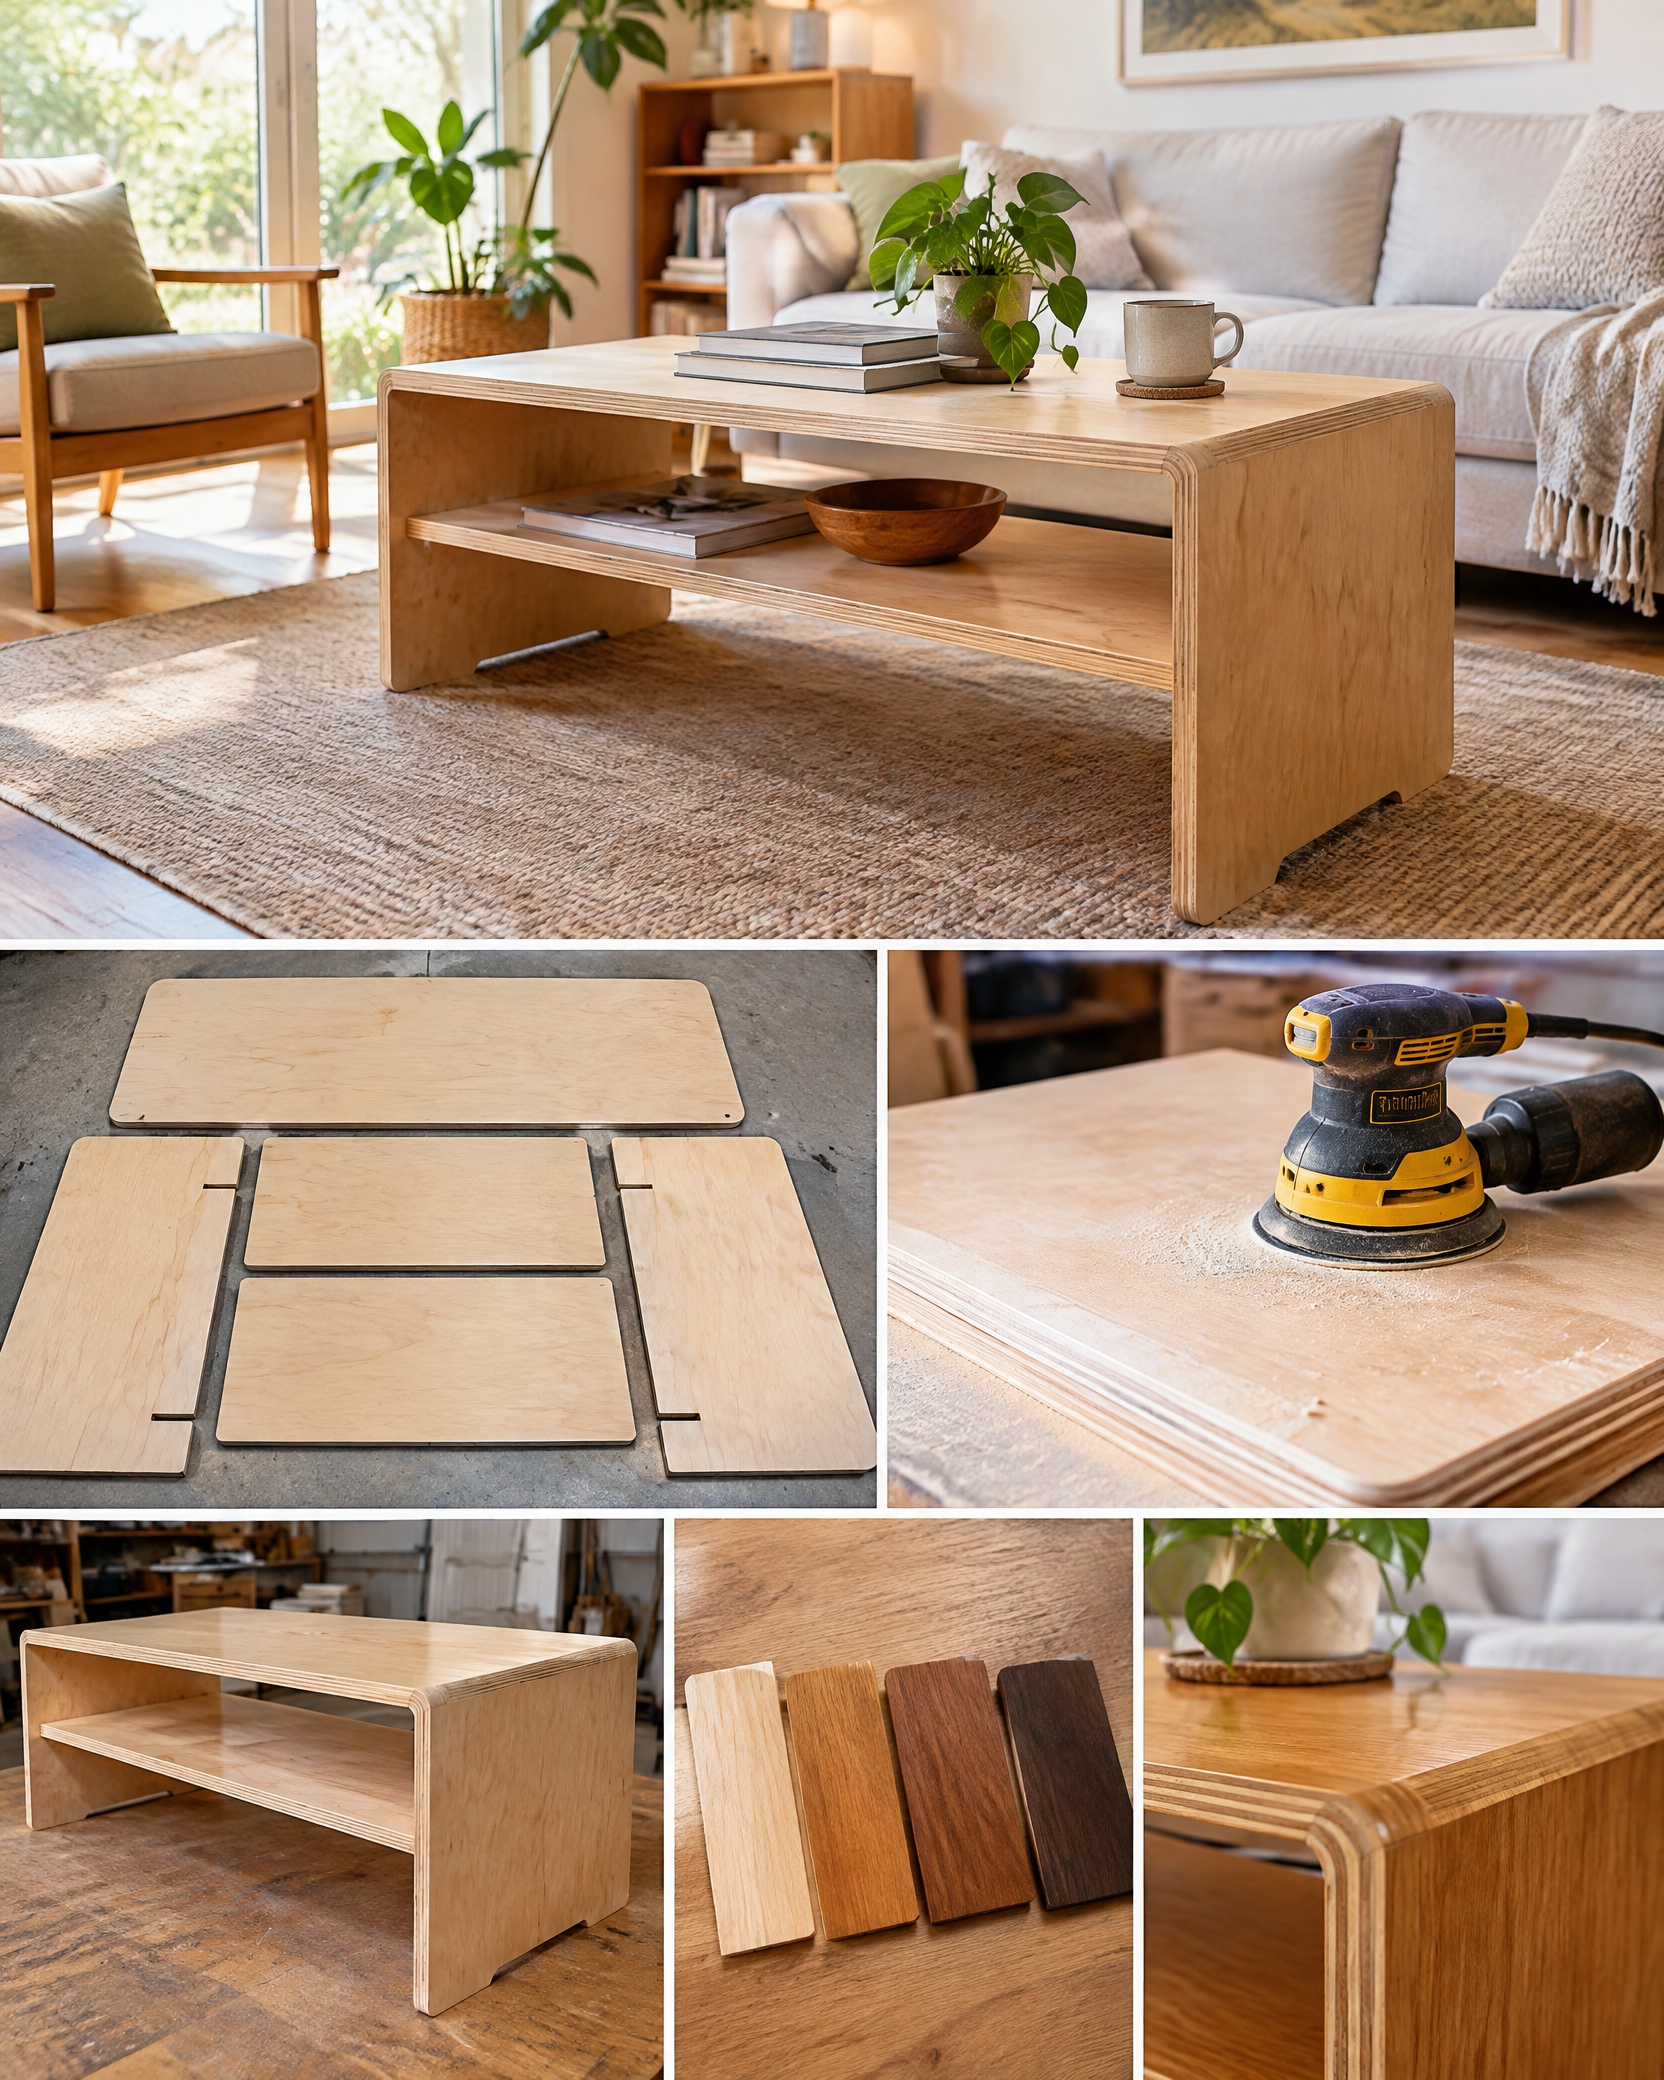
Break down plywood with the best face protected, label each panel, and verify all mating dimensions before joinery.
Step 3
Apply edge banding or solid edging, trim flush, and sand without cutting through the thin face veneer.
Step 4
Dry-fit the case or top, then glue and fasten square with plywood-appropriate joinery.
Step 5
Attach the base through reinforced points with fasteners shorter than the panel thickness.
Step 6
Apply a sample-tested finish, allow full cure, and add floor protectors before normal use.
Support sheet goods fully during cutting and use eye, hearing, and dust protection. Confirm fastener length and leg/base ratings so screws cannot pierce the top or the table cannot collapse.