Back to all projects
Build a Compact French-Cleat Cordless Tool Charging Station DIY project
Pinterest-ready project guide
Build a Compact French-Cleat Cordless Tool Charging Station
Seasonal note: Year-round DIY project

Build a Compact French-Cleat Cordless Tool Charging Station

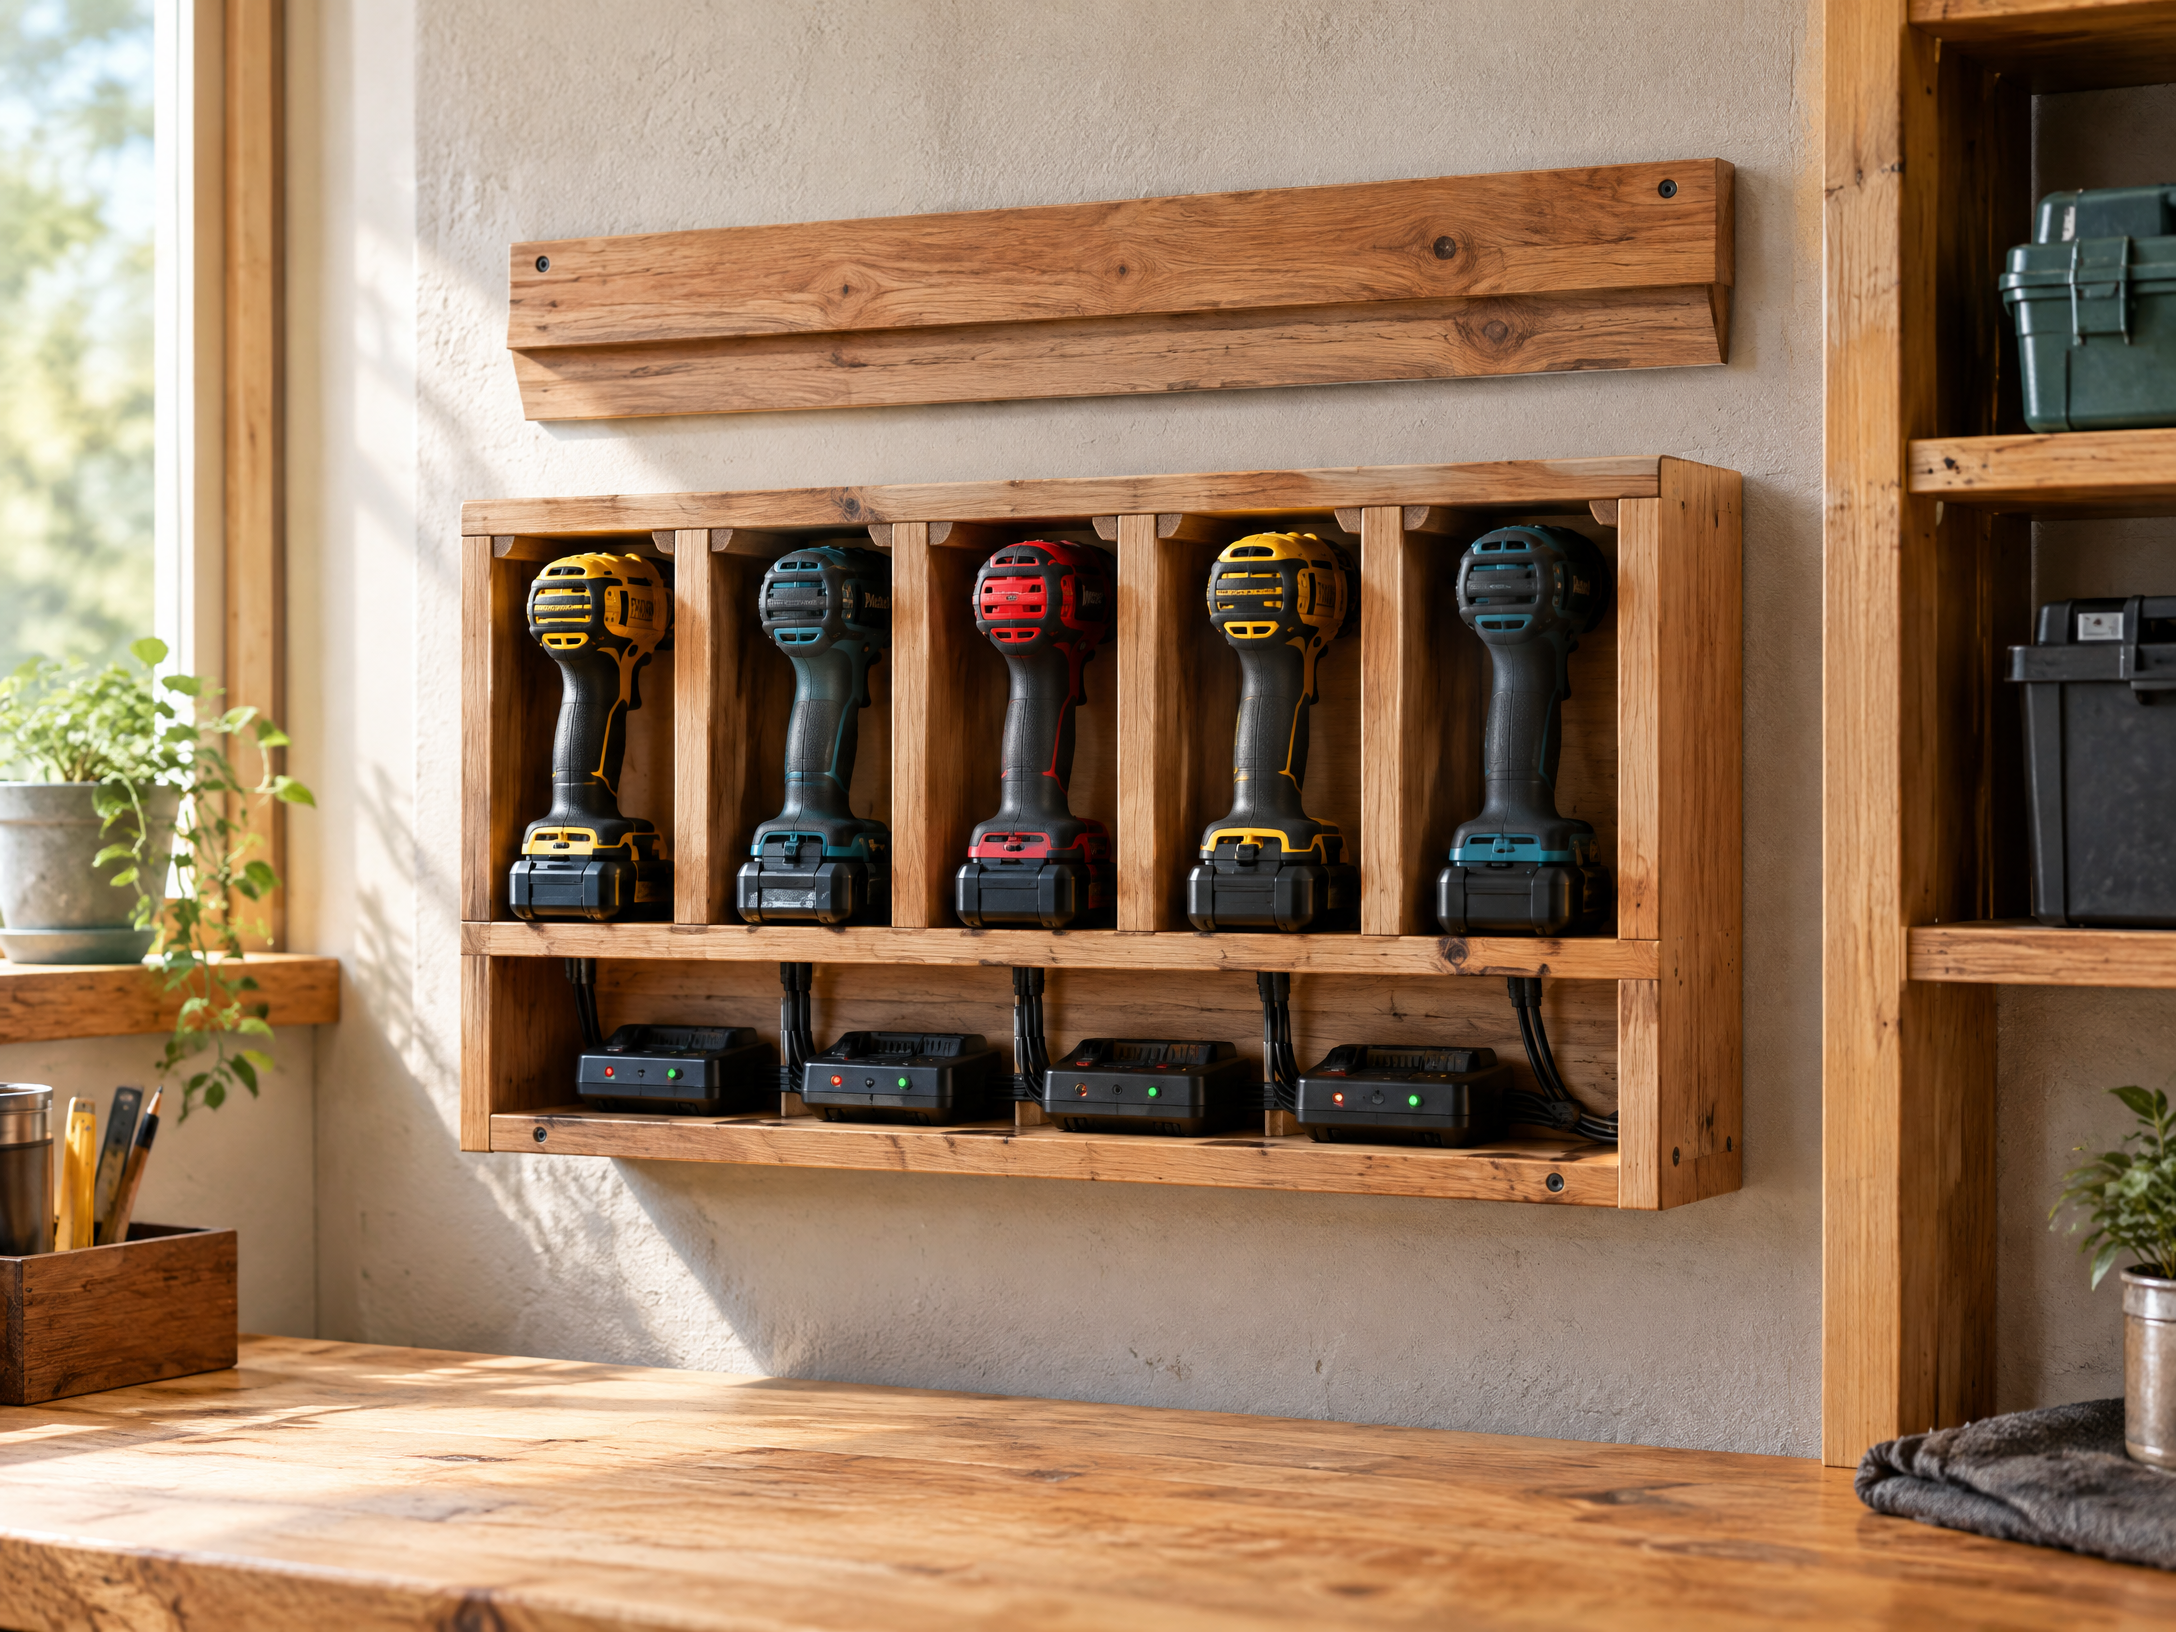
Organize cordless drills and chargers on a French-cleat charging station that can be removed or rearranged later. This guide focuses on charger ventilation, cord routing, stud attachment, and a layout that keeps batteries visible without crowding the bench.

By The DIY Haven Editorial Team · Last reviewed September 11, 2026 · Reviewed for clarity, safety, and source quality.

$45–$90Estimated cost
7Steps
8Shopping items
Shop starter supplies
Share this guide
Choose the right approach

Best for

A workshop wall where the cleat can be fastened into framing or verified structural backing and chargers can reach a safe outlet.

Not for

A wall with unknown wiring or plumbing, a station that would overload one outlet, or chargers that need enclosed heat-trapping storage.

Troubleshooting before you start

Common mistakes

  • Fastening only into drywall anchors for a heavily loaded tool station.
  • Mounting chargers where vents are covered by shelves or battery packs.
  • Routing cords across a walking path or under a sharp cleat edge.
  • Making the cleat angle inconsistent so modules do not seat fully.
  • Daisy-chaining power strips without checking their ratings.
Know the limit

When to stop and call a pro

Stop if you need to add an outlet, open a wall with unknown utilities, run new wiring, or find heat, damaged cords, or an overloaded circuit. Have electrical work completed or checked by a qualified professional.

Workshop plan

Step-by-step instructions

Save this page for the workshop
1

Map the tools, chargers, outlet, and studs

Inventory charger sizes and battery clearance. Sketch a station no wider than the available wall bay and leave ventilation space around chargers and power adapters.

2

Cut and mark the French cleat

Cut a plywood back, shelf, charger cradles, and French-cleat pieces. Break sharp edges and mark every charger position before assembly.

3

Fasten the wall cleat into structure

Assemble the station square, using glue and screws appropriate for the panel thickness. Keep the power-strip bay accessible rather than burying it behind a fixed shelf.

4

Build ventilated charger shelves

Add adjustable drill cradles or simple bottom ledges. Route cords through rounded or grommeted openings so insulation is not pinched.

5

Route cords and label each charger

Fasten the wall cleat into verified framing or appropriately rated masonry hardware. Never rely on drywall alone for a loaded station.

6

Hang modules and test the load

Hang the station, confirm it seats fully on the cleat, and add a retaining lip if the design can be bumped. Plug in chargers with manufacturer-approved power arrangements.

7

Step 7

Load batteries and tools gradually, checking heat, cord strain, and wall movement after the first charging cycle.

Safety check

Disconnect power before changing the station wiring or power strip. Do not cover charger vents, overload a power strip, or mount the station to uncertain framing. Follow each battery manufacturer’s charging guidance.

Helpful answers

Frequently Asked Questions

Measure the charger footprints, cable bend radius, battery removal path, and a little ventilation space before setting the station width and shelf spacing.
Community notes

Ratings & Reviews

—

Be the first to review

Share your workshop experience

Real notes from DIY Haven readers.

No reviews yet. Your workshop notes can help the next maker.

Was this guide helpful?

Your anonymous feedback helps us improve future project instructions.

Keep building

More ideas selected for this room, skill level, and project style.

Ready to make it yours?

Pin this guide, save it for later, and take the checklist into your workshop.