Step-by-step instructions
Step 1
Confirm the slab is adequately dry and structurally sound; reject active insect damage, loose bark, unstable checks, or hidden metal.
Step 2
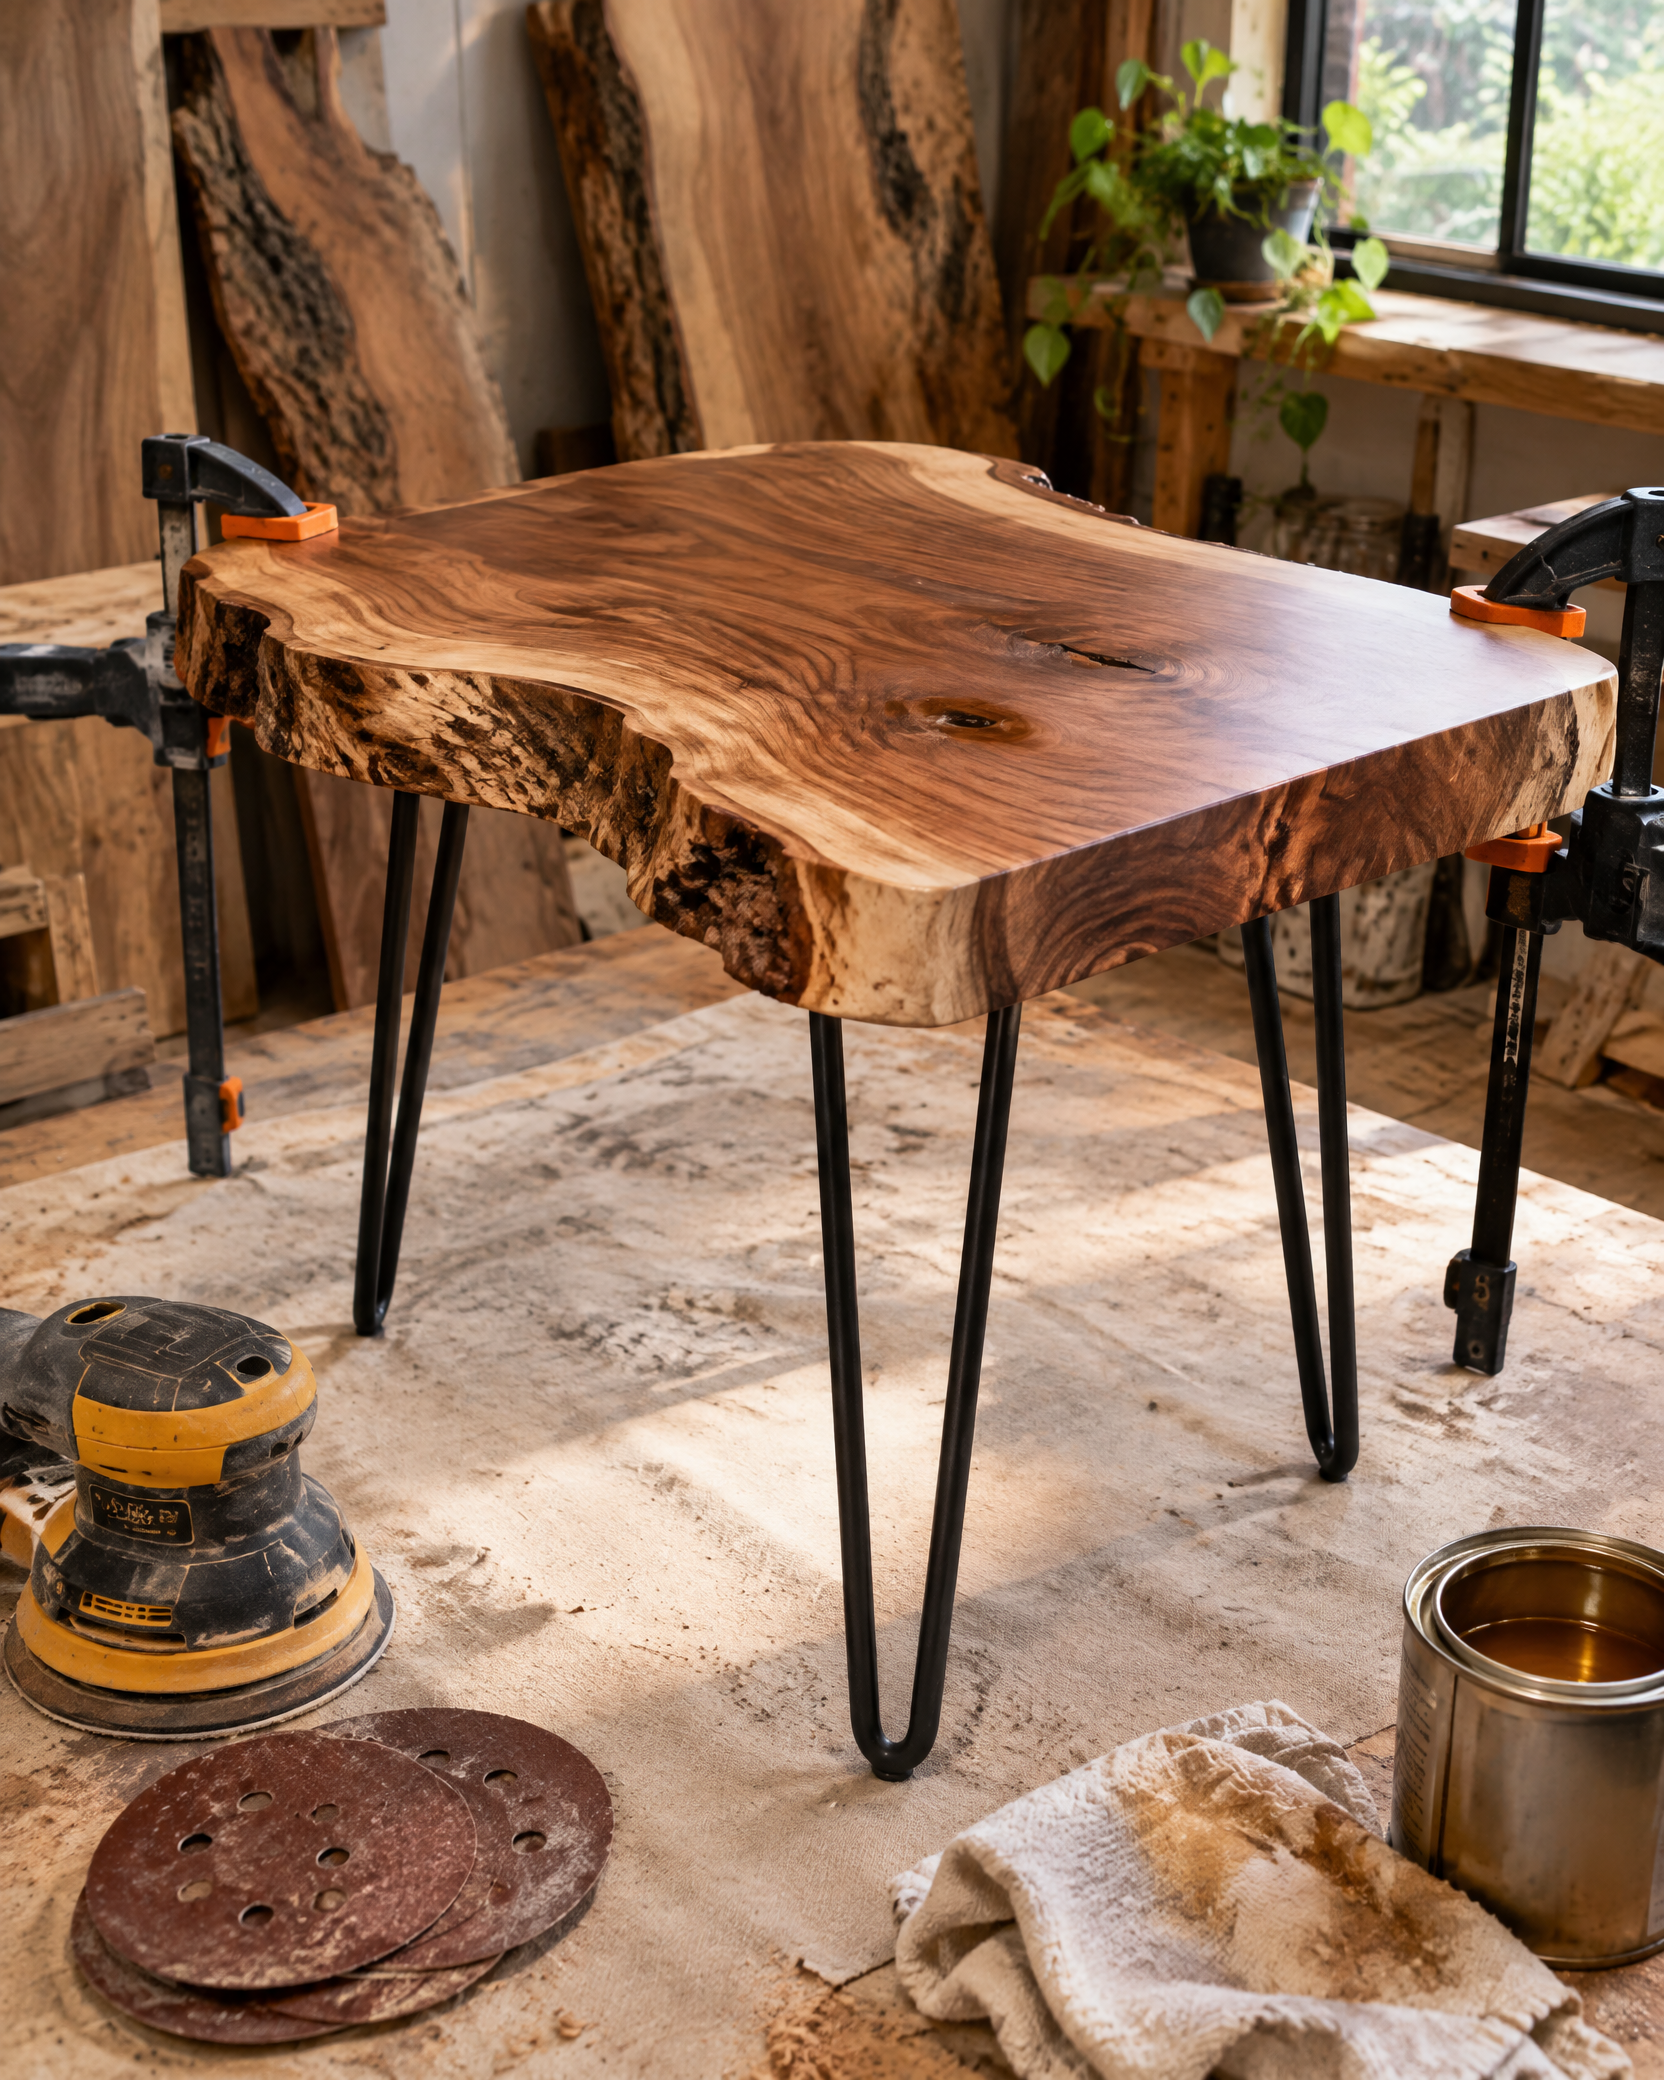
Flatten the faces or have them milled, establish the final footprint, and remove only bark or cambium that cannot remain secure.
Step 3
Stabilize appropriate small defects, then sand through progressive grits without erasing the natural edge character.
Step 4
Position the base for stability and grain movement, drill controlled holes, and install inserts or hardware without piercing the top.
Step 5
Apply the finish to a sample area first, coat all faces as the system requires, and allow full cure.
Step 6
Attach floor protectors, set the table on a level surface, and test gradually for rocking or tipping.
Live-edge slabs can hide metal, loose material, and internal defects. Scan before cutting, use dust/eye/hearing protection, and choose a base wide and strong enough to prevent tipping.