Step-by-step instructions
Step 1
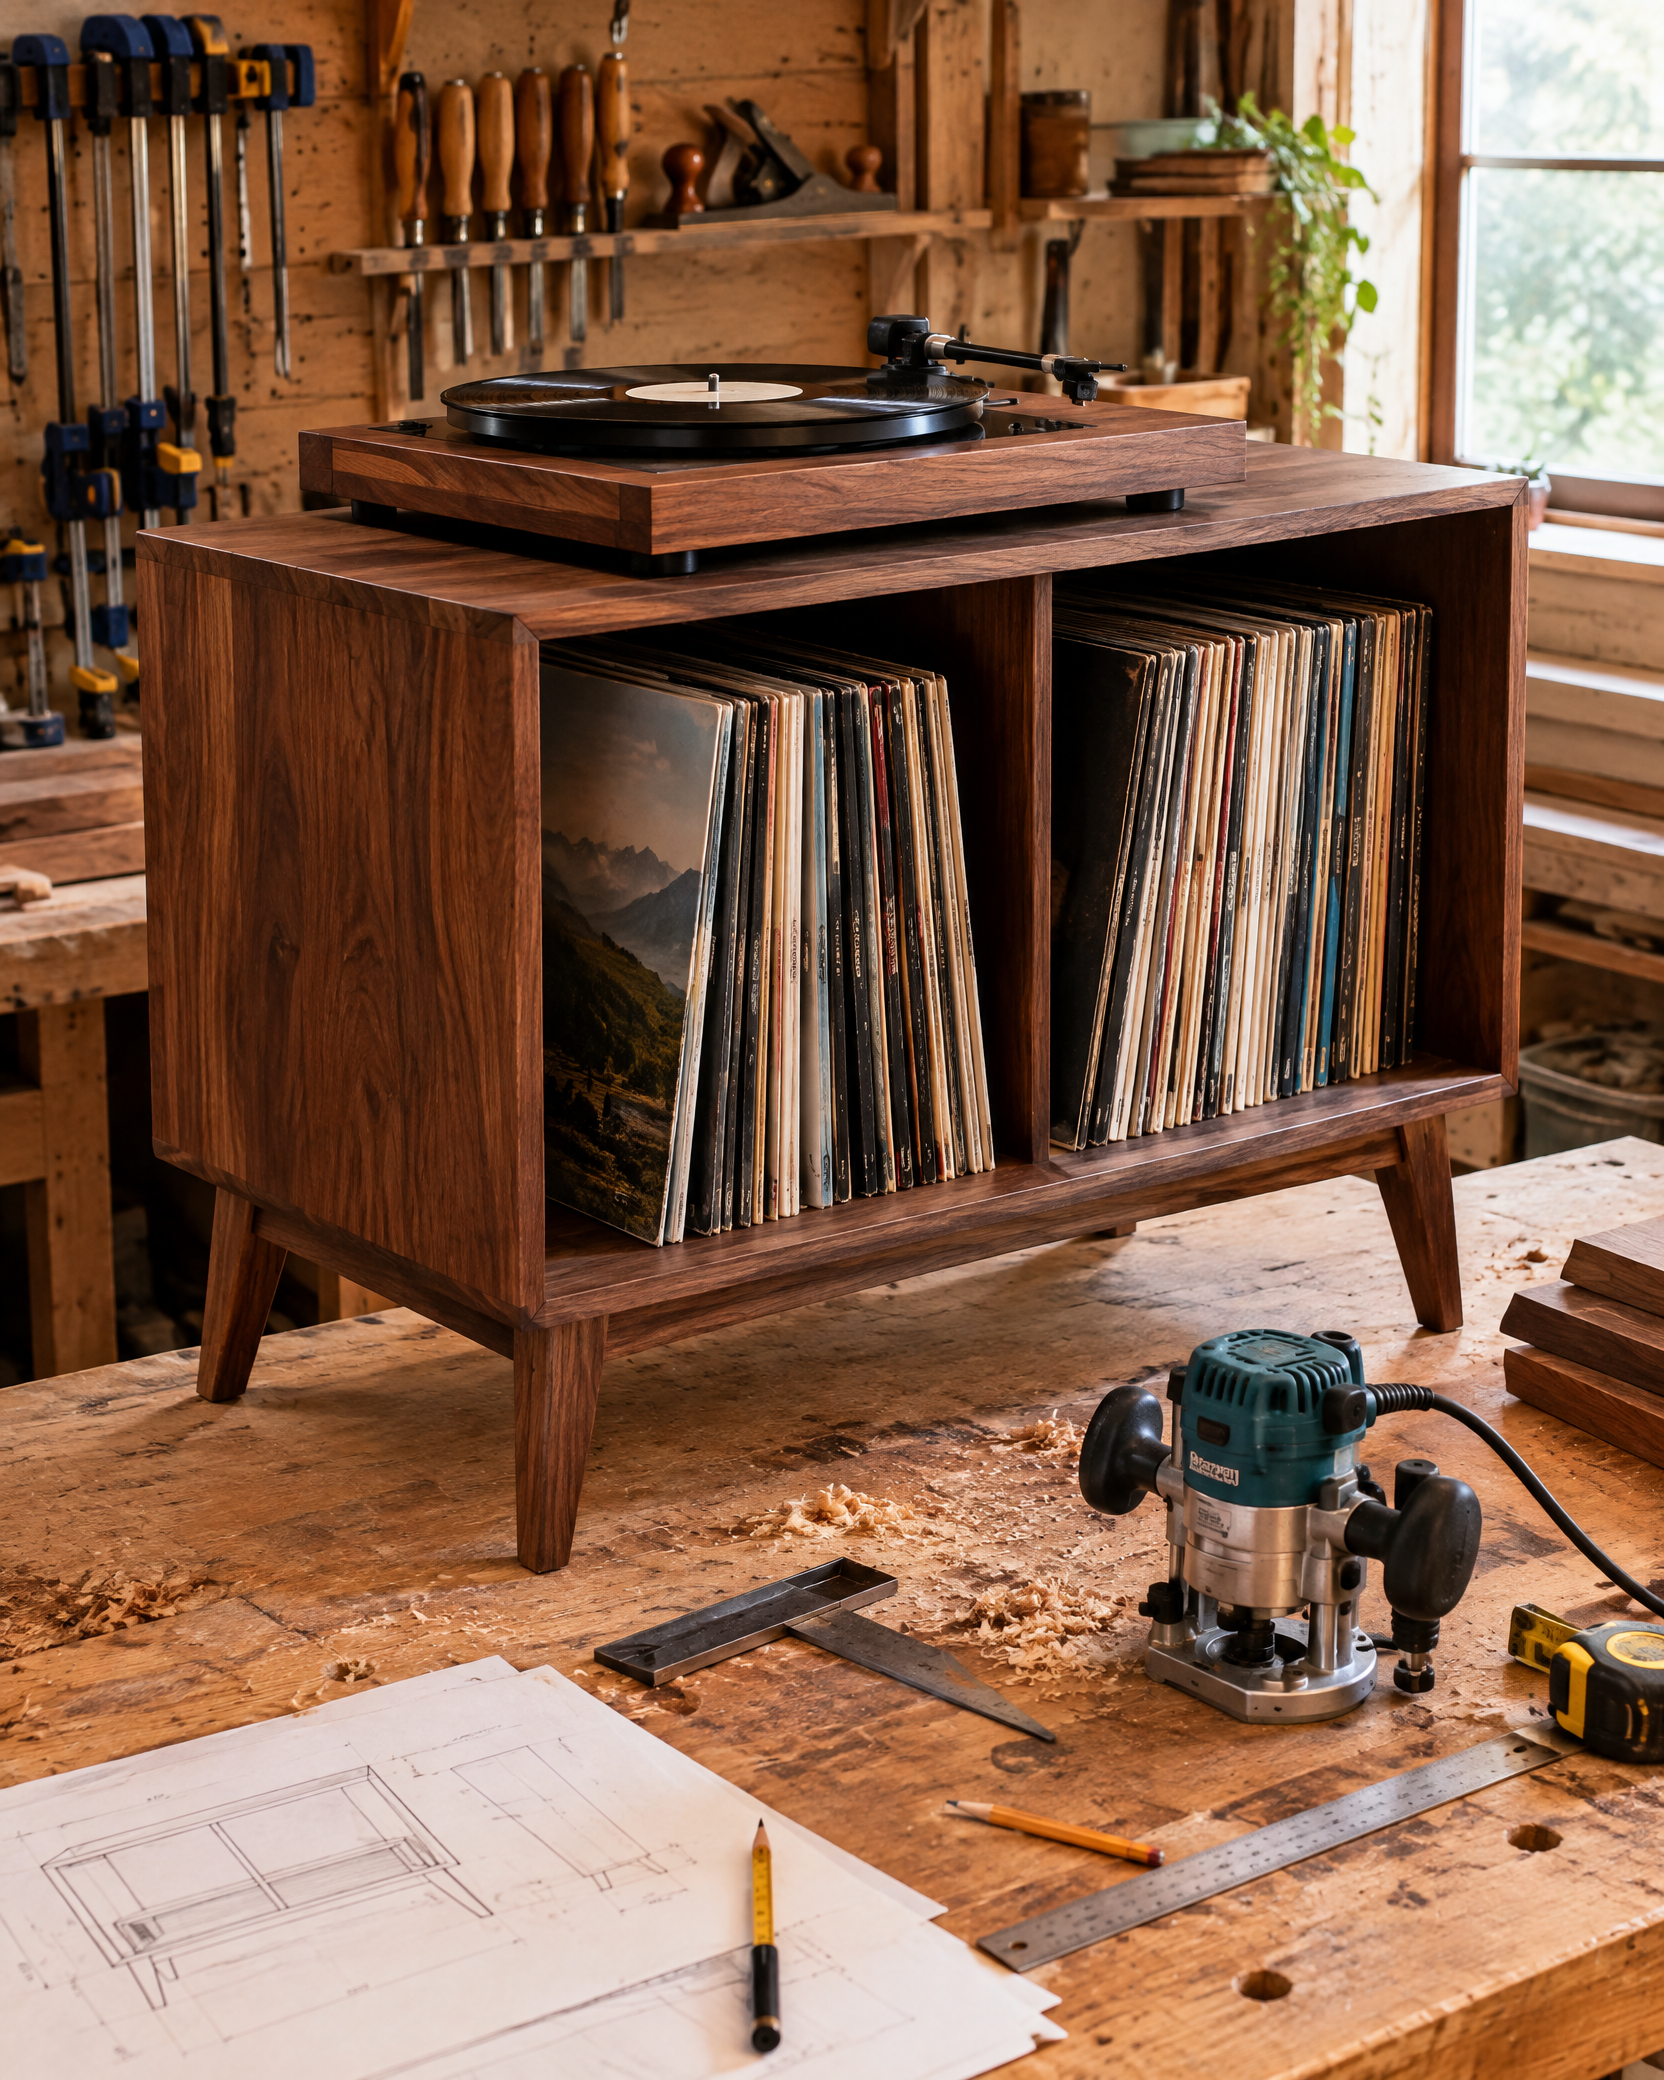
Measure the turntable footprint, lid opening, receiver ventilation, speaker separation, record height, and total component weight.
Step 2
Design shelves and dividers to carry the load without sag while maintaining ventilation and cable bend radius.
Step 3
Create a cut list, cut and label panels, and make cable openings before cabinet assembly.
Step 4
Dry-fit, then glue and fasten the case square; add a rigid back or braces without blocking required airflow.
Step 5
Finish and fully cure the stand before installing components and routing power separately from signal cables where practical.
Step 6
Level the stand, anchor against tipping, confirm turntable isolation and lid clearance, and monitor component temperature during the first listening session.
Audio components require ventilation and safe electrical connections. Do not block vents or overload receptacles, anchor the cabinet, and consult an electrician if power or grounding is questionable.